F4U-4 Corsair to U Control
-
BillParker
- Posts: 1031
- Joined: Sat Jan 19, 2008 1:21 pm
- Location: Houston, Texas
- Contact:
and by the way, be sure to read the instructions on that paint. They ain't just a kiddin' about the right environment while applying it...
William H. Parker Jr. (Bill Parker)
President, Parker Information Resources
http://www.parkerinfo.com/ap.htm bparker@parkerinfo.com
President, Parker Information Resources
http://www.parkerinfo.com/ap.htm bparker@parkerinfo.com
-
cliffm
- Posts: 370
- Joined: Fri Feb 27, 2009 11:08 am
- Location: fairdale N D
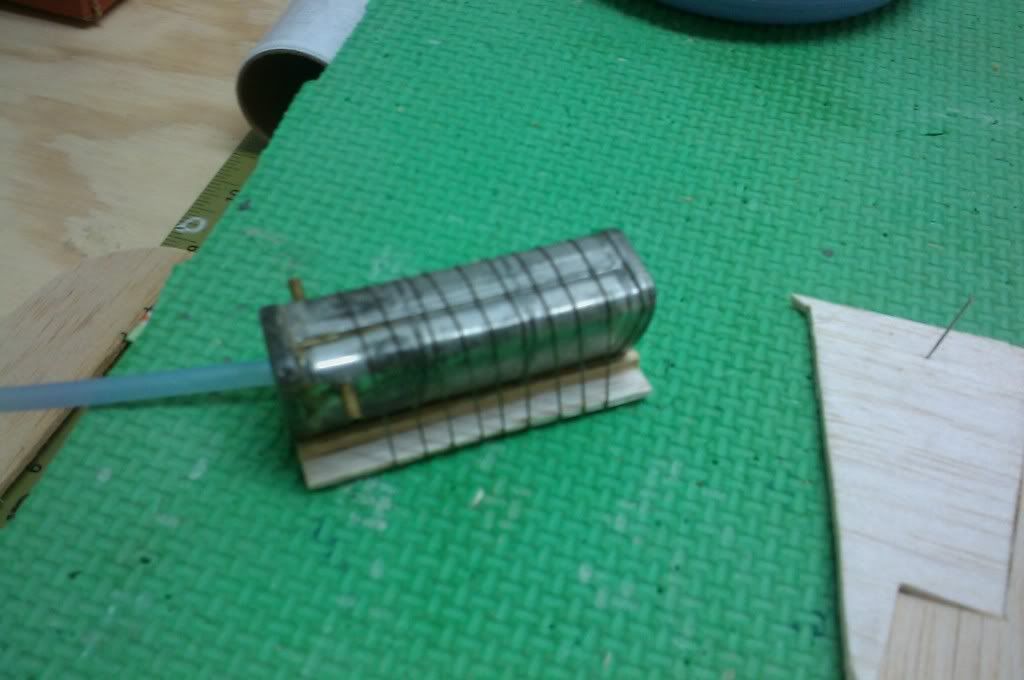
I mention nothing of a drain. The idea is to put a U shape in your fill and vent lines so you don't have a direct shot to the atmosphere which helps prevent spillage of fuel. The tank sits with the pointed side down,engine supply to bottom, and your vent and fill will be at 90 and 270 degrees. Some people don't bother with the fill and vent line detail I describe here and you can tell by how much fuel gets on the plane during flight.
-
ADW 123
- Posts: 1158
- Joined: Mon Feb 22, 2010 5:22 pm
- Location: Cincinnati, Ohio
 [/img]
-
Pulsepilot
- Posts: 25
- Joined: Wed Mar 09, 2011 9:15 pm
- Location: Greenville, South Carolina
How large is the fuel tank? What brand?
I have a similiar tank mounted in one of my planes, but with the bent end on the top side, does it matter? I'm doing some repairs and I can adjust it if nessesary.
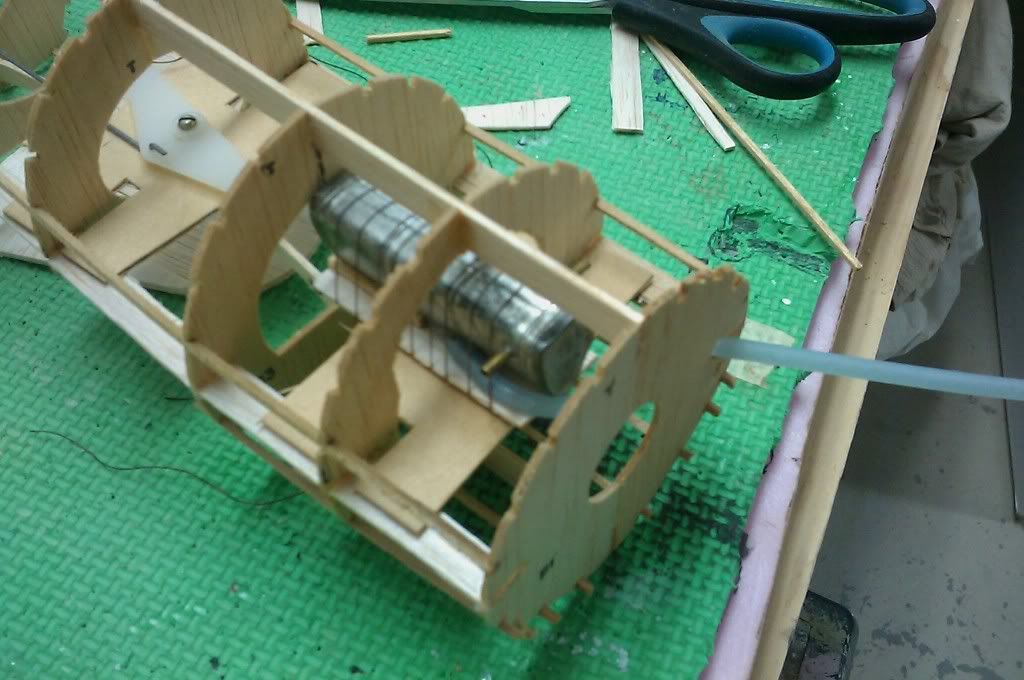
Nice progress so far, I like how you installed the fuel tank. Can't wait to see the finished model.
I have a similiar tank mounted in one of my planes, but with the bent end on the top side, does it matter? I'm doing some repairs and I can adjust it if nessesary.
Nice progress so far, I like how you installed the fuel tank. Can't wait to see the finished model.
Current favorite airplane: P-40 warhawk, F-35 is close second
-
ADW 123
- Posts: 1158
- Joined: Mon Feb 22, 2010 5:22 pm
- Location: Cincinnati, Ohio
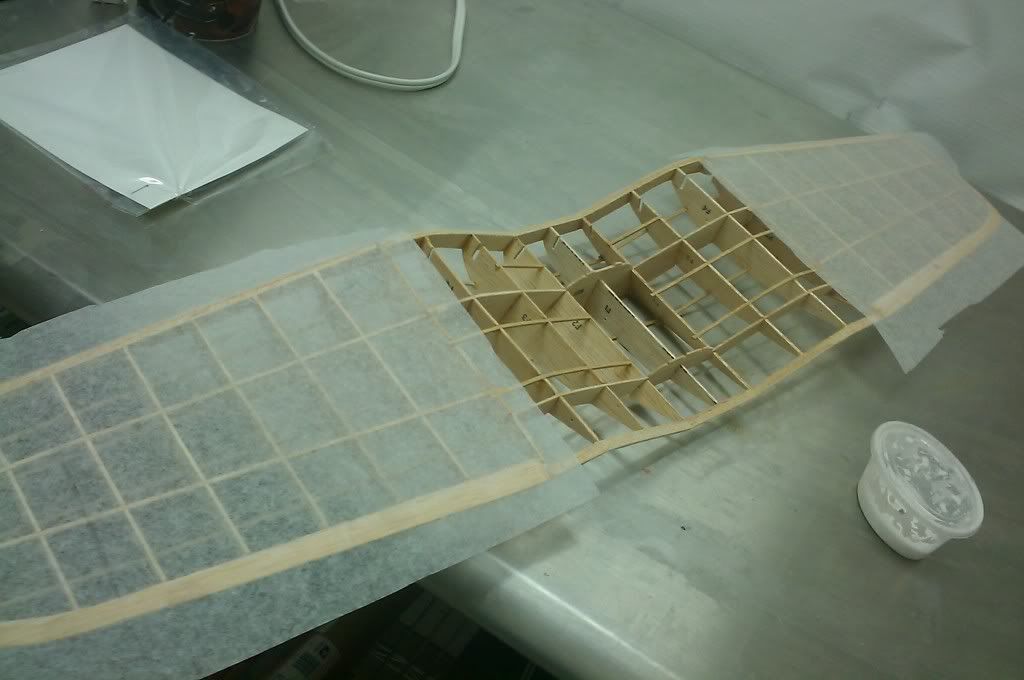
pulsepilot- i pumped water through each of the left and right holes on the fuel tank, as it is mounted here. both can serve as an intake, and over flow. i found the best way to stick this thing in is in fact the way it is now.
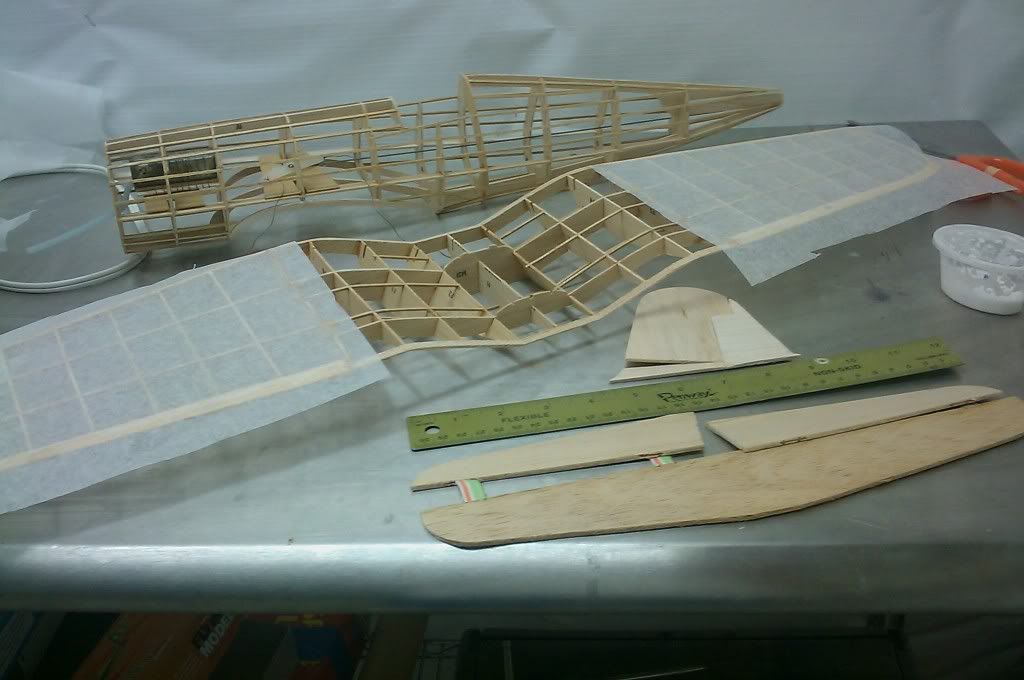
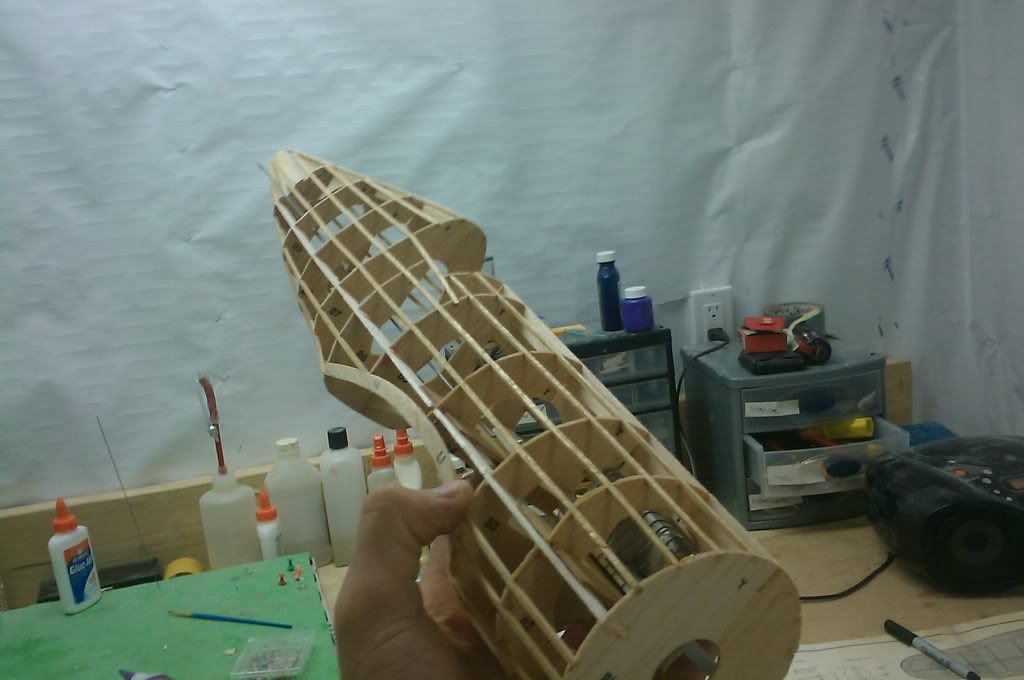
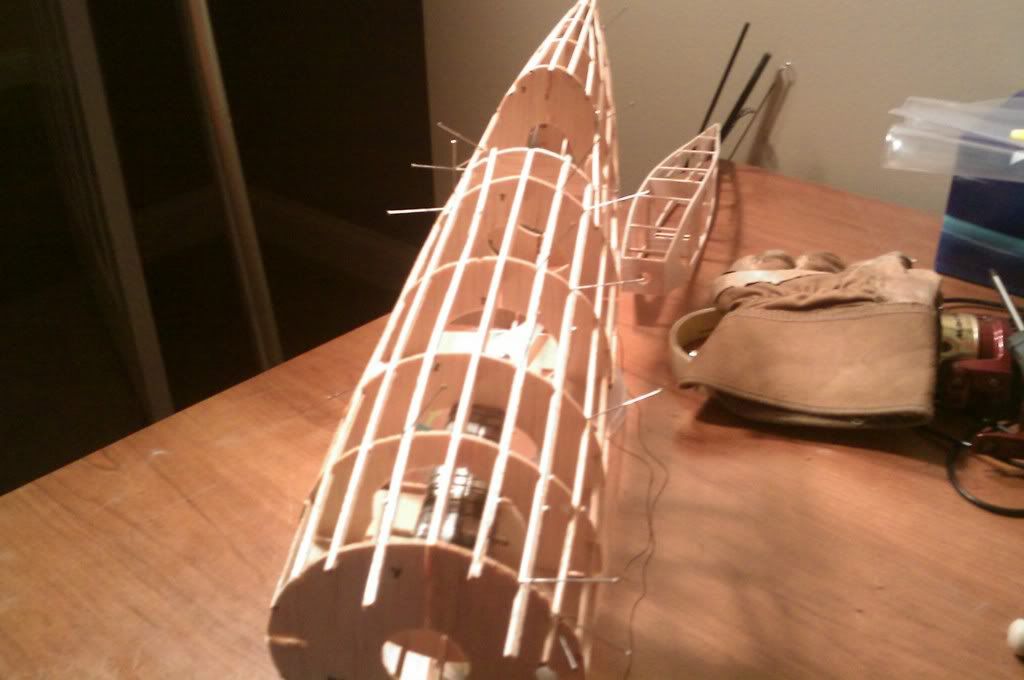
continueing the fuse, getting stringers on FINALLY!
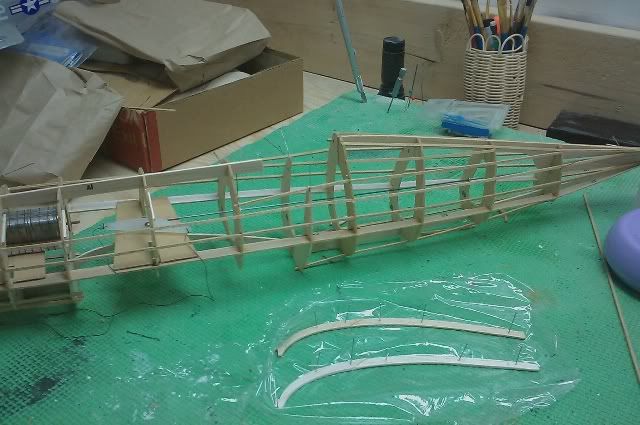
End of the day, progress-
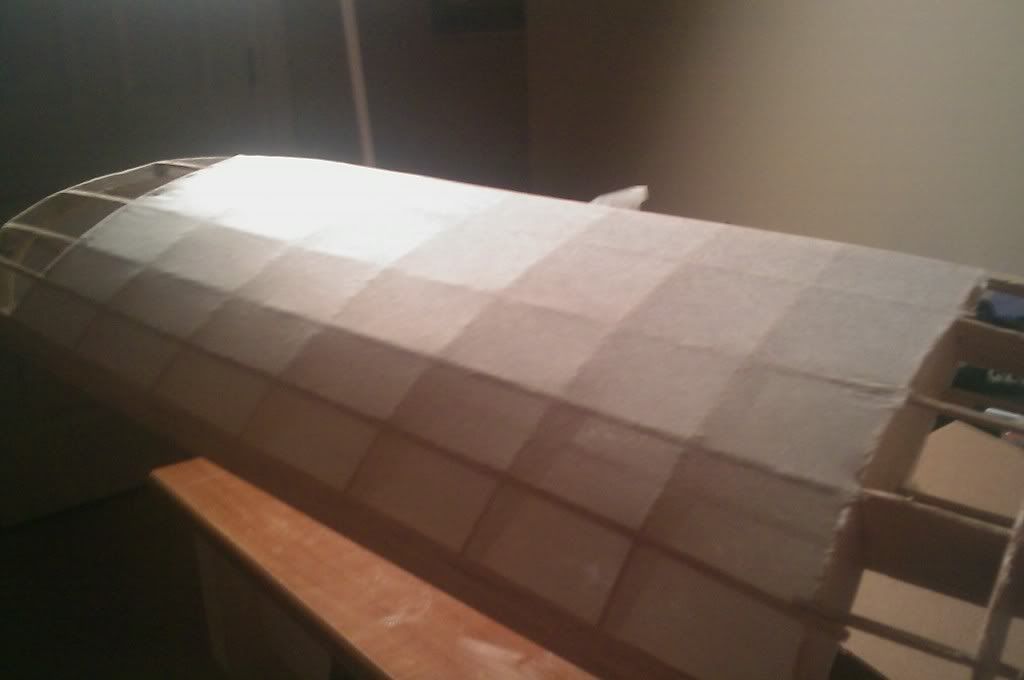
just have to add a couple more stringers on the bottom, and a couple little ones at the tail, and its sanding time.
continueing the fuse, getting stringers on FINALLY!
End of the day, progress-
just have to add a couple more stringers on the bottom, and a couple little ones at the tail, and its sanding time.
-
Squishyp38
- Posts: 240
- Joined: Sun Feb 27, 2011 8:08 pm
- Location: Top Secret
-
flyright
- Posts: 19
- Joined: Tue Aug 17, 2010 8:24 am
- Location: Florida
Tank mount
the pointed part of the tank should point to the outside of the circle.
It may work the way you have it, but not very well.
It may work the way you have it, but not very well.