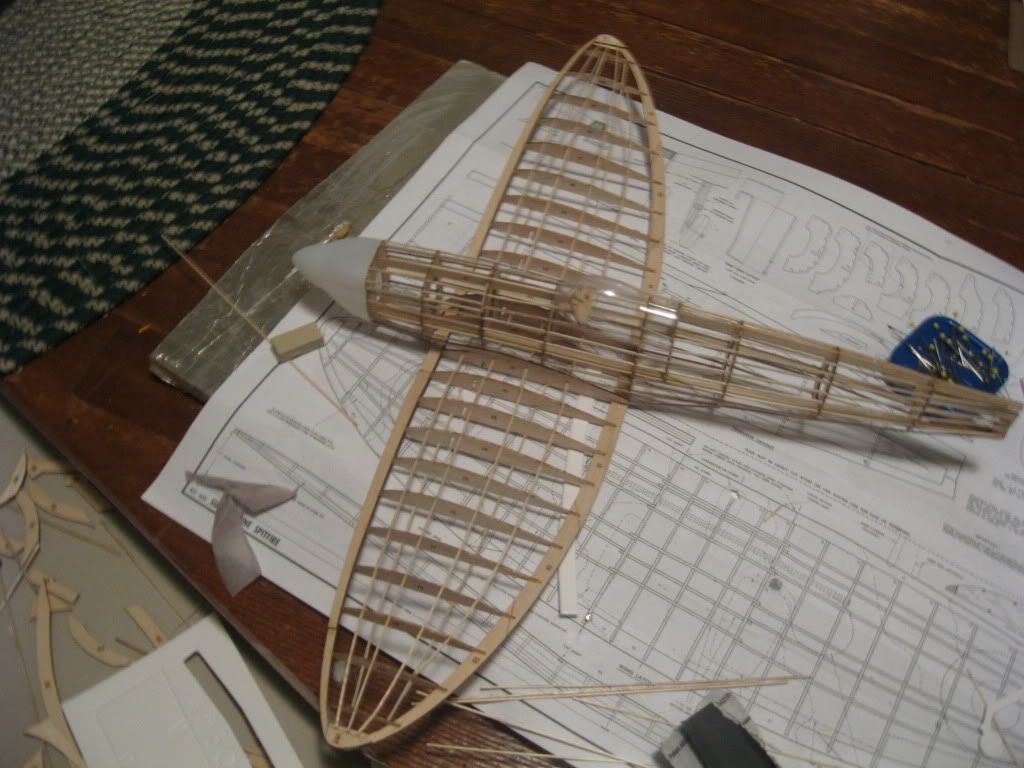
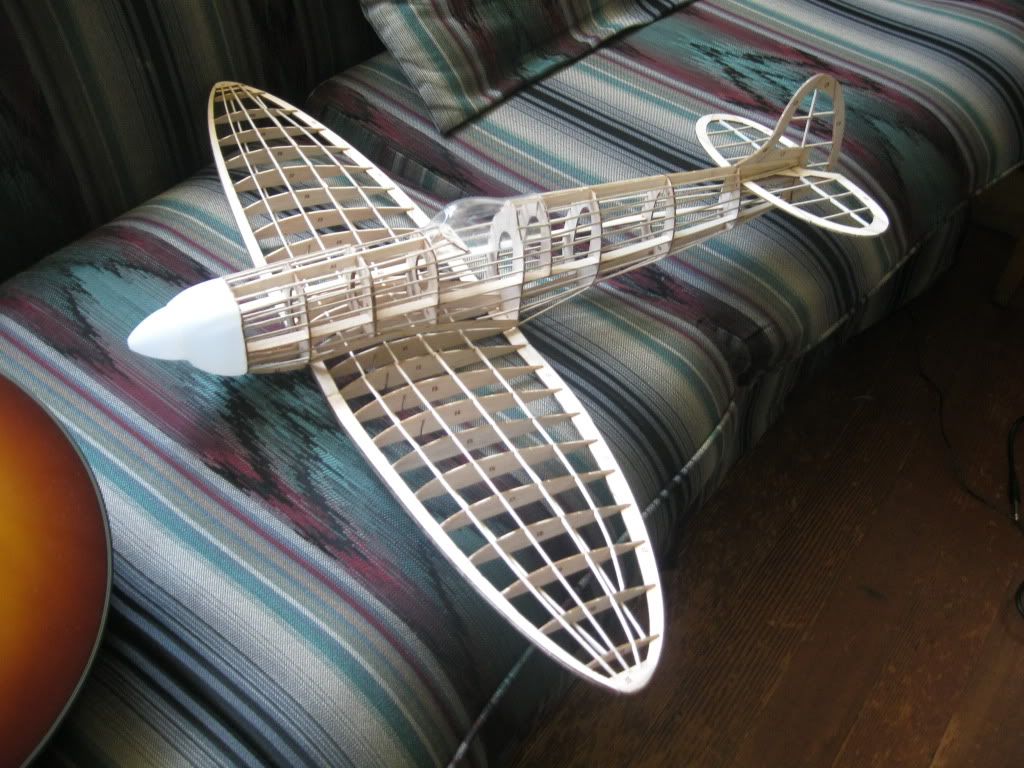
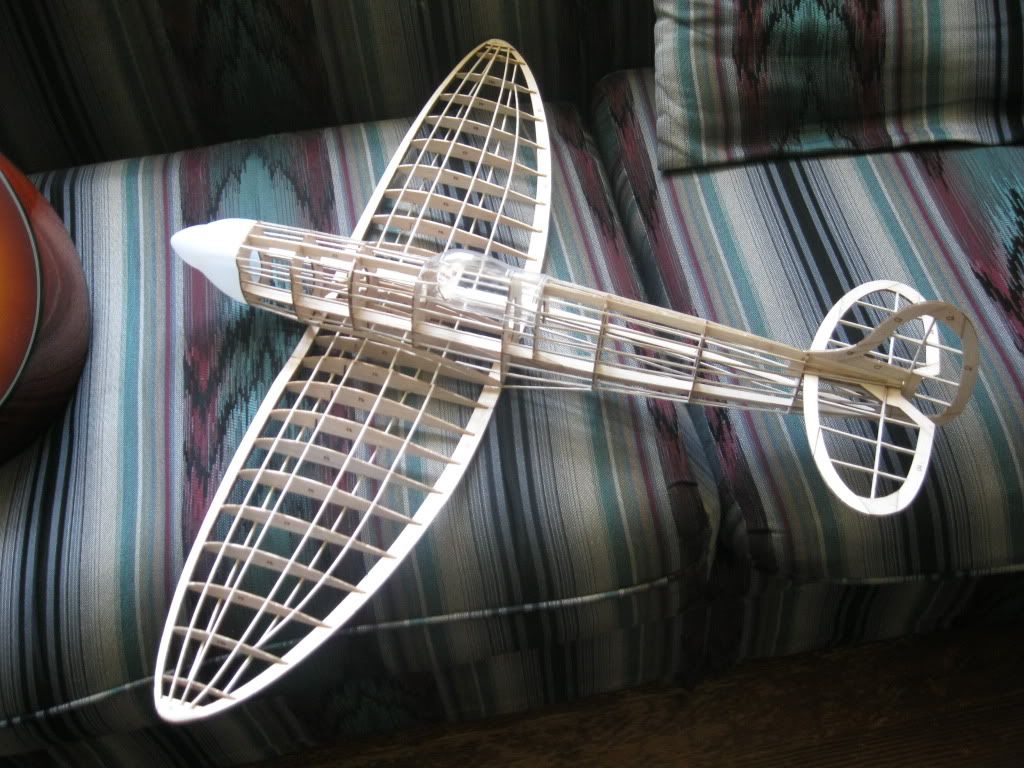
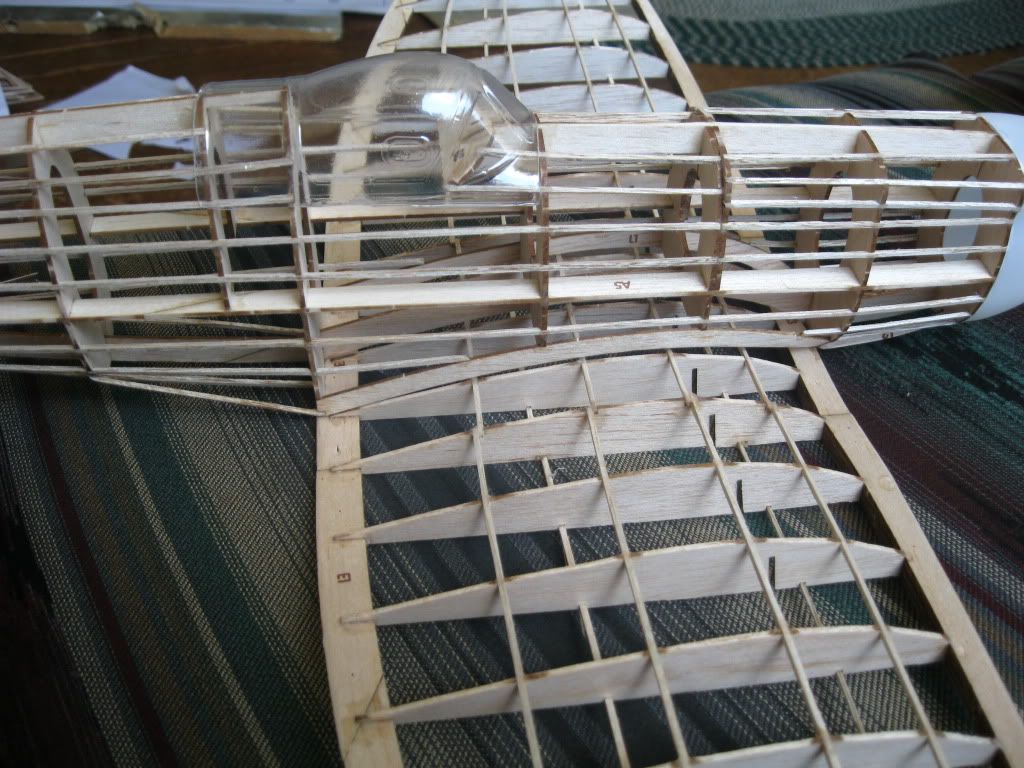
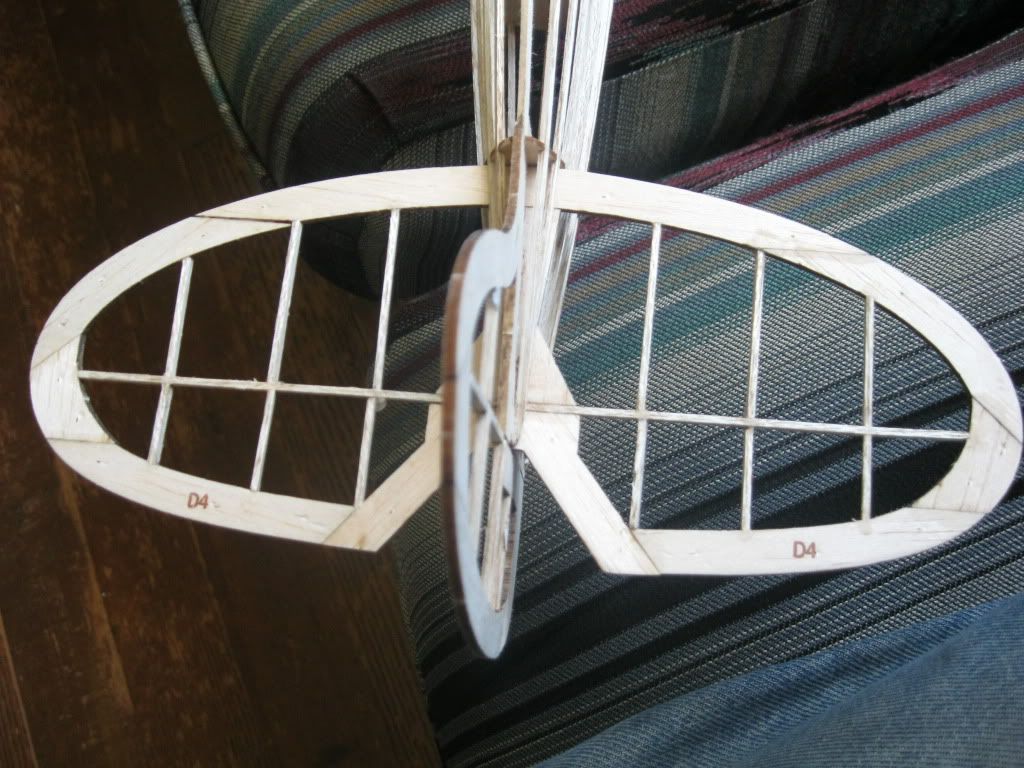
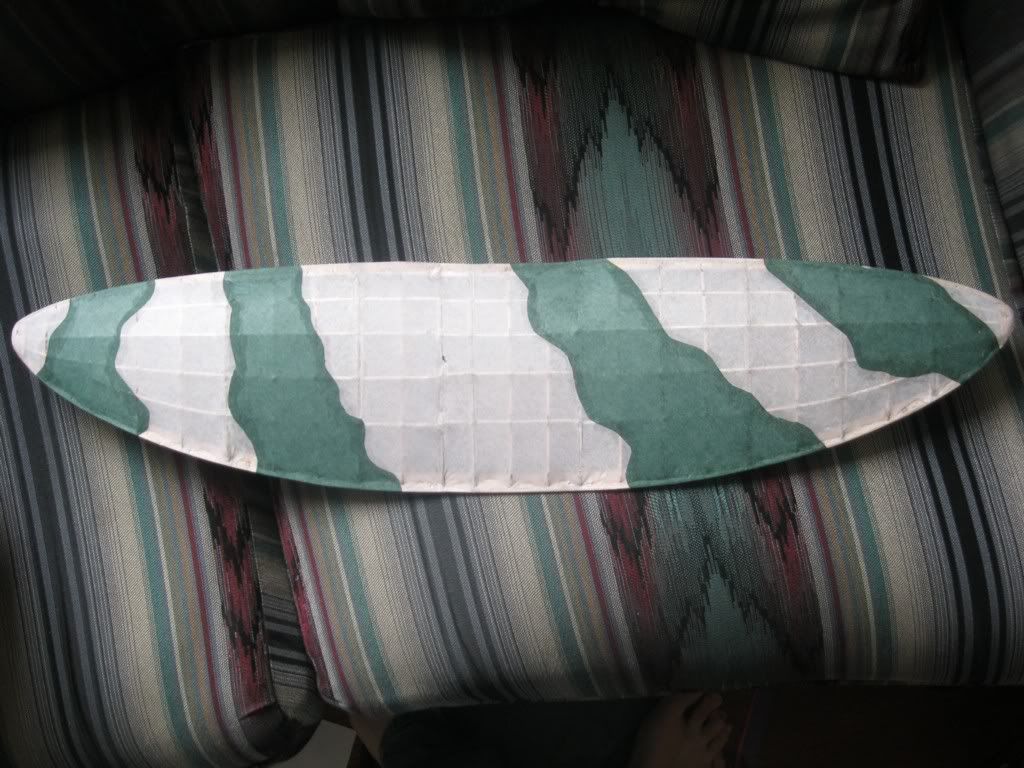
Looks great Supercubber, even just the bones of a Spitfire are nice to see when cleanly built.
Yes using alcohol is another way to shrink the tissue as alcohol does not loosen the glue significantly. Whatever you do keep it light if you want it to fly that is the critical part, the other is taking your time to make sure it is straight.
Cheers, Jens
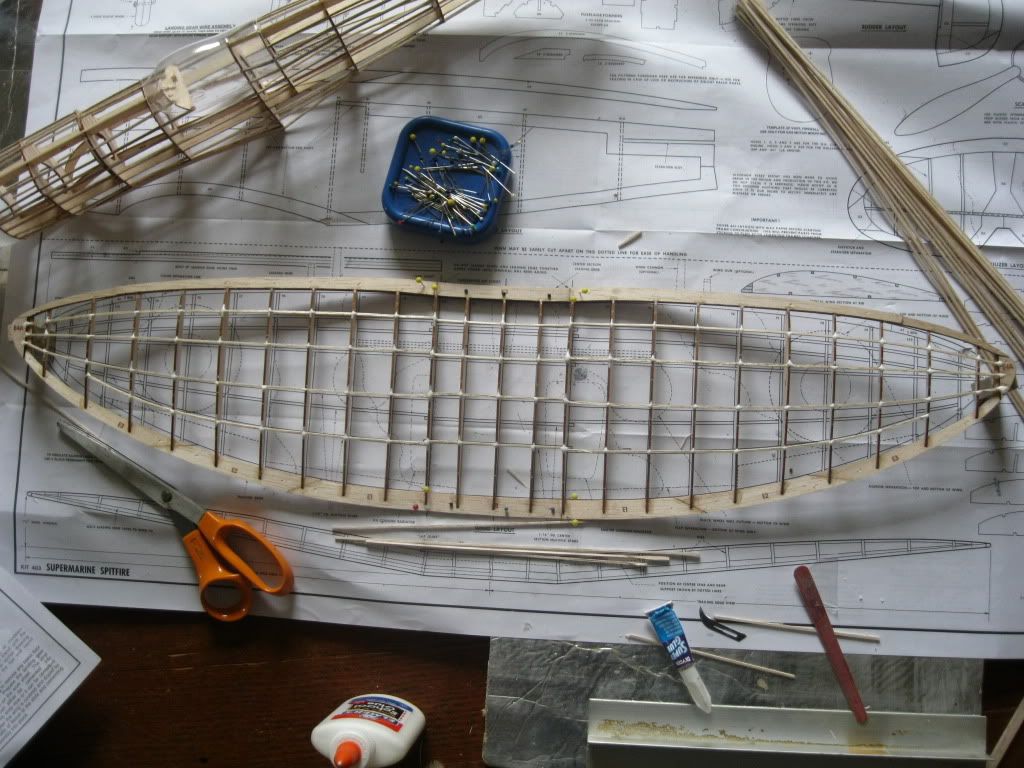
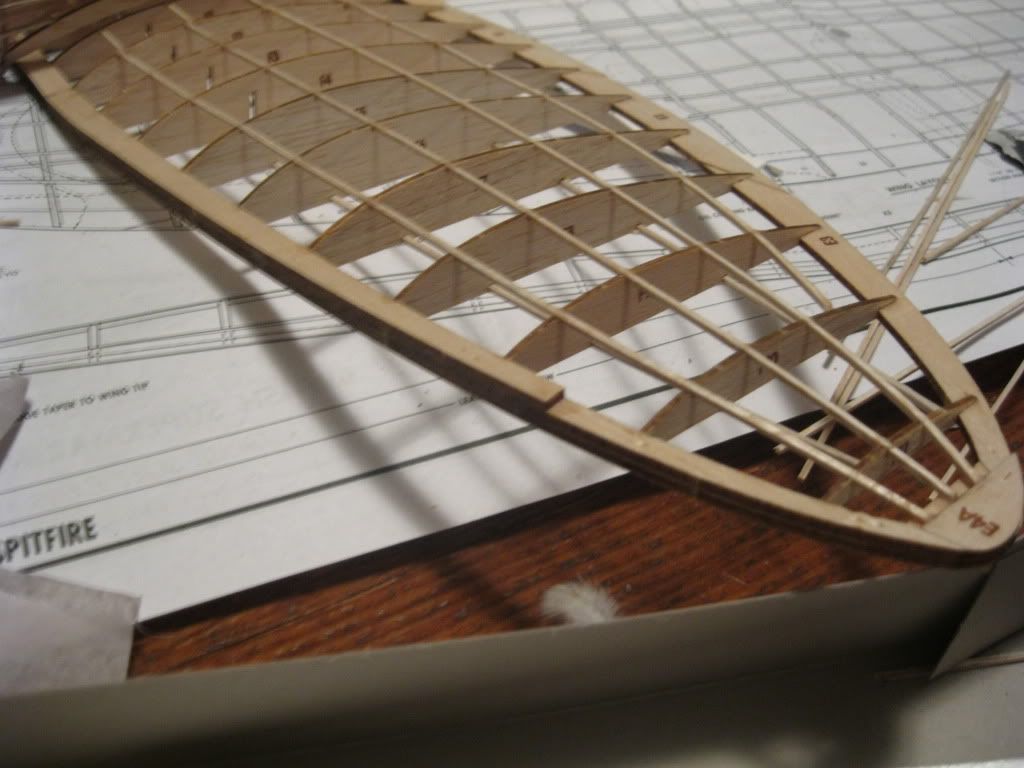
Kit 403 LC Spitfire Build
-
Supercubber95
- Posts: 218
- Joined: Wed Apr 21, 2010 2:13 pm
- Location: Belle Fourche, South Dakota
-
Supercubber95
- Posts: 218
- Joined: Wed Apr 21, 2010 2:13 pm
- Location: Belle Fourche, South Dakota
-
jensheydel
- Posts: 73
- Joined: Mon Jun 06, 2011 7:57 am
-
Supercubber95
- Posts: 218
- Joined: Wed Apr 21, 2010 2:13 pm
- Location: Belle Fourche, South Dakota
-
Supercubber95
- Posts: 218
- Joined: Wed Apr 21, 2010 2:13 pm
- Location: Belle Fourche, South Dakota
-
Supercubber95
- Posts: 218
- Joined: Wed Apr 21, 2010 2:13 pm
- Location: Belle Fourche, South Dakota

-
Supercubber95
- Posts: 218
- Joined: Wed Apr 21, 2010 2:13 pm
- Location: Belle Fourche, South Dakota
-
Xanadu
- Posts: 497
- Joined: Wed Sep 27, 2006 9:48 pm
- Location: Anola, MB, Canada
Resize them to 1024 x768 pixels.
Open the picture using Microsoft Picture manger, click on "edit pictures", clikc on "resize", mark box on "custom width and height", type in 1024 in the first box to the left, and 768 in the other box.
Click "Okay"........click the "save" save button and the picture is then saved smaller.
Open the picture using Microsoft Picture manger, click on "edit pictures", clikc on "resize", mark box on "custom width and height", type in 1024 in the first box to the left, and 768 in the other box.
Click "Okay"........click the "save" save button and the picture is then saved smaller.
-
Supercubber95
- Posts: 218
- Joined: Wed Apr 21, 2010 2:13 pm
- Location: Belle Fourche, South Dakota
-
Supercubber95
- Posts: 218
- Joined: Wed Apr 21, 2010 2:13 pm
- Location: Belle Fourche, South Dakota
-
Szyp
- Posts: 197
- Joined: Fri May 27, 2011 4:10 pm
I am building the 403LCand have replaced the rubber prop with a more authentic 4 blade (for static display). Any suggestions on how to attach the nosecone? I filled the cowl with epoxy, drilled it out to hold the prop shaft I made, and now it is time to put on the nose piece, and don't want to mess it up if someone can share some advice.
-
Supercubber95
- Posts: 218
- Joined: Wed Apr 21, 2010 2:13 pm
- Location: Belle Fourche, South Dakota
-
Szyp
- Posts: 197
- Joined: Fri May 27, 2011 4:10 pm
When I learn how to post pictures I swill certainly do that. The propellor is mounted on a sanded to size 3/8 dowell, and cemented to the hole in the 4 blade prop, and the dowell is passed through a 3/8 hole in the cowl. I iused the thrust bearing to cap the hole in the replacement prop. Now I need to attach the nosecone, and I am wondering if maybe I should cut te nose cone gashes so it fits over the prop, and the glue the nose cone to te cowl, thus having a prop that will be glued solid. It really doesn't have to spin, but I am wondering if someone else has a better idea. 