Arrow Build

-
ADW 123
- Posts: 1158
- Joined: Mon Feb 22, 2010 5:22 pm
- Location: Cincinnati, Ohio
-
al
- Posts: 19
- Joined: Mon Apr 04, 2011 11:28 pm
Oh No! The dreaded Purse! Sorry to hear about that.ADW 123 wrote:i was in the car getting ready to go to the fields so i could trim/test fly my plane, and then someone put a purse down and actually acidentaly broke my wing (pretty much in half). work to repair/restore the wing to it's former glory begins emediatly.
-
BillParker
- Posts: 1031
- Joined: Sat Jan 19, 2008 1:21 pm
- Location: Houston, Texas
- Contact:
some one?
no!
Don't say it!
Someone named.... MOM?
no!
Don't say it!
Someone named.... MOM?
William H. Parker Jr. (Bill Parker)
President, Parker Information Resources
http://www.parkerinfo.com/ap.htm bparker@parkerinfo.com
President, Parker Information Resources
http://www.parkerinfo.com/ap.htm bparker@parkerinfo.com
-
ADW 123
- Posts: 1158
- Joined: Mon Feb 22, 2010 5:22 pm
- Location: Cincinnati, Ohio
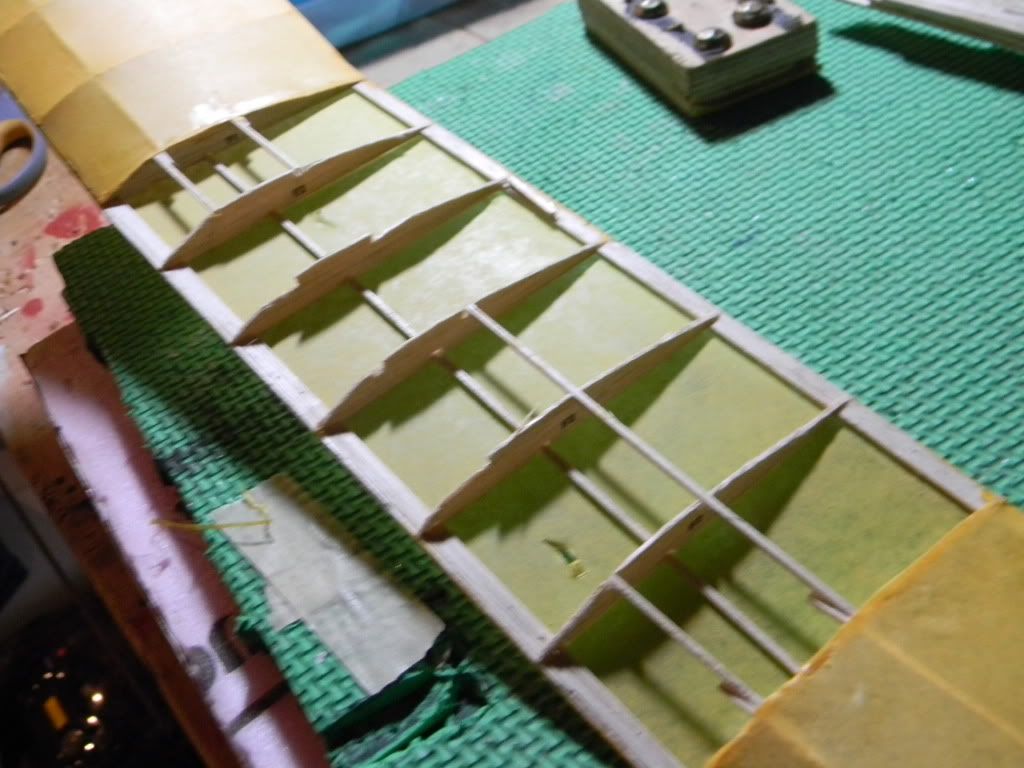
alright. so here is the repair process. (lots of fun i know)
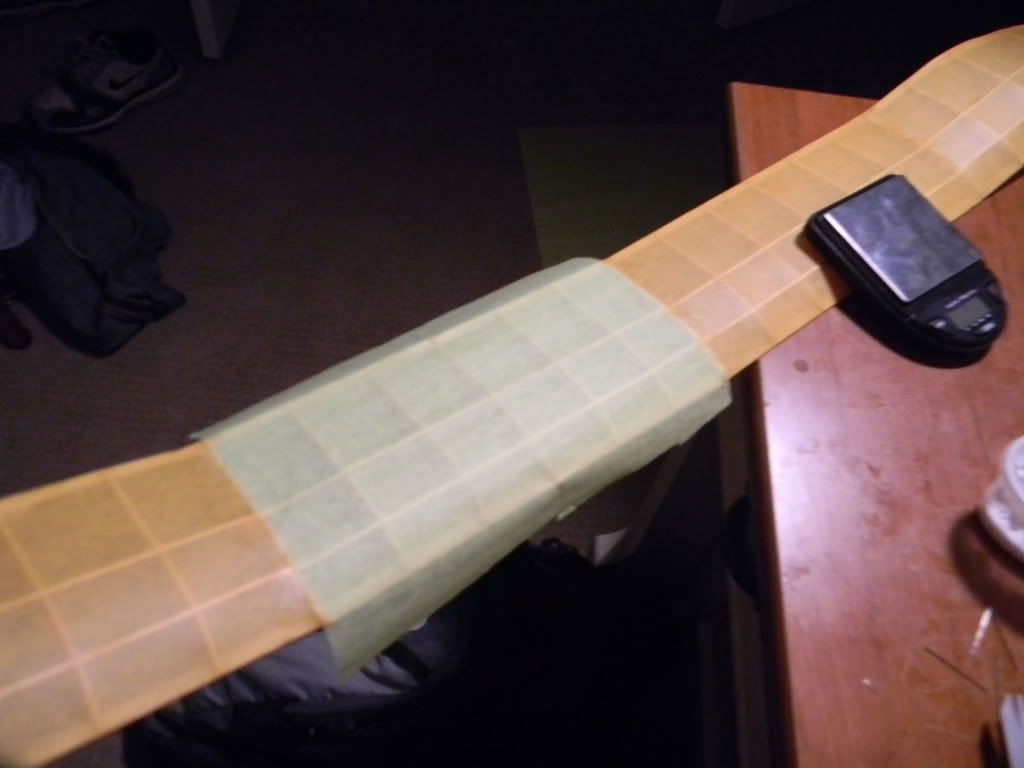
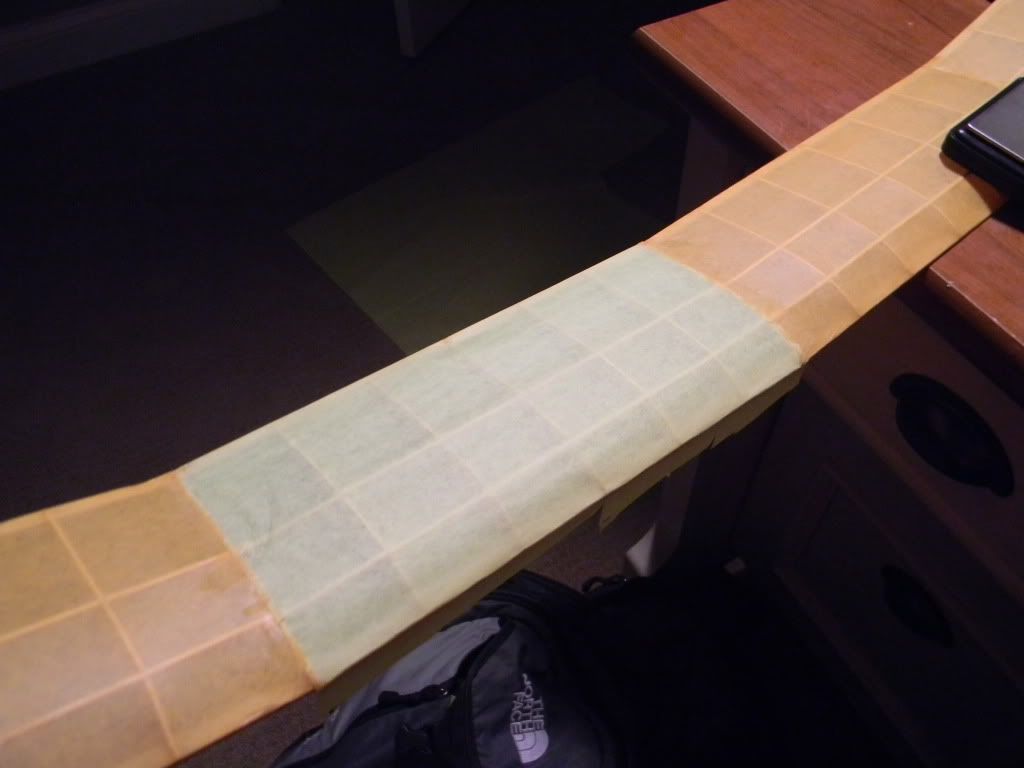
the method i used on this for covering is very useful in this sense. it is very easy to remove tissue, as there isnt very much glue holding it down. so cutting this off was a snap.
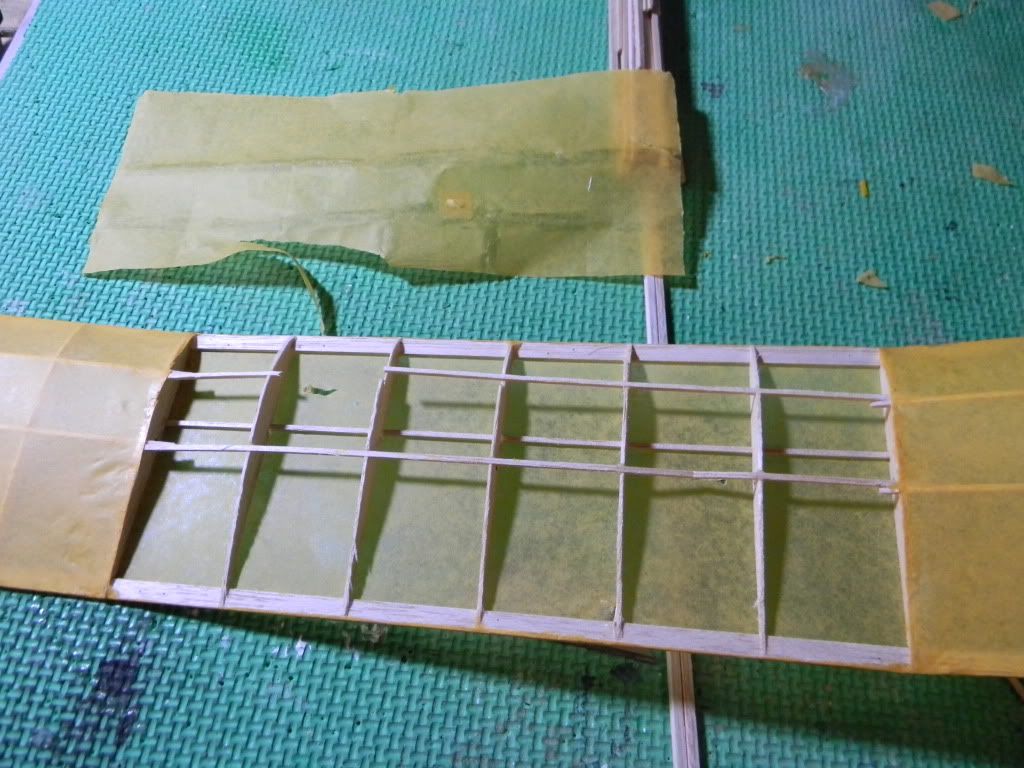
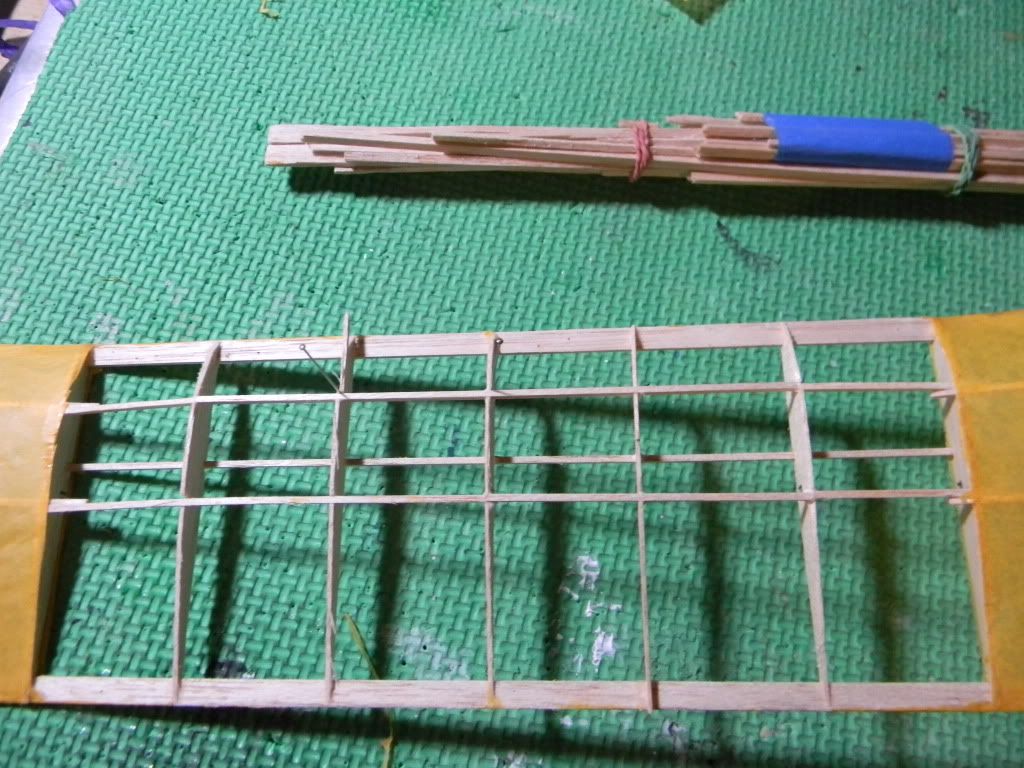
an idea of the damage i was dealing with
here, i removed the F2 rib that was the most severely damaged.
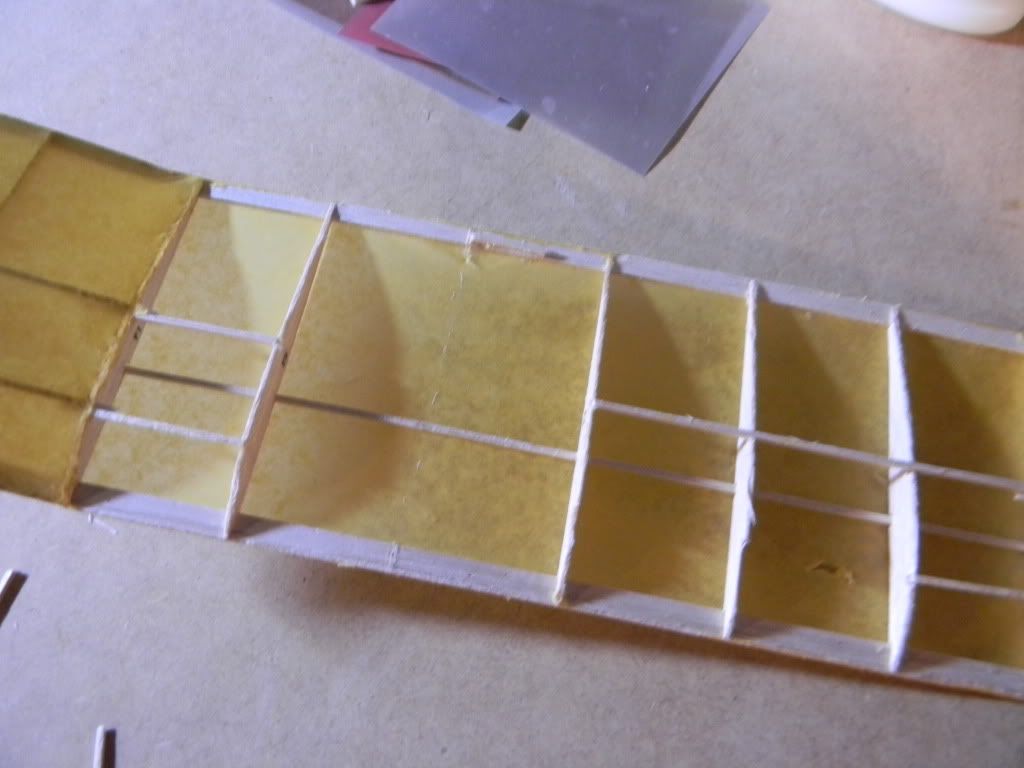
here, a stringer has been replaced. i did not remove all the stingers, because i didnt want to make so much work for myself, and i thought that the frame was already fragile enuff. since the joints would be a little weak otherwise, i added some extra glue there.
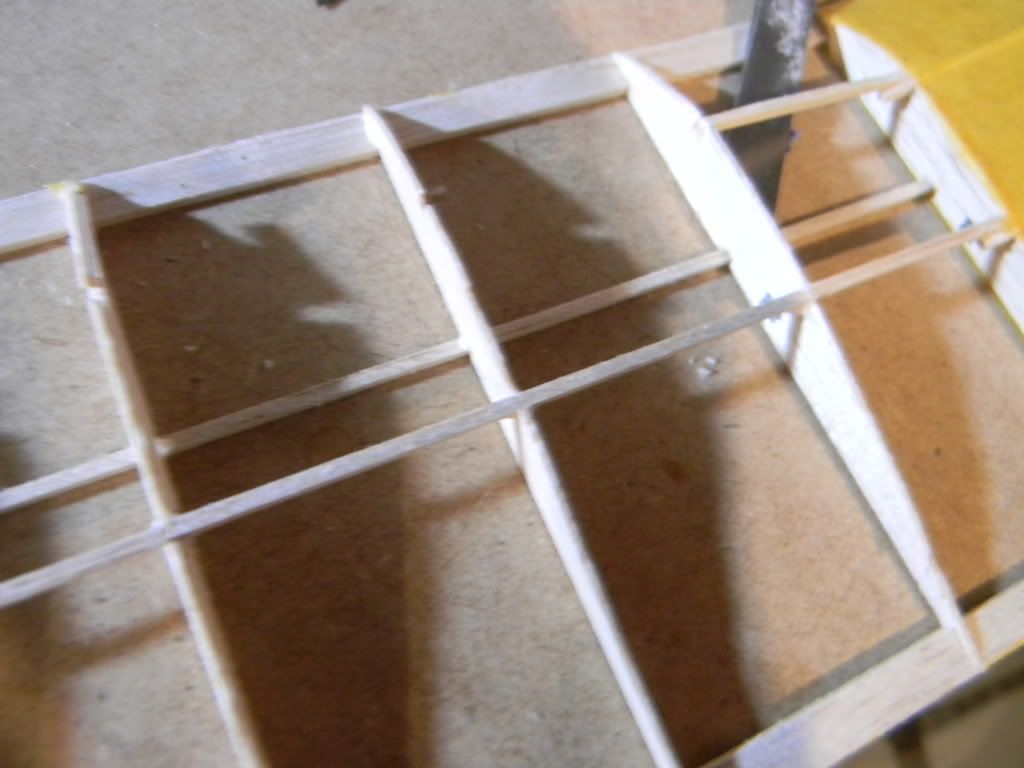
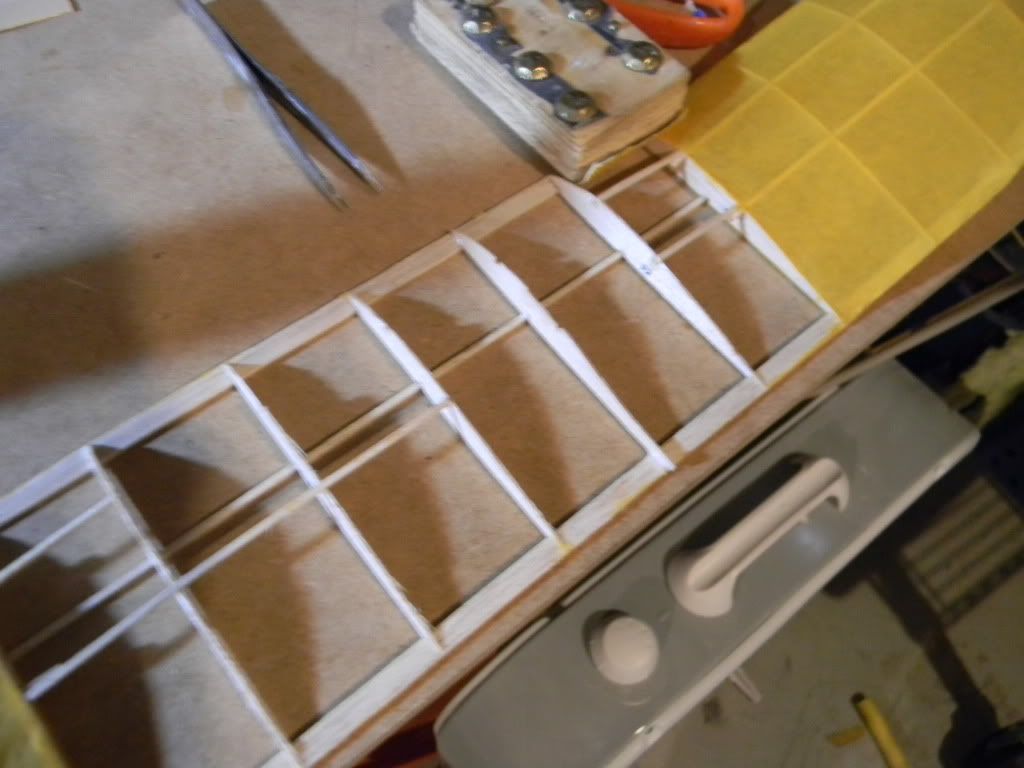
the forward stringer (at least part of it) replaced
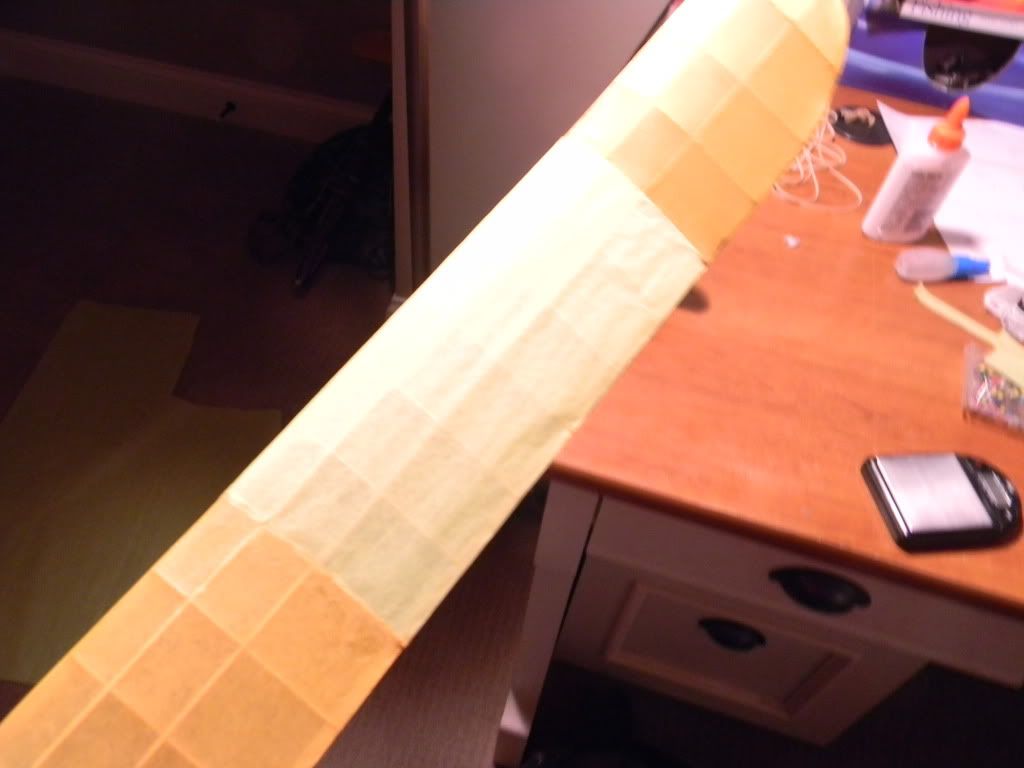
unforchunatly, i do not have anymore of this yellow tissue. i have some xeon yello tissue that i will use instead. wont stop this thing from flying...
the method i used on this for covering is very useful in this sense. it is very easy to remove tissue, as there isnt very much glue holding it down. so cutting this off was a snap.
an idea of the damage i was dealing with
here, i removed the F2 rib that was the most severely damaged.
here, a stringer has been replaced. i did not remove all the stingers, because i didnt want to make so much work for myself, and i thought that the frame was already fragile enuff. since the joints would be a little weak otherwise, i added some extra glue there.
the forward stringer (at least part of it) replaced
unforchunatly, i do not have anymore of this yellow tissue. i have some xeon yello tissue that i will use instead. wont stop this thing from flying...

-
ADW 123
- Posts: 1158
- Joined: Mon Feb 22, 2010 5:22 pm
- Location: Cincinnati, Ohio
nah. im needed something to do. waiting on my next project.
it will fly again!
found my 1/4" rubber. dont think i can use it on this plane though. the hole in the front for the thrust button which i wish to use is too small for it really. so ive been messing around with 2 loops of 3/32" rubber. it actually does alright, and i can get in more than 1,300 winds on it. ill get some more 1/8" rubber when i get the chance.
-
supercruiser
- Posts: 405
- Joined: Wed Jun 15, 2005 8:47 am
I did something similar to my Guillow Fairchild. NO! Not drop a purse on it.
A battery charger slid off my bookshelf and landed on the fuselage, the same afternoon that I completed the model.
A suggestion on repairs. Cutting the stringers and gluing the butt ends together is certainly o.k. For a stronger joint you can use a scarf joint.
A battery charger slid off my bookshelf and landed on the fuselage, the same afternoon that I completed the model.
A suggestion on repairs. Cutting the stringers and gluing the butt ends together is certainly o.k. For a stronger joint you can use a scarf joint.
-
Squishyp38
- Posts: 240
- Joined: Sun Feb 27, 2011 8:08 pm
- Location: Top Secret
-
supercruiser
- Posts: 405
- Joined: Wed Jun 15, 2005 8:47 am
A scarf joint is when the two pieces of wood are joined by making an inclinedSquishyp38 wrote:And what is a scarf joint?
ramp at the end of each piece of wood. These two ramps face each other and are glued. I tried to find a picture on the internet but, they are fancy scarf joints with notched ends or pegs inserted. The angle gives more contact area for the glue, instead of just putting the two ends together.
Here is an attempt at a pictorial of the joint:
]/ /[
It really hard to explain but a very simple concept. You should use a fixture to hold the balsa to make consistent cuts. Try a google search.