Stearman motor
-
cliffm
- Posts: 370
- Joined: Fri Feb 27, 2009 11:08 am
- Location: fairdale N D
Stearman motor
ADW. The motor you see on the model in the stearman thread is built from parts included in the kit. The red lines are carefully stripped wire insulation. The prop is hand-made because I used the wrong glue on the one furnished in the kit
-
RAYD7024
- Posts: 14
- Joined: Sun Jun 26, 2011 1:11 pm
Stearman PT-17 Motor
Hi all.
Can someone point me to this thread? I am building the PR-17 and would like to see how someone else has handled the motor issue.
Thanks
Can someone point me to this thread? I am building the PR-17 and would like to see how someone else has handled the motor issue.
Thanks
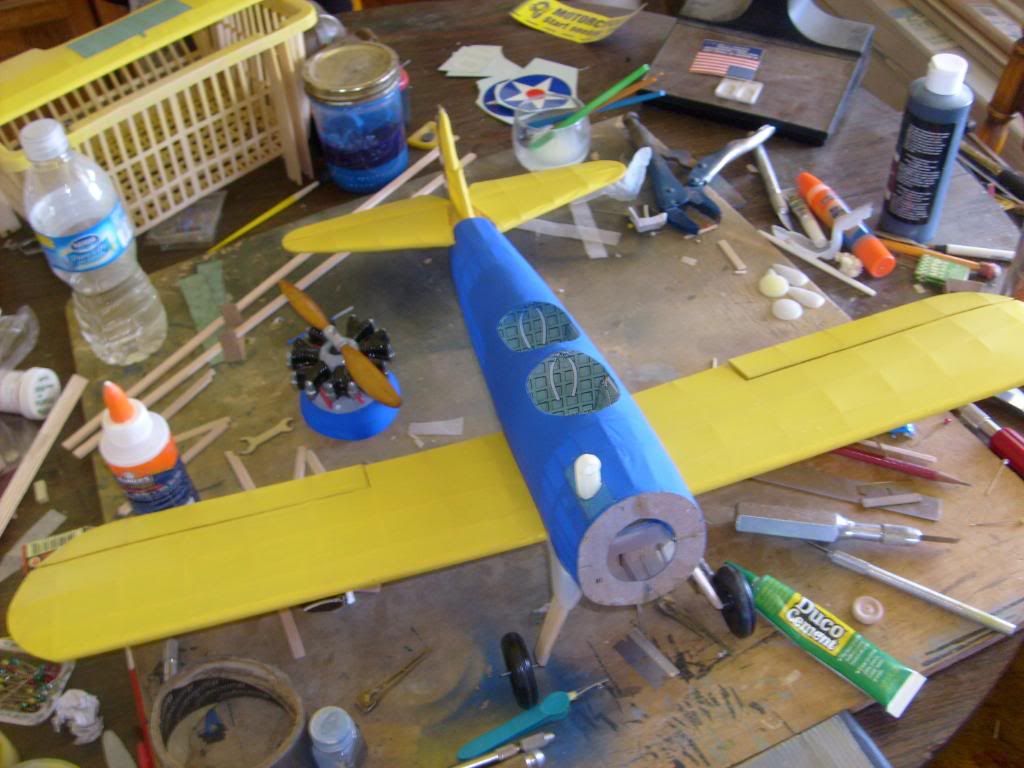 d balsa prop and assembled kit motor
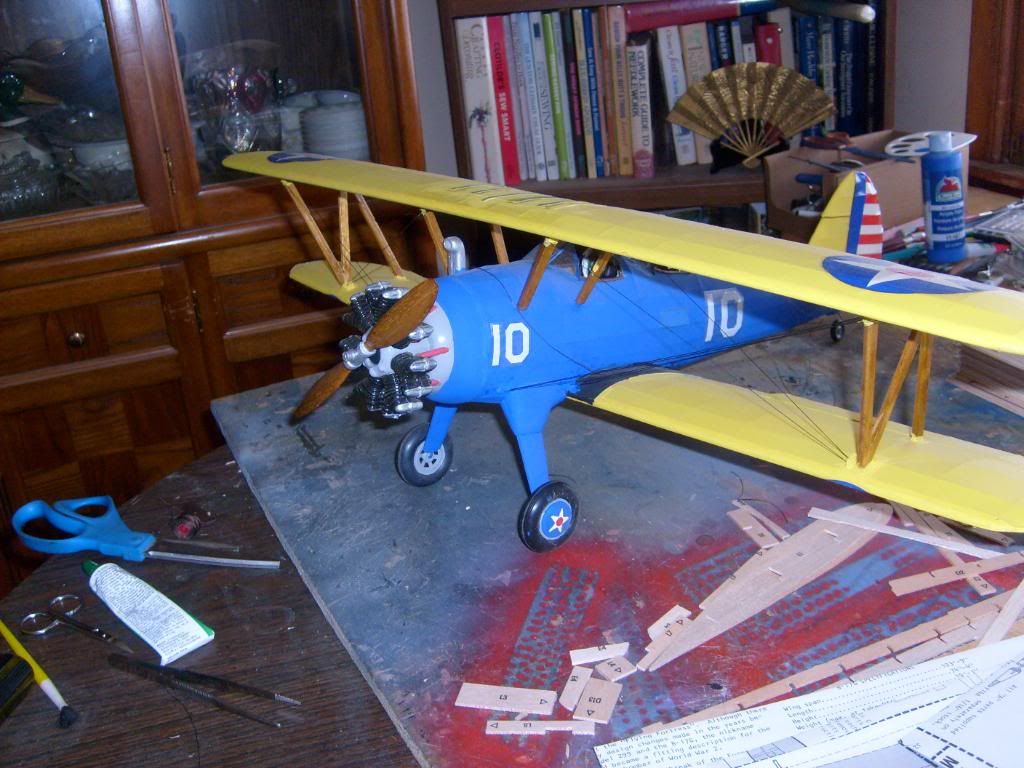
-
cliffm
- Posts: 370
- Joined: Fri Feb 27, 2009 11:08 am
- Location: fairdale N D
Sanding the back side of the parts sheet helps a whole bunch in removing them. Sand until its thin enough on the border of your parts so you can flex it until freedom is attained. Then carefully sand the edges off and match the cylinder halfs to their best mates. When I assembled the cylinders one spot of super glue on top and one on each side of bottom joining edges. After that cures you can cement the remainder of the joint with your favorite plastic glue. When this has cured you will need to face the cylinders where they join the crankcase to get a nice fit. After every thing fits nicely mark the cylinder placement on the crankcase with pen or whatever. I used a drop of super glue 180 from each other,opposite the seams and secured them to the crankcase followed by the use of plastic cement to finish. Detail painting will give the results shown. You can further detail wiring,intake piping and exhaust details aided by studying some photos off the web. The prop is one solid piece of balsa,stained and painted silver in the center.