Not sure what the failure was though.
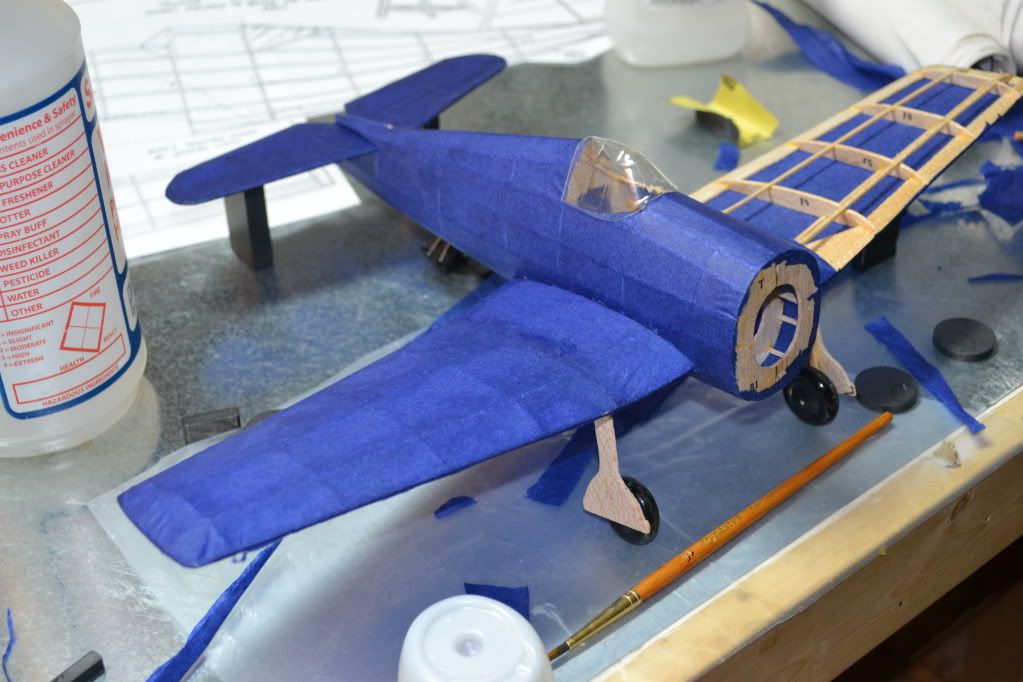
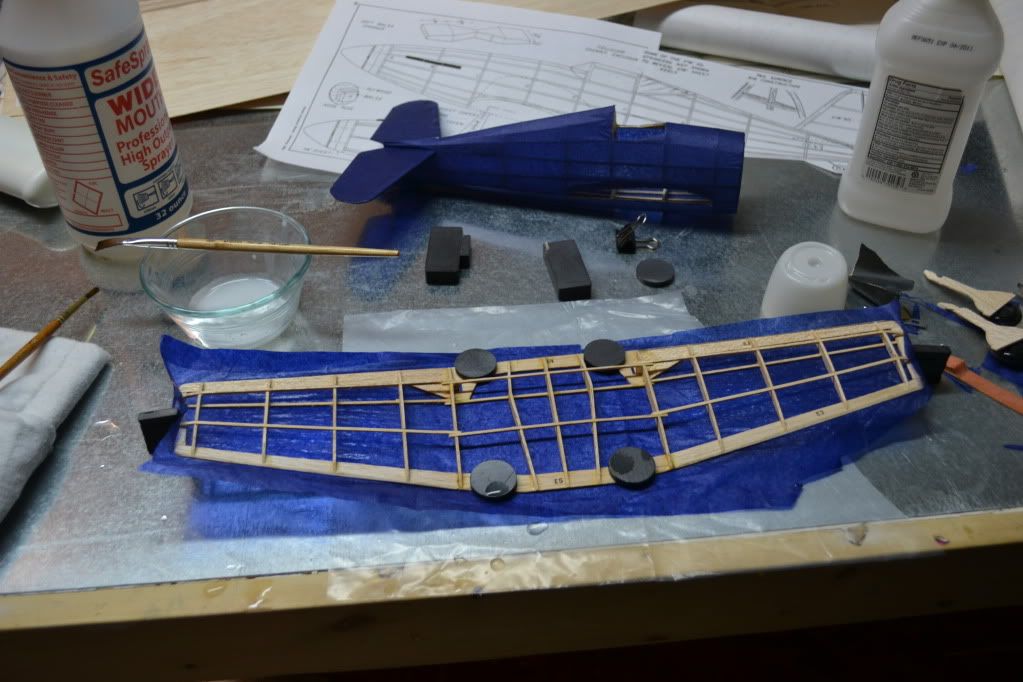
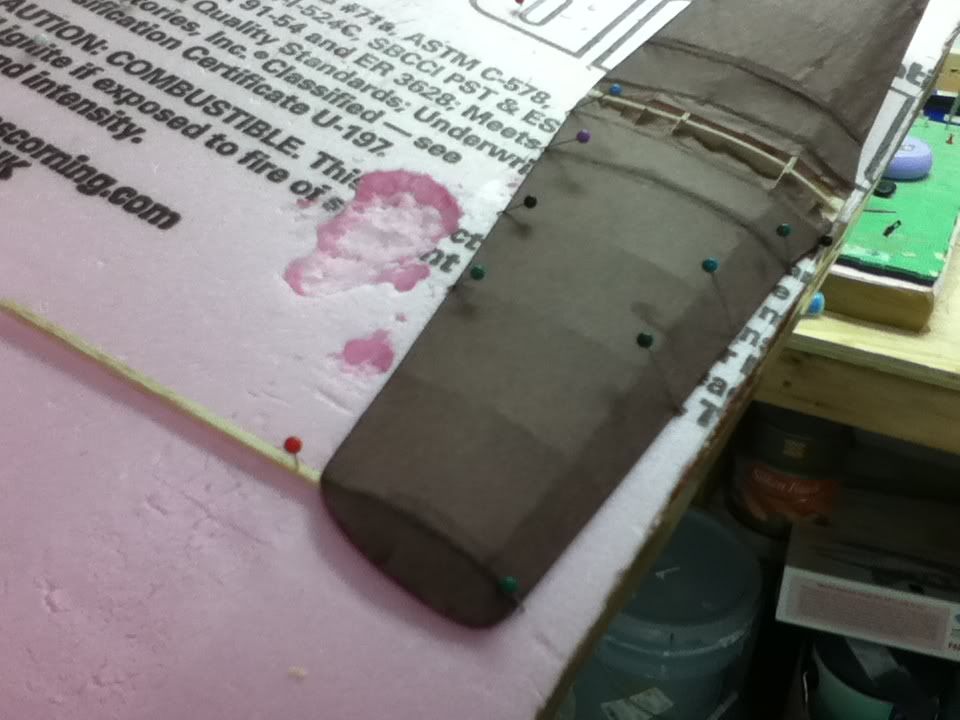
Covering the bottom of the main wing tonight with my new found way of spaying the tissue wet applying it to the frame and gluing it down with 50/50 white glue. So that is what I did and then clamped it to my magnetic bench so it wouldn't warp. Everything look fine until it dried.
When I pull it off the bench; however, on one side the tissue was split along the TE from the wing tip to the dehidral and then from the the TE to the LE at the dehidral rib.
Maybe stretched too far? 16 inch wing span too much to do in one piece of tissue? Sould have pre shrunk? Different tissue than the kit junk? Different method of applying the tissue? Donno.
I am just about all out of the kit tissue so I didn't have enought to redo so I just patched it, but I wonder what would have caused that to happen?
Still don't have the art quite figured out yet, I guess.
Well it WAS going well...
-
Phugoid
- Posts: 952
- Joined: Wed Jan 20, 2010 8:17 am
Hi,
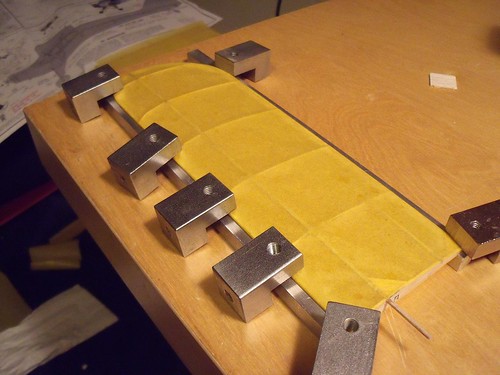
Can I suggest that on your next build you support each wing half and the centre section seperately?
This will prevent each from warping, as I think you have it now the wing has nothing to keep if flat whilst the tissue dries.
I use some srtips of aluminium to keep the wing off the board and some metal blocks for weights. Although the picture shows just one wing (just the way this model builds), it works for those builds where the wings are joined early, you just stick the other bit out, do one side, then the other, then the centre section.
Also it is wise to cover and shrink the top and bottom of the wing at the same time, it has more of an equall pull then.
-
ADW 123
- Posts: 1158
- Joined: Mon Feb 22, 2010 5:22 pm
- Location: Cincinnati, Ohio
You might want to cover the entire wing dry, and then shrink it panel by panel. on a 500 series, the wing can be done in two panesl. the center panel is so small on most of them, it they dont matter enough to worry about pinning them down directly to the mat. i just do half of the center panel on the left side when the left side is pinned, and the reverse to the other side. a light mist will due to shrink the tissue, otherwise you might definatly develop wrinkles. i think this is clearly illistrated here.
on your hellcat, since the center panel of the wing is so big, you will want to shrink panel by panel for three panels. hope this makes since on top of what phugoid said.
on your hellcat, since the center panel of the wing is so big, you will want to shrink panel by panel for three panels. hope this makes since on top of what phugoid said.
-
MakMov
- Posts: 137
- Joined: Wed Sep 21, 2011 10:18 am
Okay, back to the drawing board. I thought I had a good way of doing it simple and easy that would come out okay. Guess not. Oh well.
I alway just done one side at time the few times I have done it. Never really had any trouble with warpage.
How in the world would you cover the entire wing of a like a Spitfire with an eliptical wing.
I will try something different on the next one.
I alway just done one side at time the few times I have done it. Never really had any trouble with warpage.
How in the world would you cover the entire wing of a like a Spitfire with an eliptical wing.
I will try something different on the next one.
-
flash52
- Posts: 67
- Joined: Tue Mar 10, 2009 5:31 pm
- Location: Wichita,KS
The leading and trailing edge of the Hellcat wing are pretty beefy so you can probably get away with doing the shrinking your way. The previous advice is excellent and I would only ad one thing. When you are shrinking the pinned down wing raise the rear tip of the wing 1/16 to 1/8 of an inch. This is called wash out. It helps prevent tip stall and makes a better flyer.
-
Phugoid
- Posts: 952
- Joined: Wed Jan 20, 2010 8:17 am
-
MakMov
- Posts: 137
- Joined: Wed Sep 21, 2011 10:18 am
-
ADW 123
- Posts: 1158
- Joined: Mon Feb 22, 2010 5:22 pm
- Location: Cincinnati, Ohio
-
ADW 123
- Posts: 1158
- Joined: Mon Feb 22, 2010 5:22 pm
- Location: Cincinnati, Ohio
I also noticed how you wrap the tissue around the edge. In David's post about the spitfire wing, you will notice that the tissue wraps is cut with a very sharp razor blade. this ensures a neat finish, although your way works just fine.
check out this link- it illistrates some great work on covering, and some building. Even I improved dramatically after following every piece of advice in this thread. Hope it helps. you are taking the right road on your build. keep it up, but dont give up if there are some bumps! Happens all the time for me at least... If you need, take a break of a couple of days (or "sleep on it", and get back to it the next day with a refreshed mind). Ive taken weeks off of building at a time because I have gotten so frustrated running into bumps.
http://balsamodels.com/phpBB/viewtopic. ... +piper+cub
also this one- alot of good info
http://balsamodels.com/phpBB/viewtopic. ... highlight=
I would recomend reading through both of those, and ask questions if any. they help greatly!
good luck!