Up next, I will build the Fokker Dr. 1 Triplane. More pictures of that build later.
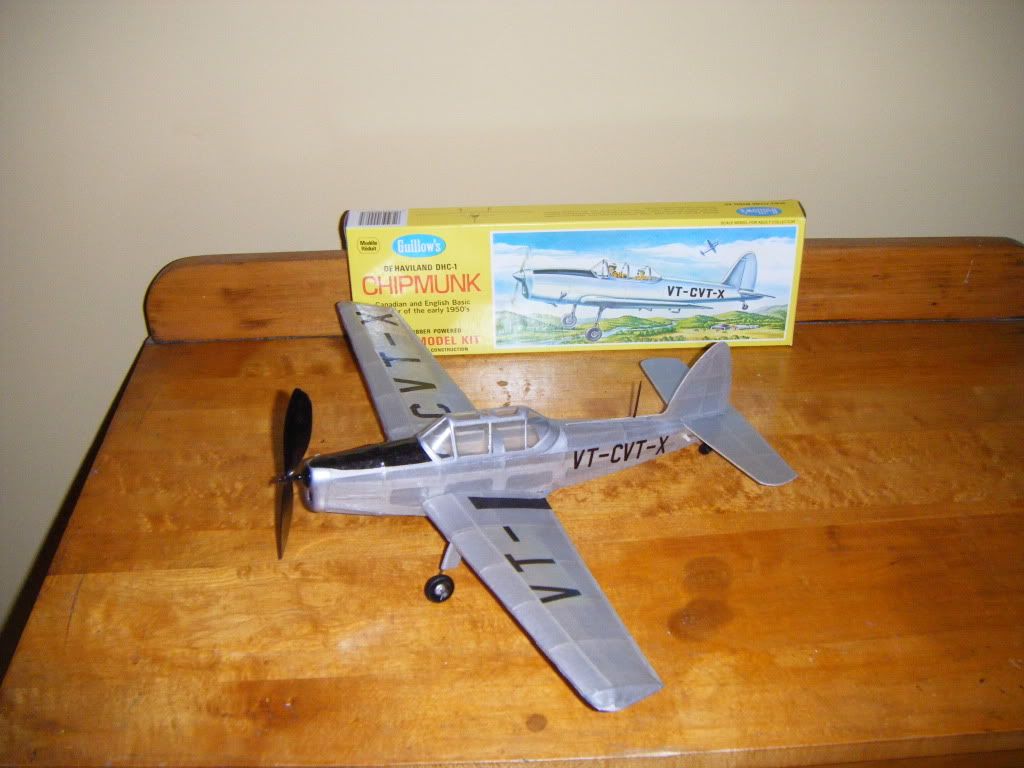
Nice job ArloArlo DiPasquale wrote:On the 900 series kits, they used to give paper decals that had to be individually cut out. At some point, however, Guillow's swapped the paper insignia for actual water release decals.
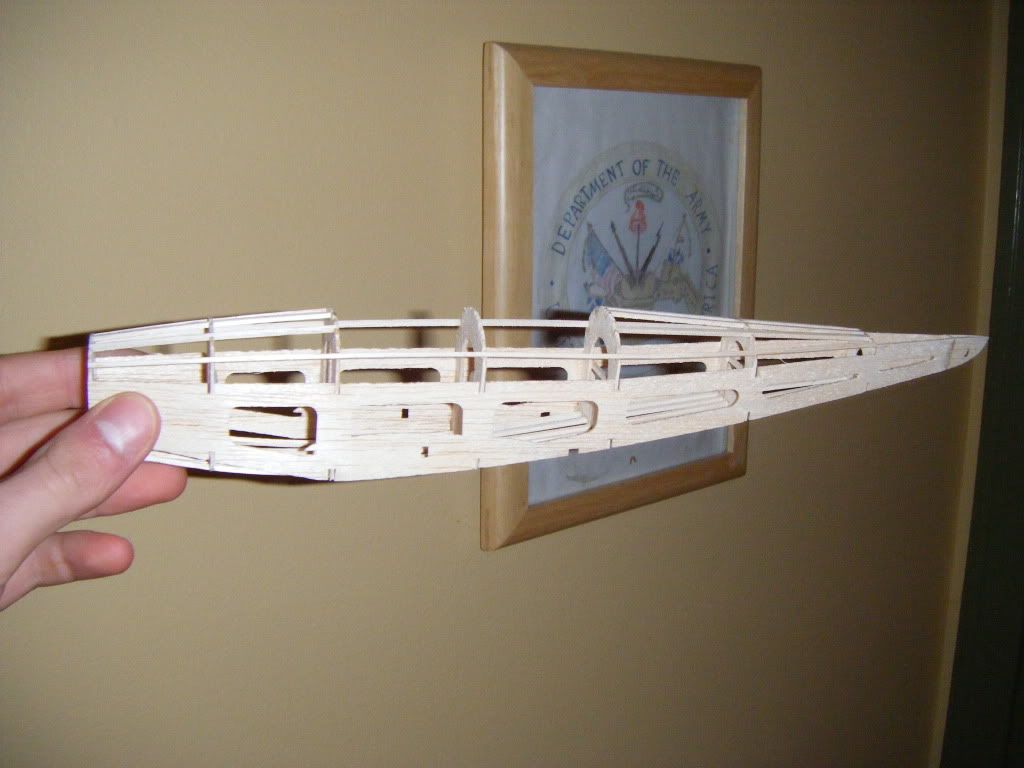
Yes, i have found that getting the fuselage straight on all 900 series planes is quite hard.joecrouse wrote:very nice build
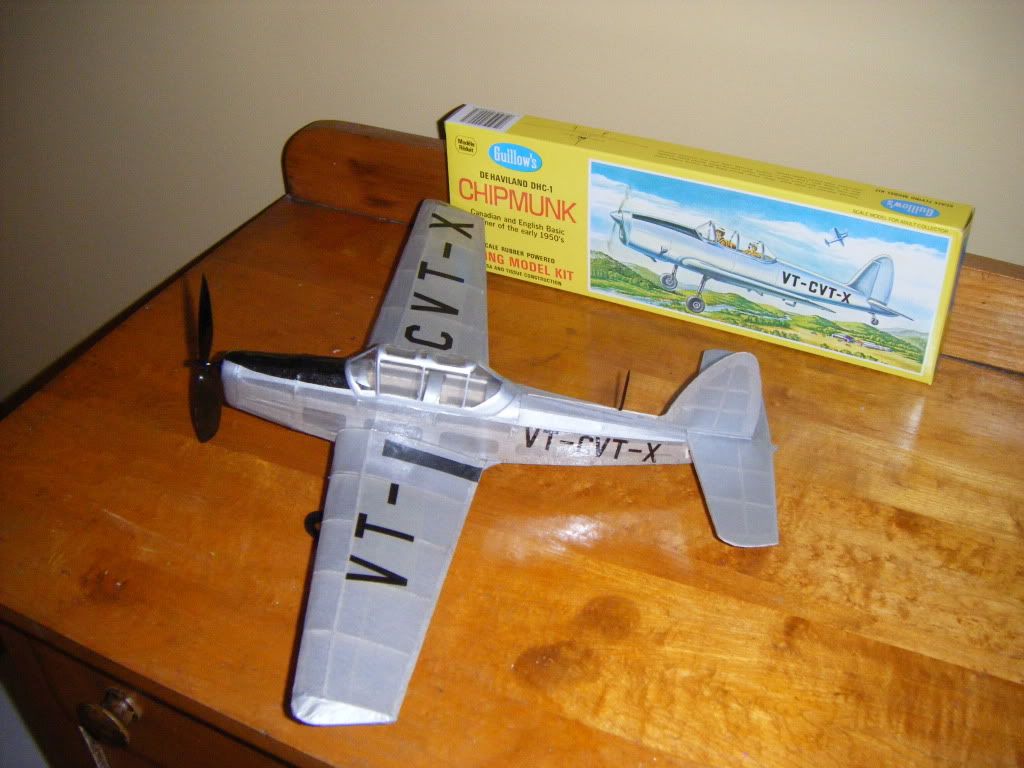
Did you have an issue with the b1 former being lopsided and or the nose not quite wanting to form to the right bends? Or was that just the 2 or 3 kits of that that I have put together.
As for the canopy lines, I cover the areas that I want to remain clear with blue painter's tape. It takes a while, but the results are worth it.sawingman wrote:You did a great job on this build Arlo! Especially like your cover job and the clean lines of your canopy painting. How did you get the lines so crisp?