Newbie and PT-17 build
-
plasticbuddha
- Posts: 12
- Joined: Thu Aug 02, 2007 8:14 pm
- Location: Peoria, Illinois
Newbie and PT-17 build
Hi to all. First of all, it's great to have found this site. I've spent quite a few days admiring the craftsmanship that many of the members practice  Anyway, I recently picked up a few Guillows kits and I started on the 500 series Hellcat. Got as far as attempting the wet tissue method. Talk about a disaster!!! Out of disgust, I've set that aside and began on the PT-17. However, I have a suspicion that the kit supplied tissue is even less useful as wet bathroom tissue (not even quilted
  ) I'm building the PT-17 as a display model so weight is not a primary concern. Could someone please recommend a better type of tissue to use. Thanks
-
plasticbuddha
- Posts: 12
- Joined: Thu Aug 02, 2007 8:14 pm
- Location: Peoria, Illinois
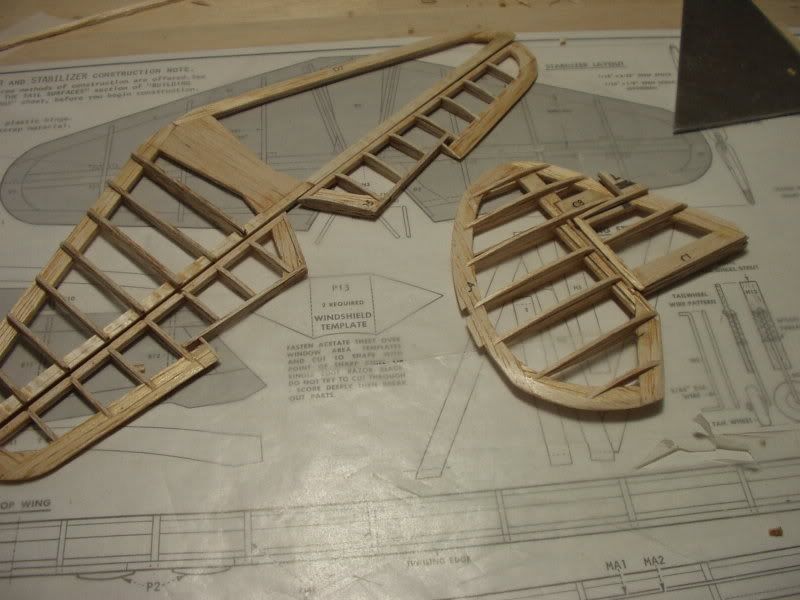
Hi David! Thank you for your suggestion I've just placed an order with Tower for the K&S Silkspan Medium as you suggested. A bit pricey but twenty sheets might be enough given my inability to cover  . I also ordered some of the filler that you use. Your work is absolutely fabulous! I've been following you Phantom II build and it is certainly impressive I've spent the entire afternoon working on the tail surfaces (guess I work slow
  ) but I've certainly enjoyed myself thus far. There is a certain warmth in working with wood as oppposed to plastic.
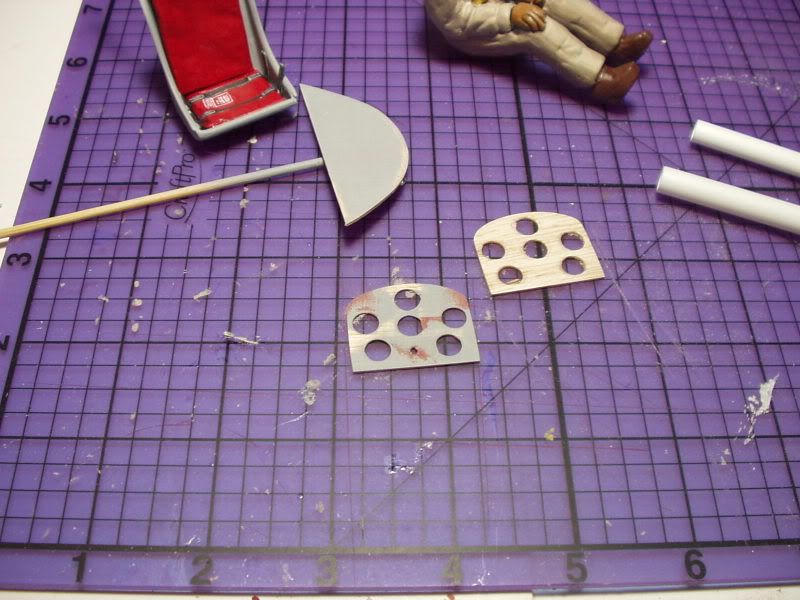
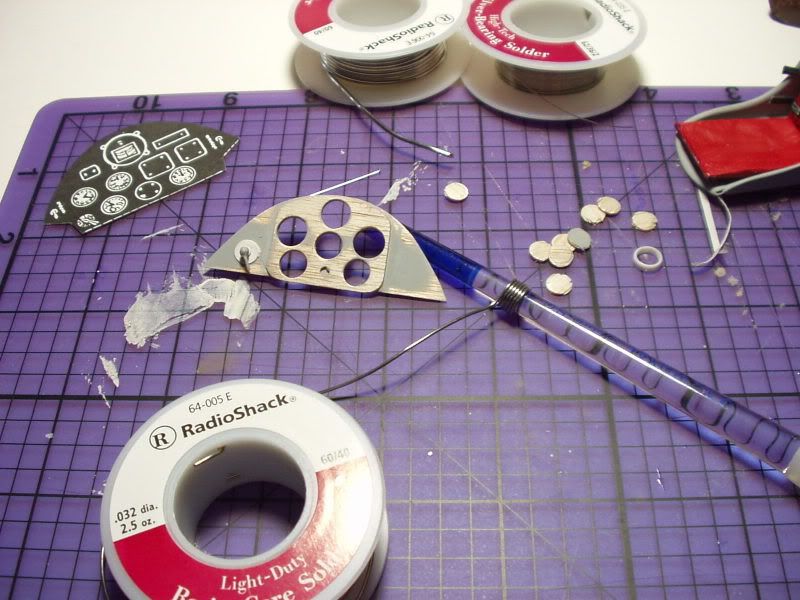
I will be scratchbuilding the hinges as close to scale as I can manage and ultimately have functional controls tied in with the sticks and pedals. A little ambitious but a challenge to say the least. Oh and I'll try to learn to cover too
I will be scratchbuilding the hinges as close to scale as I can manage and ultimately have functional controls tied in with the sticks and pedals. A little ambitious but a challenge to say the least. Oh and I'll try to learn to cover too
-
Xanadu
- Posts: 497
- Joined: Wed Sep 27, 2006 9:48 pm
- Location: Anola, MB, Canada
Looks like a great build so far, can hardly wait to see more pics.
Don't forget to sign up to http://www.virtualaerodrome.com/ so you an easily post numerous pics, and start building you hanger fleet!
Don't forget to sign up to http://www.virtualaerodrome.com/ so you an easily post numerous pics, and start building you hanger fleet!
-
plasticbuddha
- Posts: 12
- Joined: Thu Aug 02, 2007 8:14 pm
- Location: Peoria, Illinois
Thank you very much, Xanadu!!! I have been lurking about on Virtual Aerodrome for a little bit. Your stuff is also impressive.
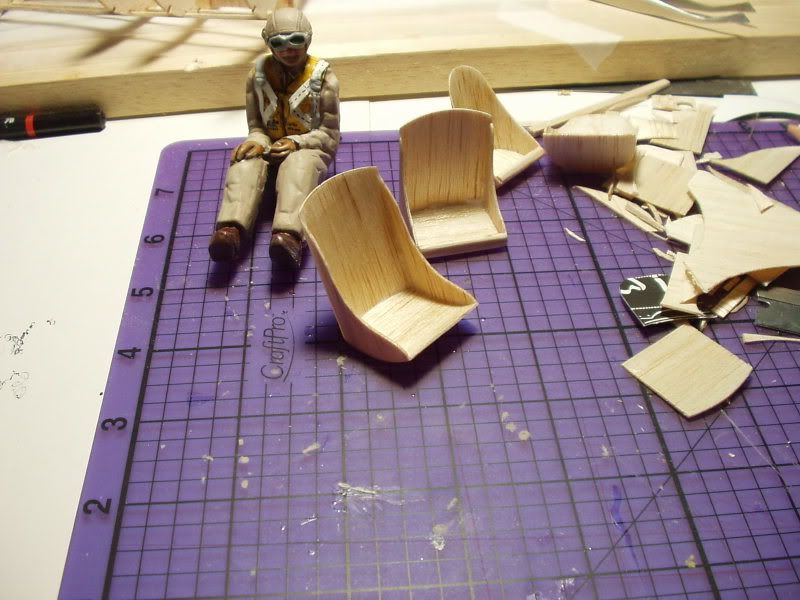
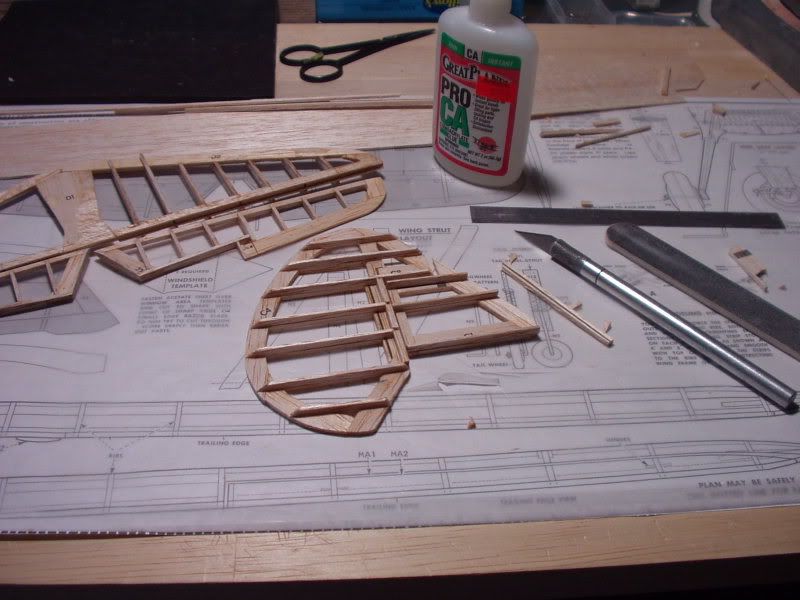
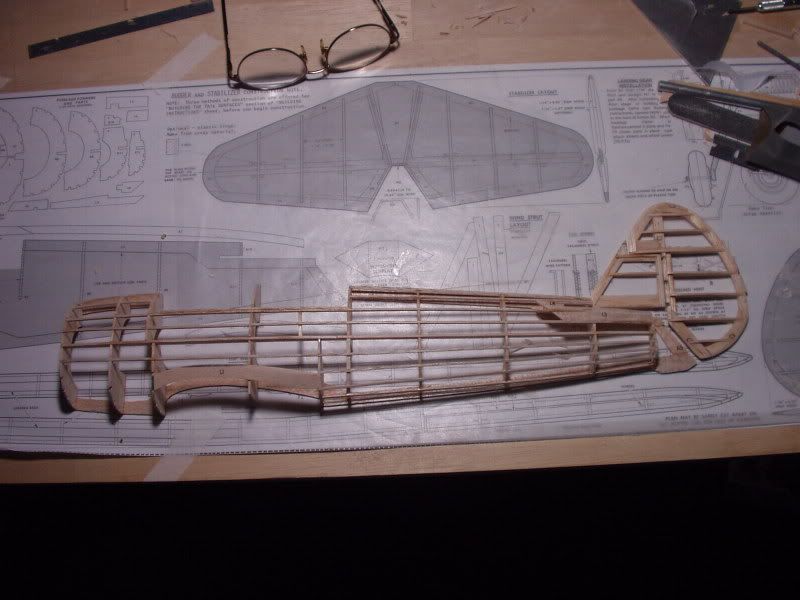
Here's the left half of the fuselage...
Trying to plan out how to detail out the cockpit. Looks like I'm going to have to grind away a good deal of the formers and keels in selective areas to give me enough room to model the space frame and birdcage. I probably should have made new top and bottom keels out of 1/16 stock, made a mirror image of the fuselage plan so that I can assemble the fuselage in halves just like a plastic model. This might make all of the grinding easier
-
plasticbuddha
- Posts: 12
- Joined: Thu Aug 02, 2007 8:14 pm
- Location: Peoria, Illinois
-
supercruiser
- Posts: 405
- Joined: Wed Jun 15, 2005 8:47 am
-
plasticbuddha
- Posts: 12
- Joined: Thu Aug 02, 2007 8:14 pm
- Location: Peoria, Illinois
Hello and good morning supercruiser I did try "dry" with slightly better results. Since I'm just starting out with the tissue method I'm going to keep practicing. With the SGM Silkspan on the way from Tower, it might be easier. With the "wet" approach (especially with the light "kit" tissue, it seems that one has to be decisive as you can't really manipulate it too much with tearing it. As for the Hellcat, I was tempted to try "sheeting" as practiced so beautifully by poppy, DD and some of the other members here. I used 1/32 SIG "Contest" balsa:
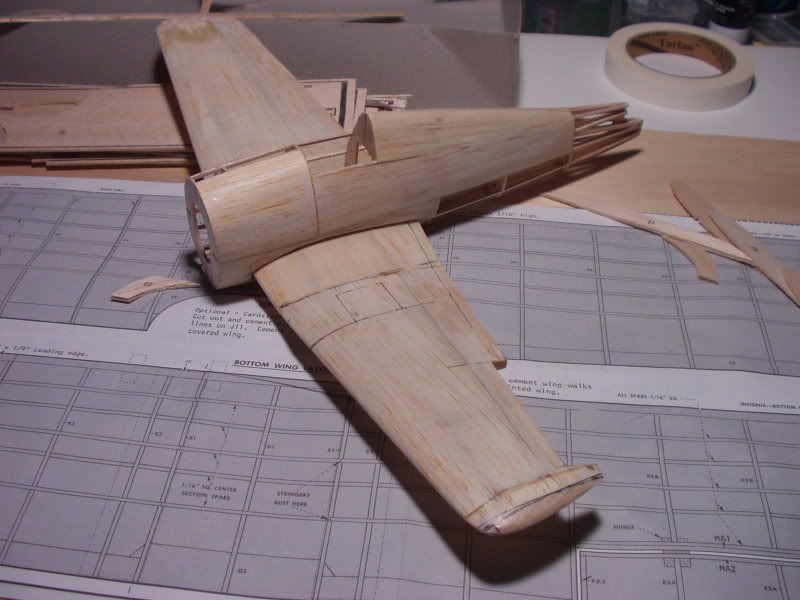
It went easier than I thought as the contest balsa was extremely flexible. I did have to wet it in places as it would crack around smaller radii. I did soak the backside with thin CA as I had sanded it down so much as to be translucent. At this point, everything is learning process for me but I am really having fun. Certainly more challenging than even the latest high detail plastic kits from Trumpeter.
It went easier than I thought as the contest balsa was extremely flexible. I did have to wet it in places as it would crack around smaller radii. I did soak the backside with thin CA as I had sanded it down so much as to be translucent. At this point, everything is learning process for me but I am really having fun. Certainly more challenging than even the latest high detail plastic kits from Trumpeter.
-
plasticbuddha
- Posts: 12
- Joined: Thu Aug 02, 2007 8:14 pm
- Location: Peoria, Illinois
Left and right fuselage halves on the board. I'm building the right half over a tracing of the fuselage plan but flipped over. This allows me to complete each half and yet leave room enough to be able to grind out the detail areas.
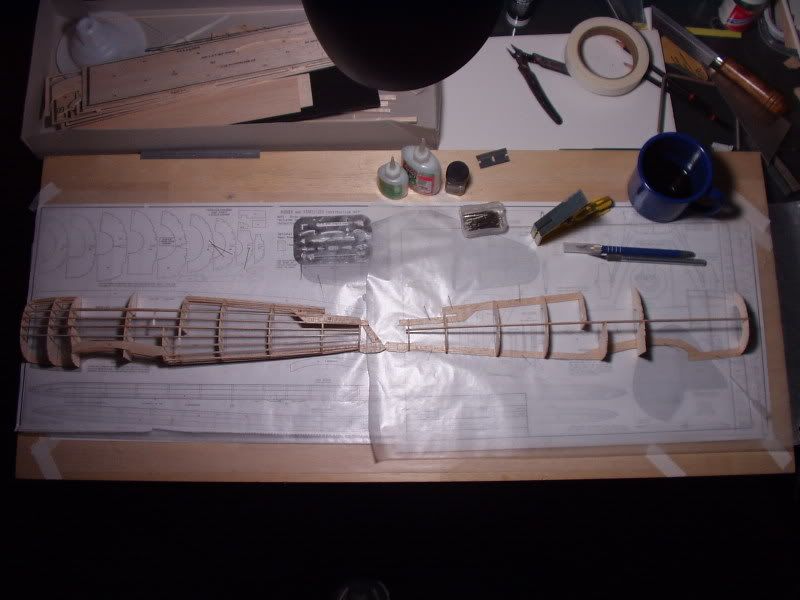
After the detail work is complete, it would be a matter of joining the halves together just like a conventional plastic model. (I hope)
After the detail work is complete, it would be a matter of joining the halves together just like a conventional plastic model. (I hope)
-
plasticbuddha
- Posts: 12
- Joined: Thu Aug 02, 2007 8:14 pm
- Location: Peoria, Illinois
-
plasticbuddha
- Posts: 12
- Joined: Thu Aug 02, 2007 8:14 pm
- Location: Peoria, Illinois
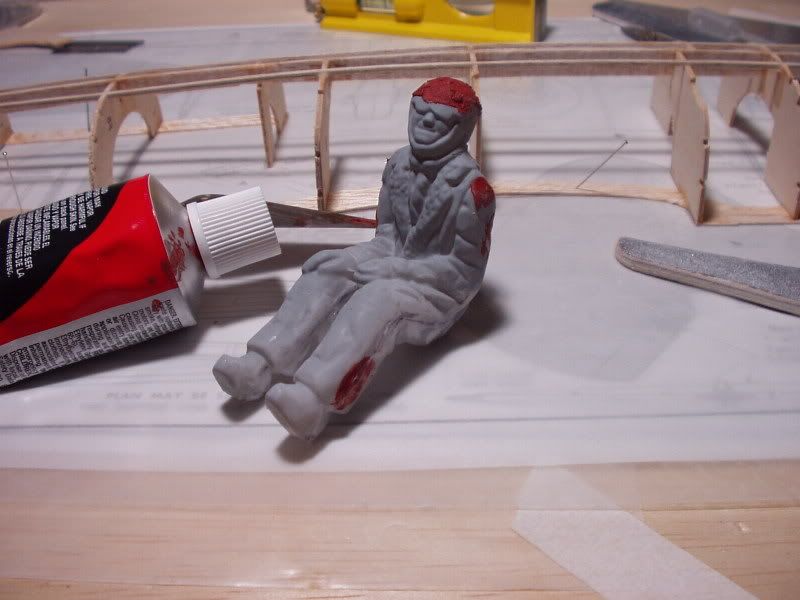
Hmm... had to file and reshape a bit as he looked like he was wearing a thick winter parka with the hood up!!! At least one can see his neck now...
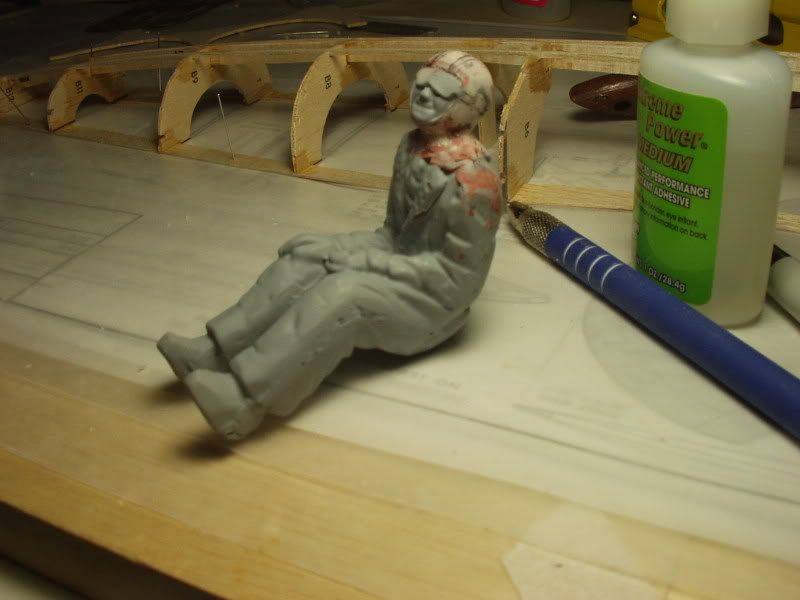
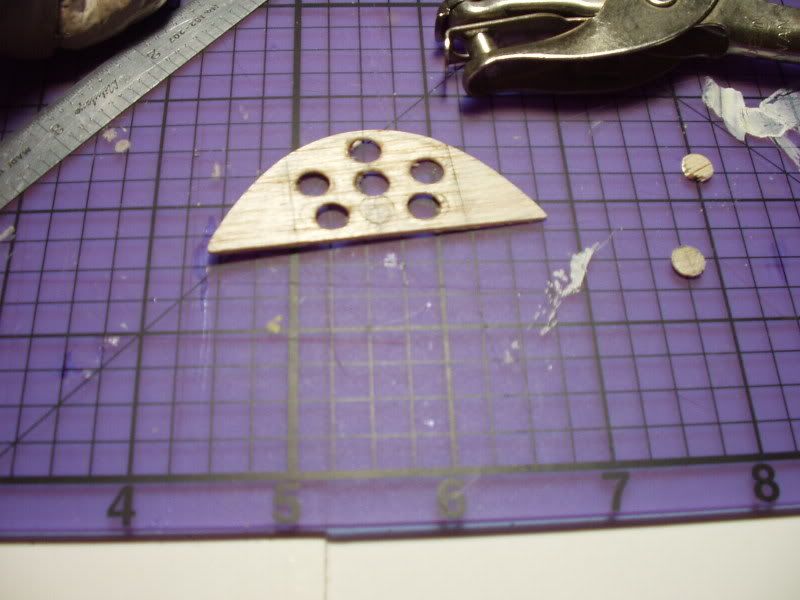
I ended up grinding through in spots and where there was a huge hole, I stuffed some bathroom tissue to plug it up and then dropped some thin CA with kicker. The hardened tissue can actually be sanded and shaped.
I ended up grinding through in spots and where there was a huge hole, I stuffed some bathroom tissue to plug it up and then dropped some thin CA with kicker. The hardened tissue can actually be sanded and shaped.
-
plasticbuddha
- Posts: 12
- Joined: Thu Aug 02, 2007 8:14 pm
- Location: Peoria, Illinois
-
cdwheatley
- Posts: 92
- Joined: Sun Dec 03, 2006 1:03 pm
- Location: Waterlooville, Hampshire, England
-
plasticbuddha
- Posts: 12
- Joined: Thu Aug 02, 2007 8:14 pm
- Location: Peoria, Illinois
Hi Chris!! Thank you for you kind words. I have had a little bit of plastic modelling experience before but I've never really built any balsa planes before so it's all a new thing. Say, I feel badly about your Hurricane's mis-adventures. But hey, you finished building it and even had the guts to try and fly it. You're way ahead of a lot (and I do mean A LOT) of people who purchase wood airplane kits. I'm sure some of the resident fliers will chime in shortly to give some good afvice to get you Hurricane up in the air!!!
-
plasticbuddha
- Posts: 12
- Joined: Thu Aug 02, 2007 8:14 pm
- Location: Peoria, Illinois