600 Series Piper Super Cub 95
-
Phugoid
- Posts: 952
- Joined: Wed Jan 20, 2010 8:17 am
Hi,
I did compose quite a long reply to your question but the system logged me out before I completed the post! Doh!
Since I'm now a bit naffed off about that, and an unwilling to type it all in again I'll cover some of the salient points when I come to cover the wings of this project.......so stay tunned
Andrew
-
Phugoid
- Posts: 952
- Joined: Wed Jan 20, 2010 8:17 am
One of the things I was going to point out to ADW was the fact that I like to fit gussets to the wing root rib. These stiffen things up a bit to stop stress wrinkles and they also stop the tissue from "dipping in" when I attach it.

Both Wings have had a good sand lastly with 1000 grit, ready for a coat of sanding sealer before one last sand then on to the dreaded process of covering!
Both Wings have had a good sand lastly with 1000 grit, ready for a coat of sanding sealer before one last sand then on to the dreaded process of covering!
-
scigs30
- Posts: 855
- Joined: Mon Nov 06, 2006 11:31 am
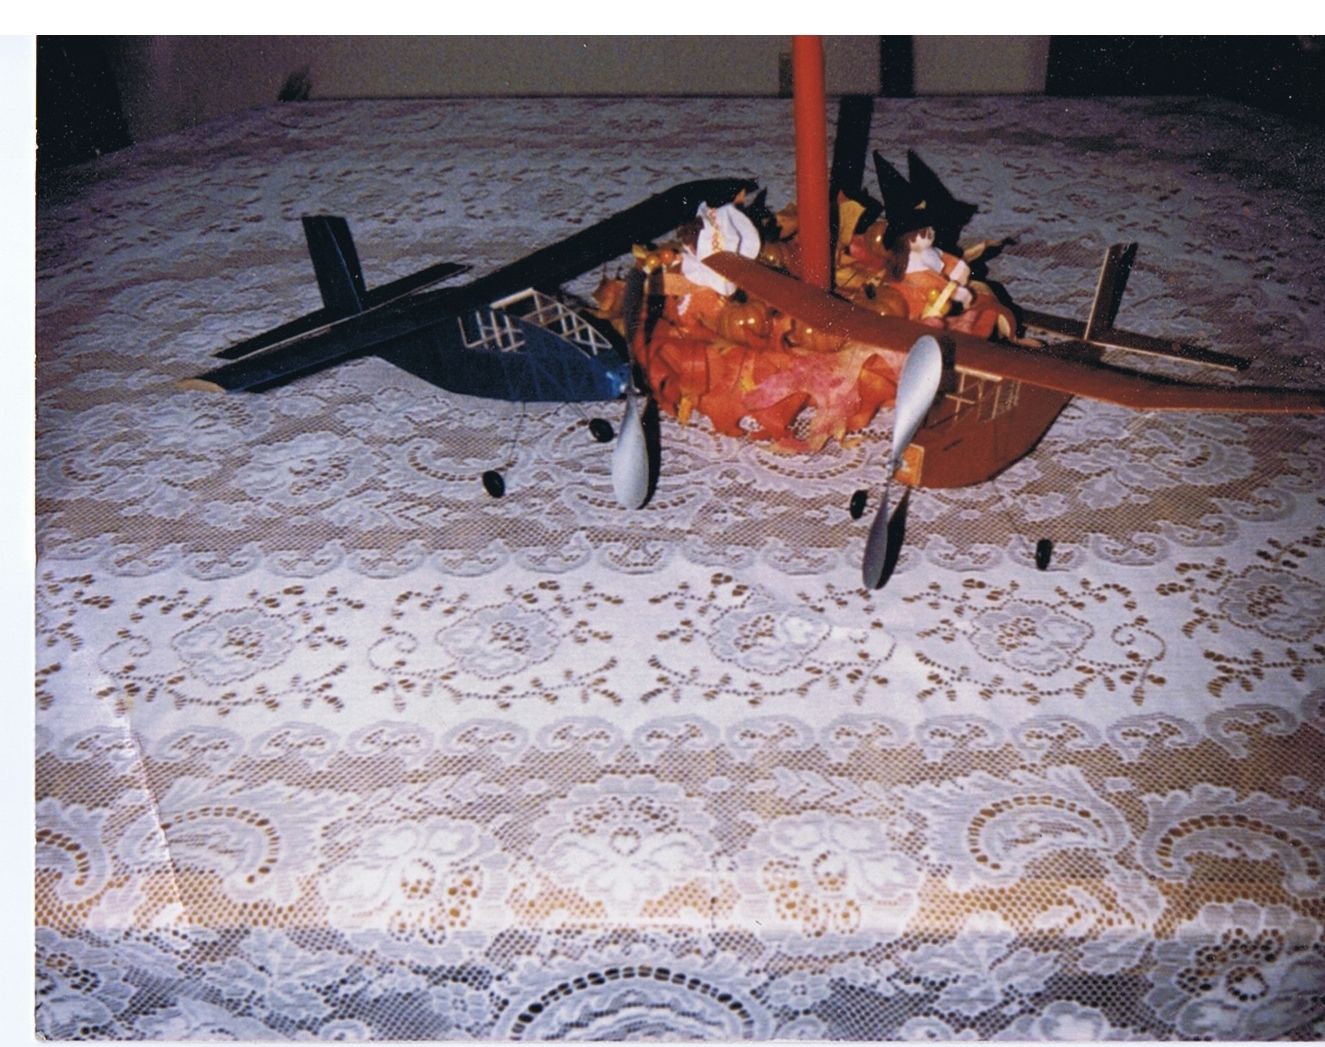
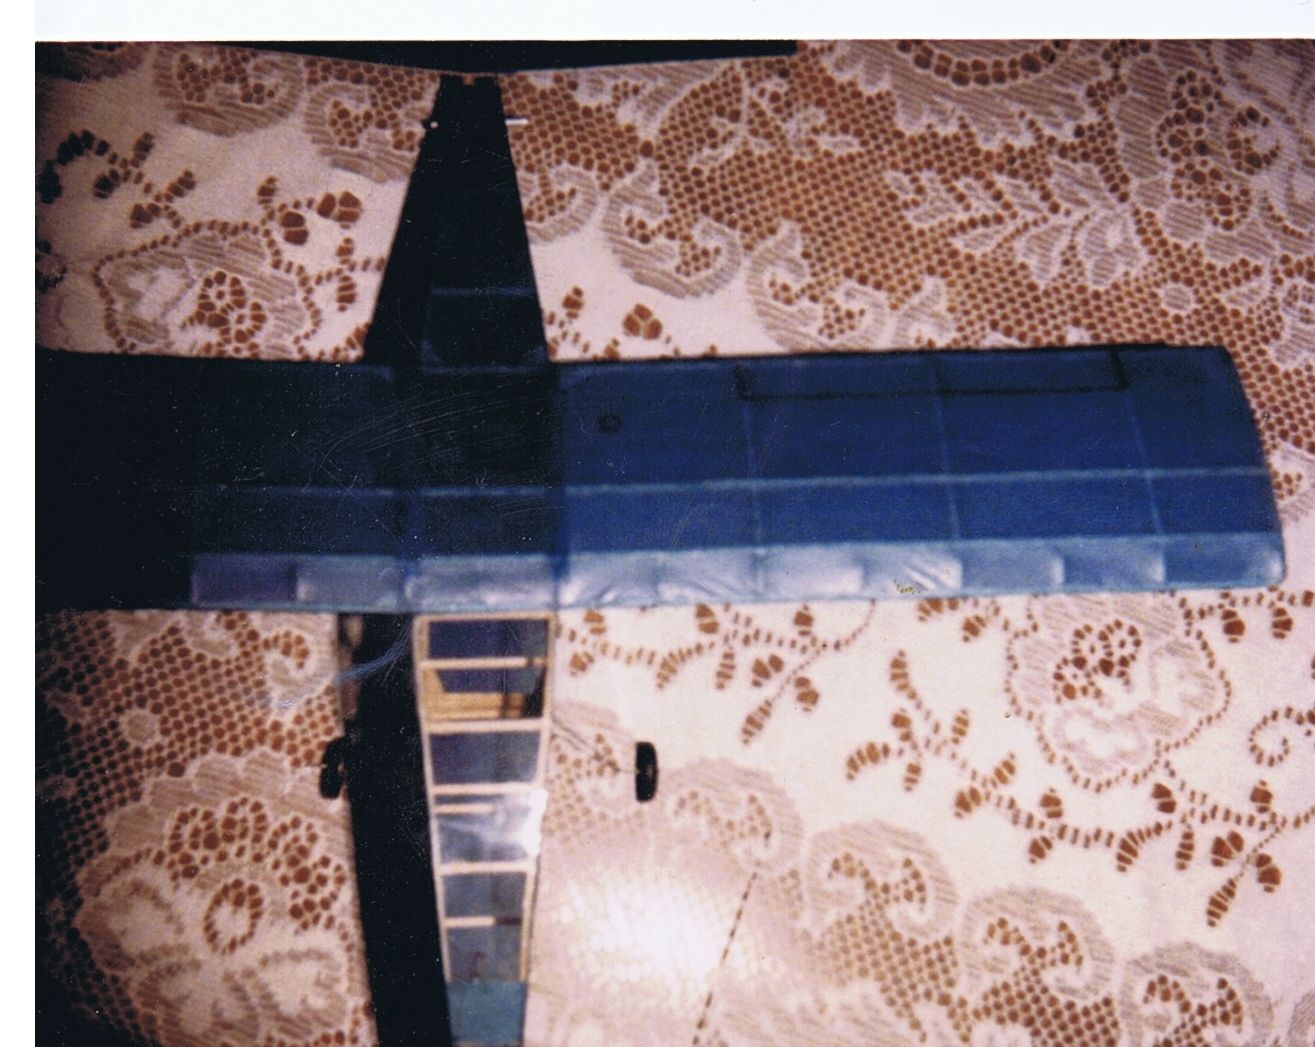
I agree you normally have to beef up the root ribs and that will prevent those wrinkles. The leading edge wrinkles are either caused by a weak leading edge and the tissue pulling on the balsa causing wrinkles. Wrinkles are also caused because you tug and pull on the tissue too much so it wrinkles around the front of the rib. When you put the tissue on the top of the wing, you want it to lay down natural without pulling it in all directions. Below is a picture of 2 Bostonians I built when I was 12 years old. You can see the obvious stress winkles on the blue plane.
I learned this technique years ago and it works everytime:
1. Put 2 dots of adhesive, what ever you choose, one in the middle of the root rib and the second in the middle of the last rib. Let it dry.
2. Then apply a dot of adhesive mid span on the leading edge and mid span on the trailing edge. Attatch the tissue tugging slightly so it is tight and wrinkle free.
3. When that is dry, lift a flap and glue the rest of the tissue down. There will be 4 flaps you have to do this with. Just pull enough to tighten the tissue and get out the wrinkles.
When all done, trim the tissue, seal all edges with adhesive and do the tip of the wing. Then when you shrink it, put it in a jig so it does not warp. Also do not soak the tissue or it will wrinkle gaurntee. Just do multiple light mists of water until it is taught and wrinkle free.
-
Phugoid
- Posts: 952
- Joined: Wed Jan 20, 2010 8:17 am
The Jig is just a means of keeping everything flat and true until it dries. Scigs uses pins, I use some little metal blocks and I know one of the top modelers in the UK uses spice Jars from the kitchen!
The sanding sealer is just dope with fine power in, this helps act as a bit of a filler making the wood smoother. The dope raises the grain so when you sand it again it is nice and smooth and the drain doesn't show through the tissue is attached. I guess it is not strictly required it's just something that I do.
The sanding sealer is just dope with fine power in, this helps act as a bit of a filler making the wood smoother. The dope raises the grain so when you sand it again it is nice and smooth and the drain doesn't show through the tissue is attached. I guess it is not strictly required it's just something that I do.
-
lukebozek1
- Posts: 136
- Joined: Fri Jul 09, 2010 8:34 am
- Location: Hobe Sound Florida
Thanks
That is one of the best explanations of covering I have ever seen. It also explains why your finished results are a national standard. Thanks for the training. By the way, that 12 year old did some nice work too!
-
Phugoid
- Posts: 952
- Joined: Wed Jan 20, 2010 8:17 am
Scigs's work is good, a standard to aspire to!
As a warm up I'm starting the tail sufaces first.
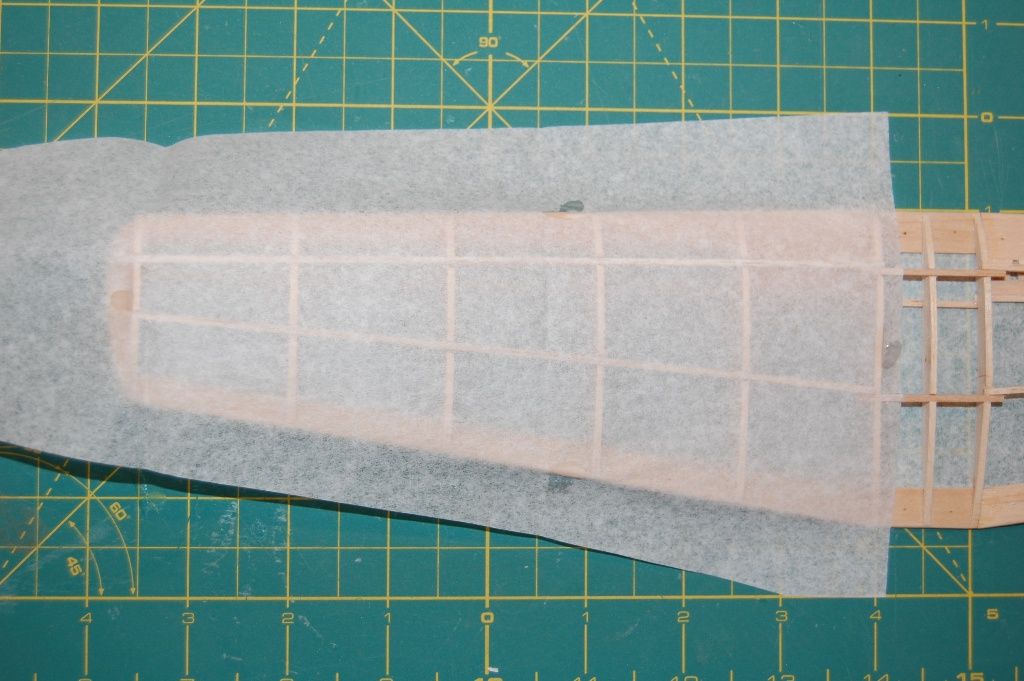
Like the wings these have had a coat of sanding sealer and a rub with 1000 Grit. I apply the thinned PVA to the outer parts of the frame only. Then I hold the piece of tissue down flat on the bench with a couple of weights each end then literally just plonk it down on the tissue. When you turn it the right way up a gentle rub makes sure that it all glues well.

You can just see some wrinkles in the tissue where the glue on the frame is.
However this soon disapears when left to dry for 5 mins or so:

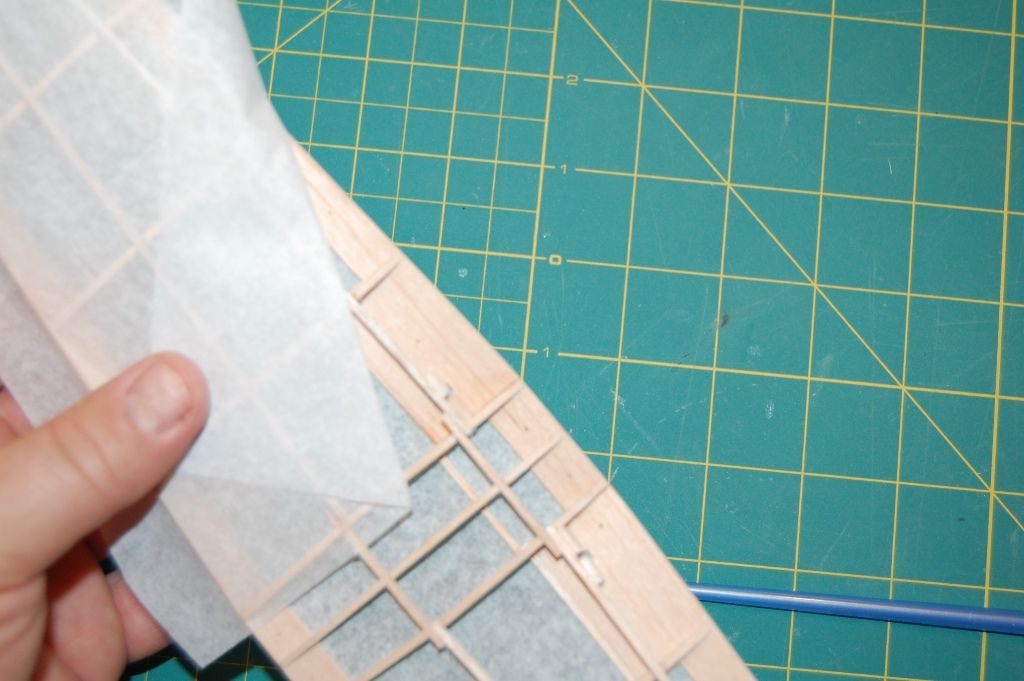
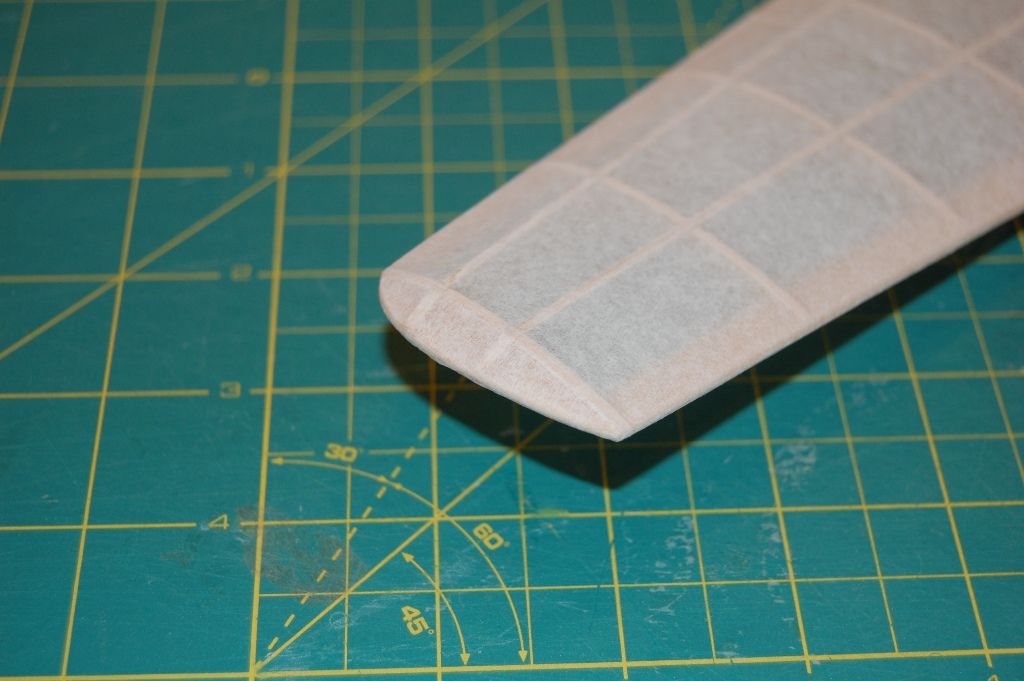
Next I trim the tissue leaving a border which is slightly less than the thickness of the fin/tail plane. This makes the edge the right colour. I think it looks nice It is to get an even colour (rather than bare balsa) especially if you aren't going to paint afterward. I use a brand new razor for this to get a nice clean cut:

I then run round the edge on the curved parts with the razor to make a series of tabs so that it can conform to the edge nicely (shown below on the fin as I fogot to take a picture of the tail plane)

The edge of the tissue is then glued down and the process is repeated on the other side.
As a warm up I'm starting the tail sufaces first.
Like the wings these have had a coat of sanding sealer and a rub with 1000 Grit. I apply the thinned PVA to the outer parts of the frame only. Then I hold the piece of tissue down flat on the bench with a couple of weights each end then literally just plonk it down on the tissue. When you turn it the right way up a gentle rub makes sure that it all glues well.
You can just see some wrinkles in the tissue where the glue on the frame is.
However this soon disapears when left to dry for 5 mins or so:
Next I trim the tissue leaving a border which is slightly less than the thickness of the fin/tail plane. This makes the edge the right colour. I think it looks nice It is to get an even colour (rather than bare balsa) especially if you aren't going to paint afterward. I use a brand new razor for this to get a nice clean cut:
I then run round the edge on the curved parts with the razor to make a series of tabs so that it can conform to the edge nicely (shown below on the fin as I fogot to take a picture of the tail plane)
The edge of the tissue is then glued down and the process is repeated on the other side.
-
Phugoid
- Posts: 952
- Joined: Wed Jan 20, 2010 8:17 am
ADW this is how I hold things flat. The blocks allow air underneath so everthing dries a roughly the same rate. You can see that I took the picture after a few minutes and that the tissue is bgining to go tight:

I then do the same thing again when I've given it a coat of 50/50 Banana oil. The first coat soaks right in and the second sits more of the surface:

The final result:

The fin worked out fine too, the bottom member did bow a little, but I got away with it I think. I should have perhaps shrunk this a bit more gently with steam, rather than with water.
Regadless of the outcome in terms of neatness, it is more important that the parts are flat which they seem to be. At the end of the day the odd wrinkle won't stop a model from flying, but a warped flying surface will.


I then do the same thing again when I've given it a coat of 50/50 Banana oil. The first coat soaks right in and the second sits more of the surface:
The final result:
The fin worked out fine too, the bottom member did bow a little, but I got away with it I think. I should have perhaps shrunk this a bit more gently with steam, rather than with water.
Regadless of the outcome in terms of neatness, it is more important that the parts are flat which they seem to be. At the end of the day the odd wrinkle won't stop a model from flying, but a warped flying surface will.
-
Phugoid
- Posts: 952
- Joined: Wed Jan 20, 2010 8:17 am
My local Model Shop (I am lucky in this respect) or SAMS in the UK:
http://www.samsmodels.com/acatalog/Sect ... sives.html
http://www.samsmodels.com/acatalog/Sect ... sives.html
-
Phugoid
- Posts: 952
- Joined: Wed Jan 20, 2010 8:17 am
Here we go ADW. This is how I cover wings. I don't think there is a perfect method, but this seems to work for me. It is largely as Scigs does it but I've tried to give as much detail as I can.
When I was a kid and until recently I used the dope and thinners method of attaching tissue. Now I use the 50/50 glue method. I stil use dope or Banana oil to seal, but covering takes a while and this method means that you don't sit in the fumes for hours. When you are sealing you can leave the room with an open window until it dries!
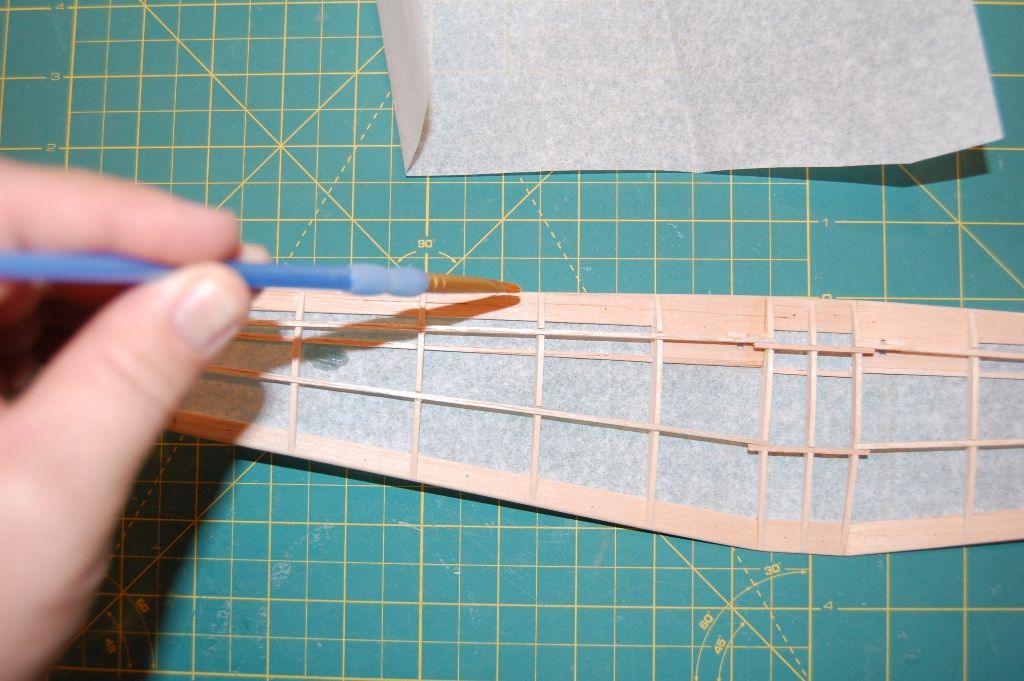
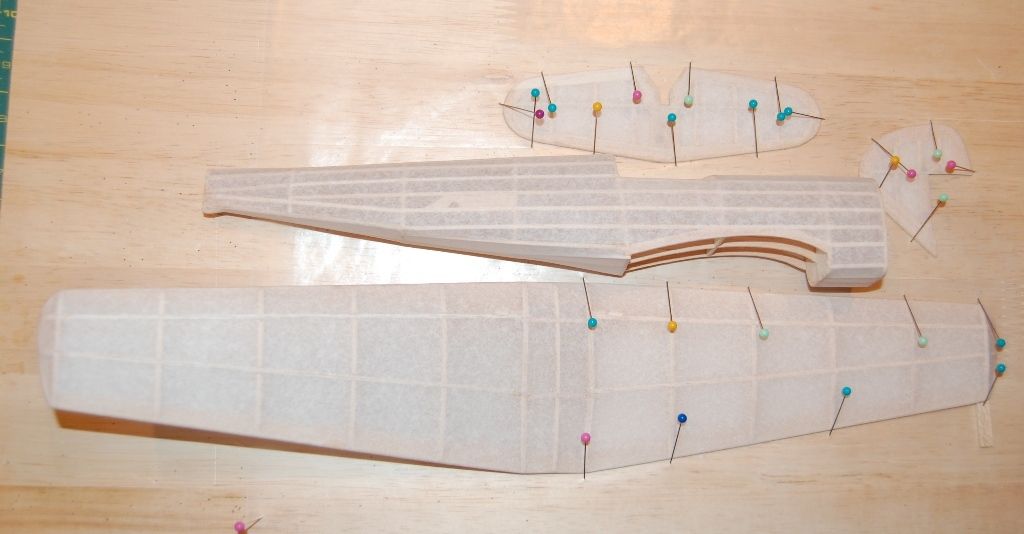
First I cut a bit of tissue about 1/2 bigger than the panel. The grain should run spanwise. The grain usually runs along the longest edge of the tissue. I attach it at each end (on the root rib and last rib) with a spot of glue. I haven't gone to the fifth rib, I will do this with a single piece due to the change in the wing profile:

Then I attach it at the mid point:

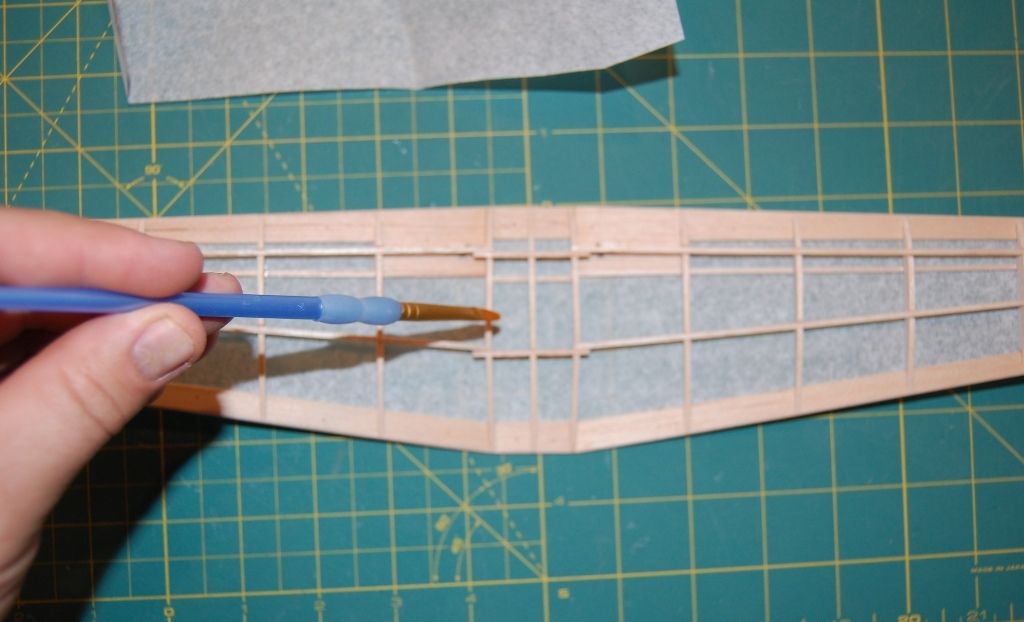
Then I attach each of the four "corners" one at a time tugging gently on the tissue to try and make it as tight as possible. it does not have to be super tight the shrink will do the rest. I think that you can just make out that I've done the corner on the LE and root rib in this picture:

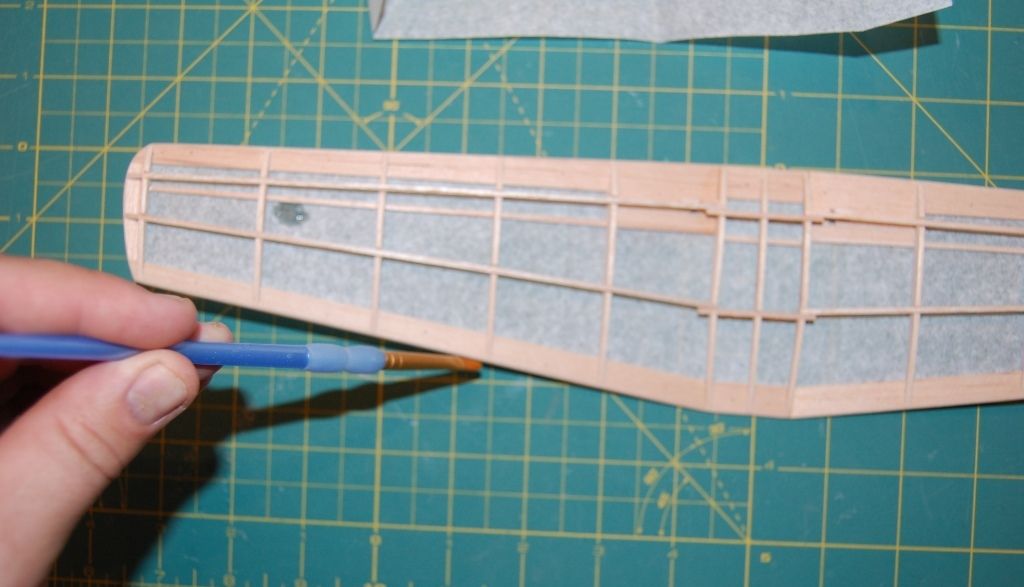
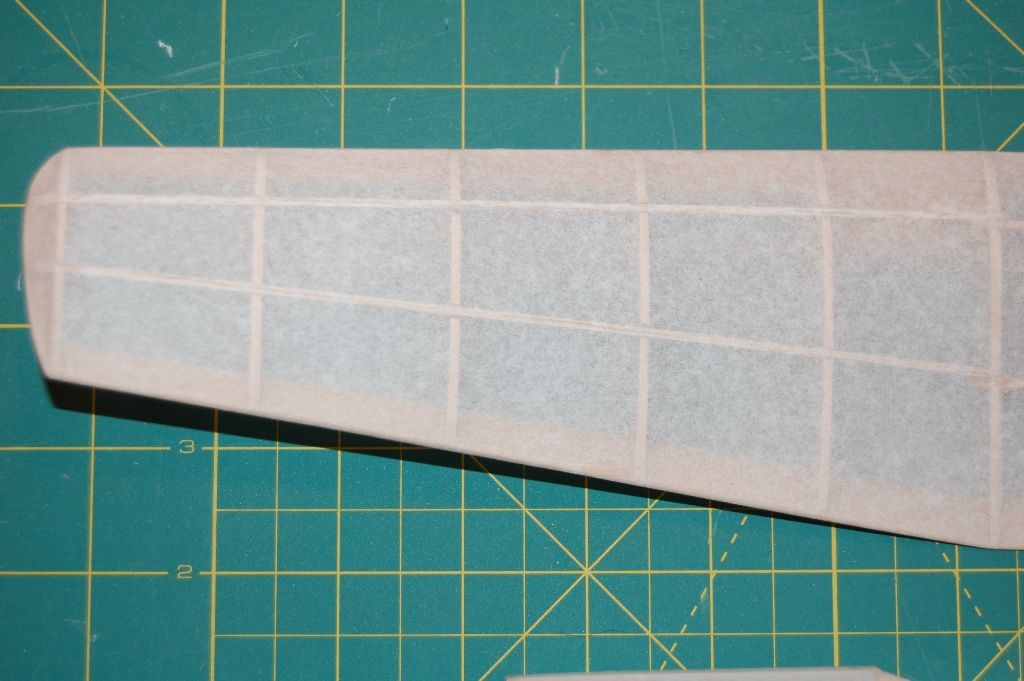
Complete all four corners lifting up each corner one at time, be carefull and use a fine brush, not much glue is required. If you get too much glue on or get it on the tissue where you don't want it, then local shrinkage will happen and things will look messy.
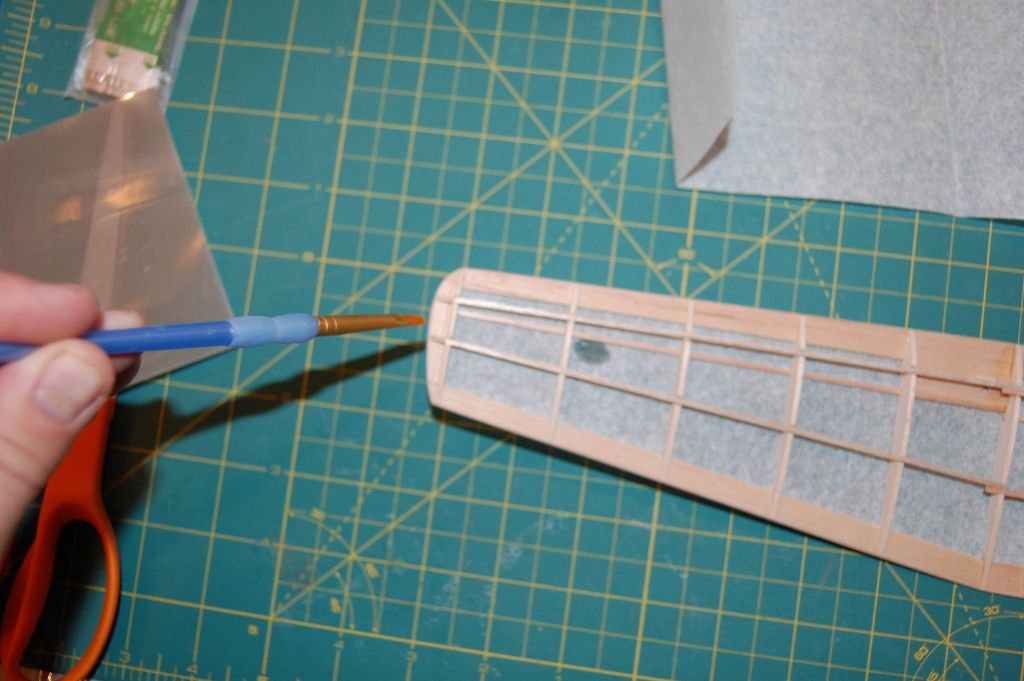
Let everything go dry. Then use a very sharp razor and trim away the excess tissue:

When I was a kid and until recently I used the dope and thinners method of attaching tissue. Now I use the 50/50 glue method. I stil use dope or Banana oil to seal, but covering takes a while and this method means that you don't sit in the fumes for hours. When you are sealing you can leave the room with an open window until it dries!
First I cut a bit of tissue about 1/2 bigger than the panel. The grain should run spanwise. The grain usually runs along the longest edge of the tissue. I attach it at each end (on the root rib and last rib) with a spot of glue. I haven't gone to the fifth rib, I will do this with a single piece due to the change in the wing profile:
Then I attach it at the mid point:
Then I attach each of the four "corners" one at a time tugging gently on the tissue to try and make it as tight as possible. it does not have to be super tight the shrink will do the rest. I think that you can just make out that I've done the corner on the LE and root rib in this picture:
Complete all four corners lifting up each corner one at time, be carefull and use a fine brush, not much glue is required. If you get too much glue on or get it on the tissue where you don't want it, then local shrinkage will happen and things will look messy.
Let everything go dry. Then use a very sharp razor and trim away the excess tissue: