Build #3 501 p-40 warhawk
-
Mustang621
- Posts: 26
- Joined: Mon Feb 14, 2011 10:22 am
Build #3 501 p-40 warhawk
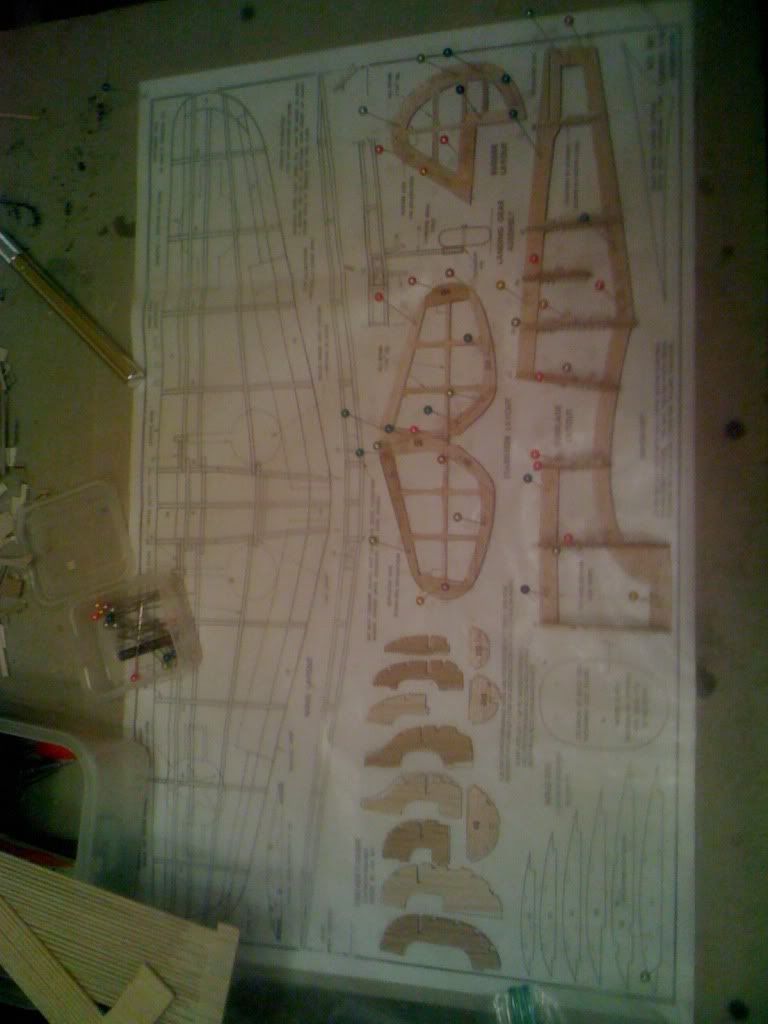
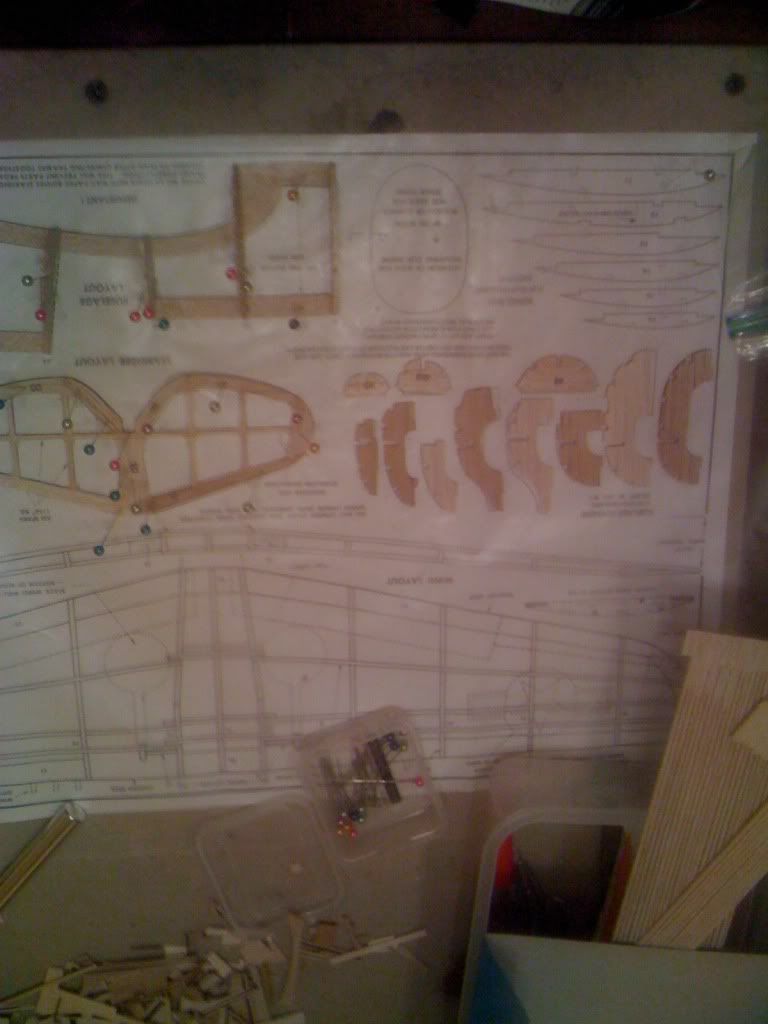
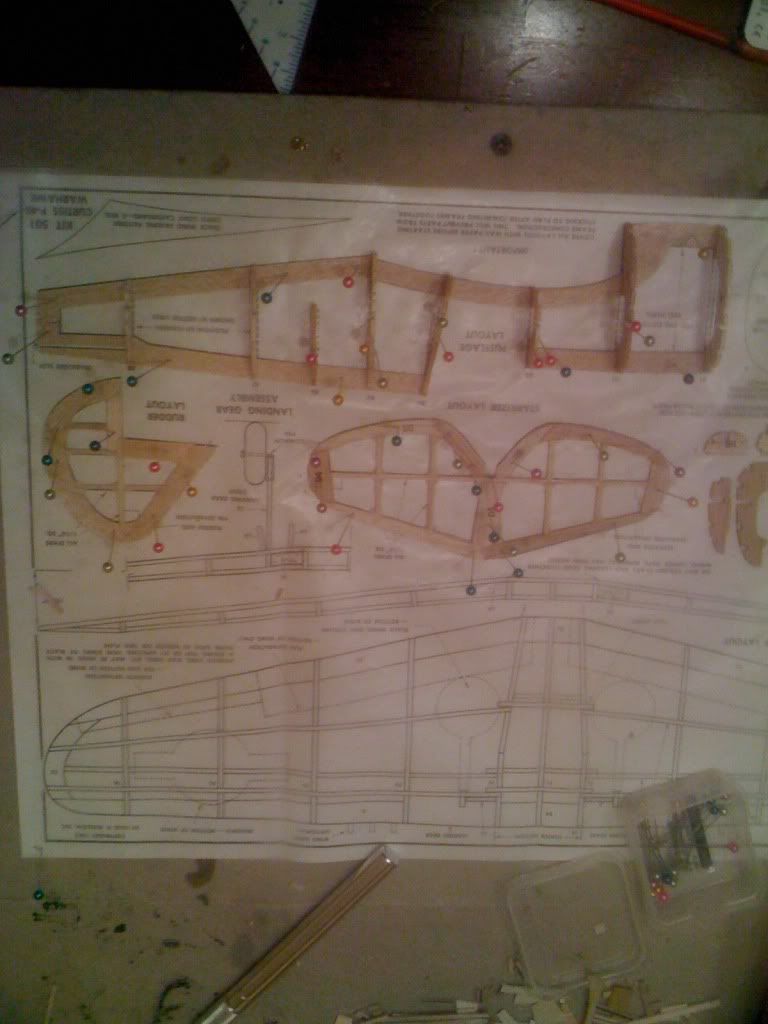
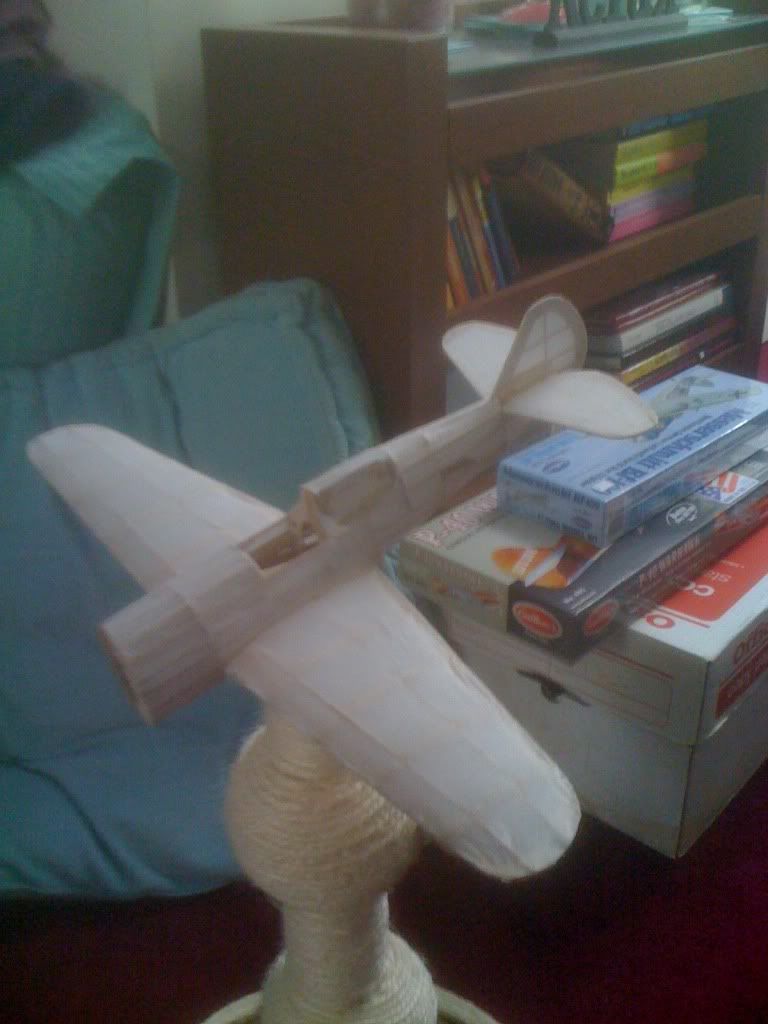
Starting p-40 build and I noticed when removing all the pieces from the balsa sheets that the fuselage formers are made from two very different styles of wood. half of the formers are a very light very soft wood the other is a darker, more brittle harder type of wood. Do you think that if i try to alternate them it will prevent any warping? My idea was to put a soft on the left and a hard on the right at say the first former then the second former i would reverse that order. I believe I should be able to do that since each piece can be used on the other side if you face it the other way...
-
kittyfritters
- Posts: 767
- Joined: Tue Jan 03, 2006 6:58 pm
- Location: California
This is why the kits had to be re-drawn for laser cutting. In the economies of die cutting, you make a die for half the mirrored parts and stamp them out of two sheets of balsa. This can lead to the situation you have encountered. In proper laser cut layouts, the mirrored part are next to each other on the same sheet of wood.
You might write, e-mail or call Guillow for a replacement parts sheet in hope that you get one with wood closer to the density of one of your existing sheets. You could use the heavier parts as patterns to cut parts from lighter wood you get from a hobby shop. Or, you could try the idea you proposed. In any event, you should build any die cut keel and former fuselage in some kind of alignment jig to prevent a "banana" fuselage. The box jig with tongue depressors temporarily glued to the keel works well. I have a table saw so I was able to make one from a few scraps of plywood that I had in the garage, but they are available from a few sources on the Internet.
You might write, e-mail or call Guillow for a replacement parts sheet in hope that you get one with wood closer to the density of one of your existing sheets. You could use the heavier parts as patterns to cut parts from lighter wood you get from a hobby shop. Or, you could try the idea you proposed. In any event, you should build any die cut keel and former fuselage in some kind of alignment jig to prevent a "banana" fuselage. The box jig with tongue depressors temporarily glued to the keel works well. I have a table saw so I was able to make one from a few scraps of plywood that I had in the garage, but they are available from a few sources on the Internet.
-
Mustang621
- Posts: 26
- Joined: Mon Feb 14, 2011 10:22 am
-
John G Jedinak
- Posts: 119
- Joined: Sun Nov 15, 2009 2:53 pm
- Location: Ft. Wayne In.
-
Mustang621
- Posts: 26
- Joined: Mon Feb 14, 2011 10:22 am
So I am not too happy with the wing covering but i already mounted to the fuselage and will not be redoing it. I also made the mistake of fitting the cowl to snugly prior to wrapping and put a little to much force on it when fitting on over the tissue wrapped nose and broke it. So sending out for a couple new cowls, most likely will need to cut off the tissue from the nose refit the cowl and then re-cover. Because of this delay I actually have started sanding the sheets and cutting out the pieces of my next build the P-40 400 series kit. I plan on taking my time on this one and building per the RC conversion instructions on the plan and someday making this an rc flyer once I get good enough to fly it. My grandfather is a very skilled model builder so i foresee asking him for a lot of help on this build.
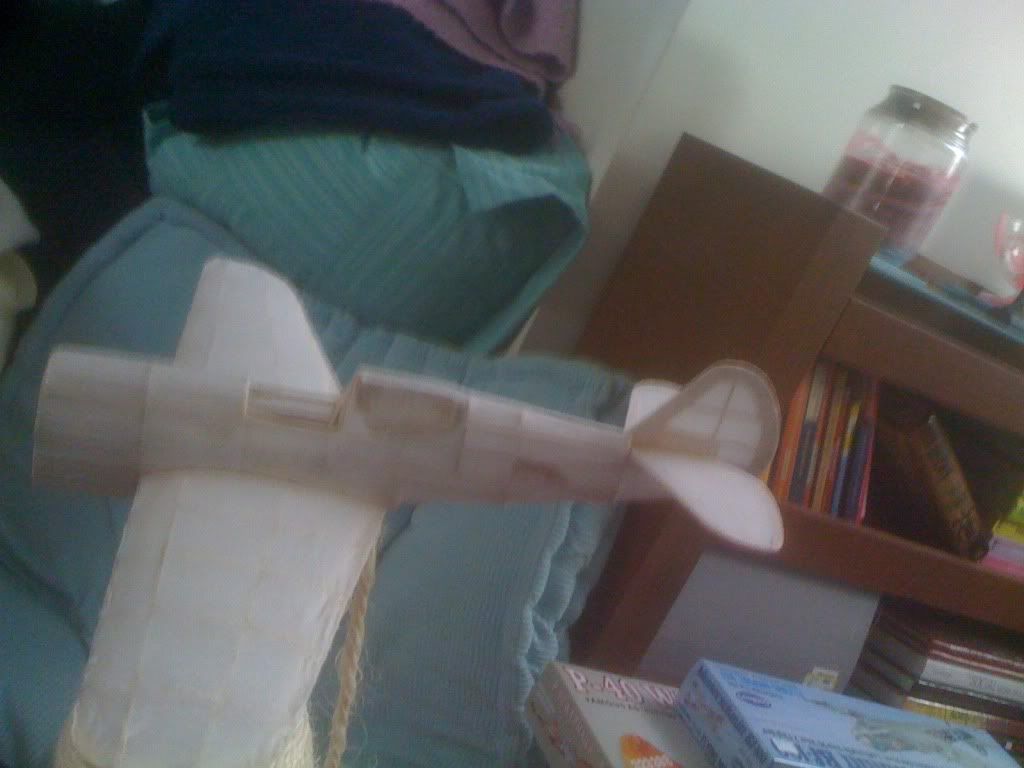
I really think I rushed the construction a bit on this smaller P-40...but every model is a learning experience.
I really think I rushed the construction a bit on this smaller P-40...but every model is a learning experience.
-
ADW 123
- Posts: 1158
- Joined: Mon Feb 22, 2010 5:22 pm
- Location: Cincinnati, Ohio
about the wrinkles in the back of the wing.... did you wrap the tissue down to the side of the TE? thats how i got best results. i used to get dips in the tissue where the tissue would adhere to some of the glue that i put on top of the TE instead of on the edge. sometimes that could lead to some wrinkles. great job. i never even covered my third plane..... then again, the internet wasnt the biggest source. i just had the dirrections in the kit and my own crazy ideas 
-
Mustang621
- Posts: 26
- Joined: Mon Feb 14, 2011 10:22 am
yea i tried to coat the outside edges of the LE and TE...and not get so much on the top surfaces so that i could wrap it and pull it down. I was pointed to some other threads on covering and i think next time I am going to try to just "tack glue" it in place and then work my way out from the center and cut the wingtips in corners so it doesn't get wrinkled there. I am also going to bring the next wing to my grandfather since it is a more expensive 400 series and I want a good covering on that plane..