F4U-4 Corsair to U Control
-
supercruiser
- Posts: 405
- Joined: Wed Jun 15, 2005 8:47 am
-
ADW 123
- Posts: 1158
- Joined: Mon Feb 22, 2010 5:22 pm
- Location: Cincinnati, Ohio
ive had something like this happen to another engine of mine. the crank shaft free wheels just fine. on closer inspection, the issue could only take place in 1- the piston or 2- the compression chamber. ive noticed that it starts to jam up even before (a couple of mm) the piston head begins compression. i mean that the piston doesnt close the exaust hole. the thing is, it happened so fast. i only tried to start it once. it deff happened right after i added too much fuel. i have already attempted to clean all of the parts. they are clean. even the inside of the compression chamber and the pistion are clean. i cant find what could possibly be making this motor jam up like this. 
-
mustangman
- Posts: 102
- Joined: Mon Sep 21, 2009 11:25 pm
- Location: Wisconsin
- Contact:
Photobucket
Well if i can ever get signed up for photo bucket then i will post pics!!! 

-
ADW 123
- Posts: 1158
- Joined: Mon Feb 22, 2010 5:22 pm
- Location: Cincinnati, Ohio
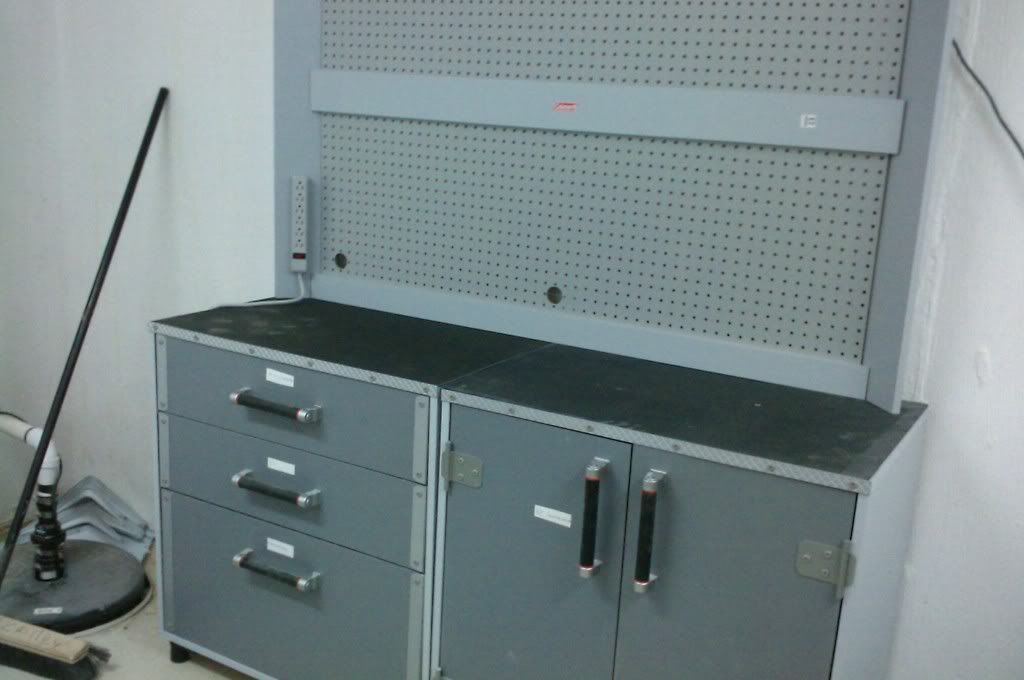
just got my work area situated for the most part.
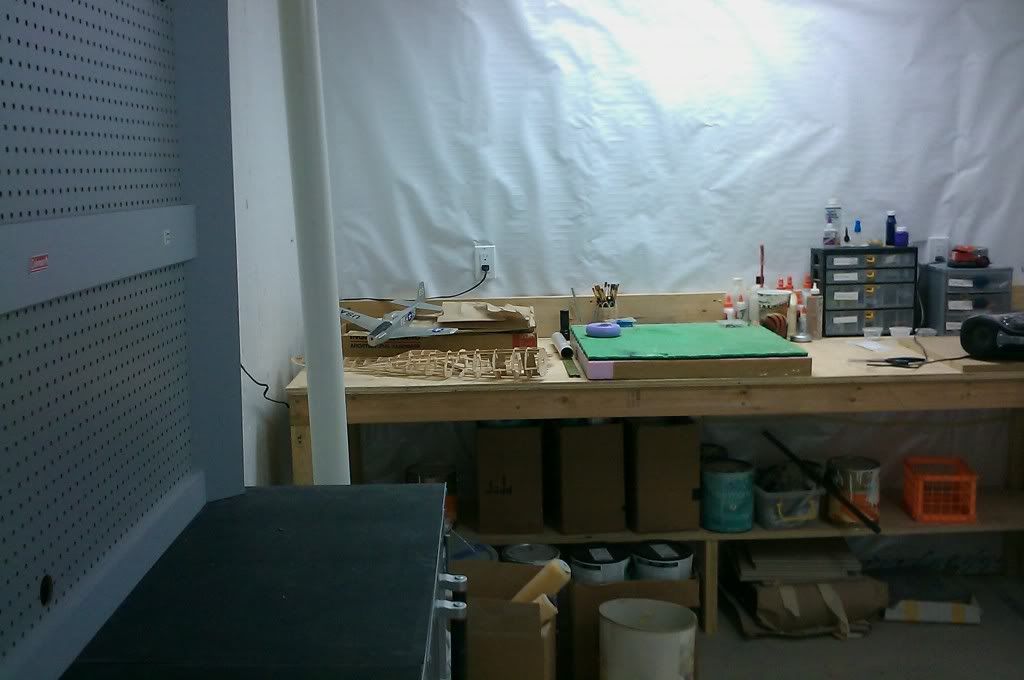

Let the building continue! still not sure how the tank goes in FOR SURE so im waiting on the fuse for someone to explain. id hate to put it in wrong and realize it too late.
stab parts have been made from 3/32" balsa. since the stuff was so old, it was really stiff so im not worried about how strong it is. [/img]
-
ADW 123
- Posts: 1158
- Joined: Mon Feb 22, 2010 5:22 pm
- Location: Cincinnati, Ohio
some progress
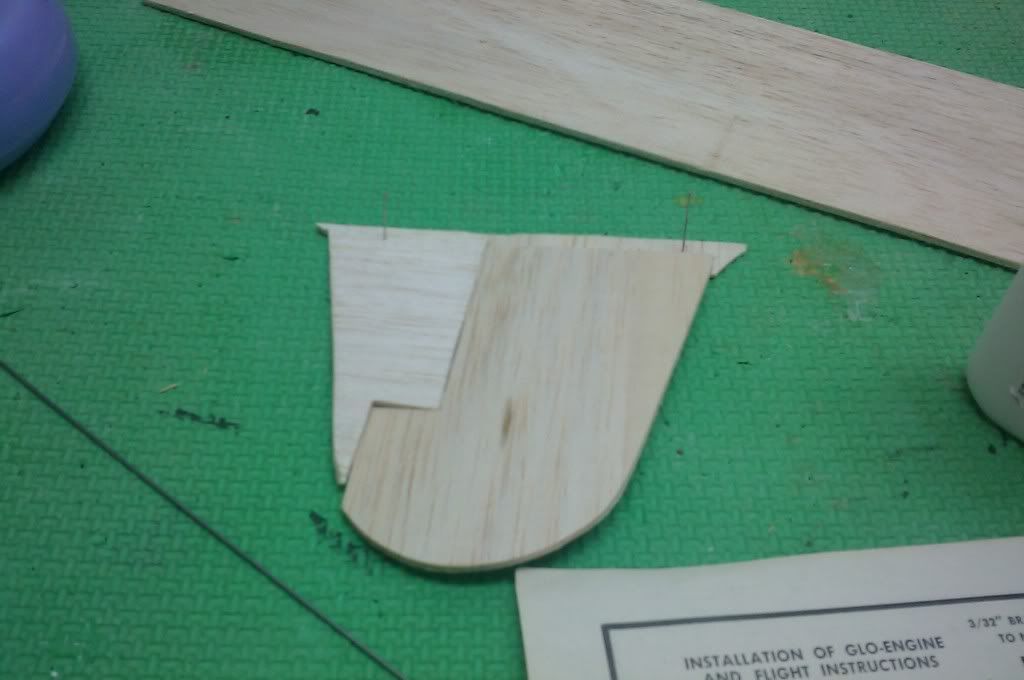
tail feathers made. got the hinges attached to the stab. i used some wire that i cut some off so then there is a more pointed en of the wire to cut the slots for my cloth. i think it does an alright job. on display models i usually just use clear plastic, and cut a thin slot with my razor.
you can see my lines i made with a sharpie, which ensured that i am cutting my slots on target and everything will be lined up with the elevator when attached to the stab.
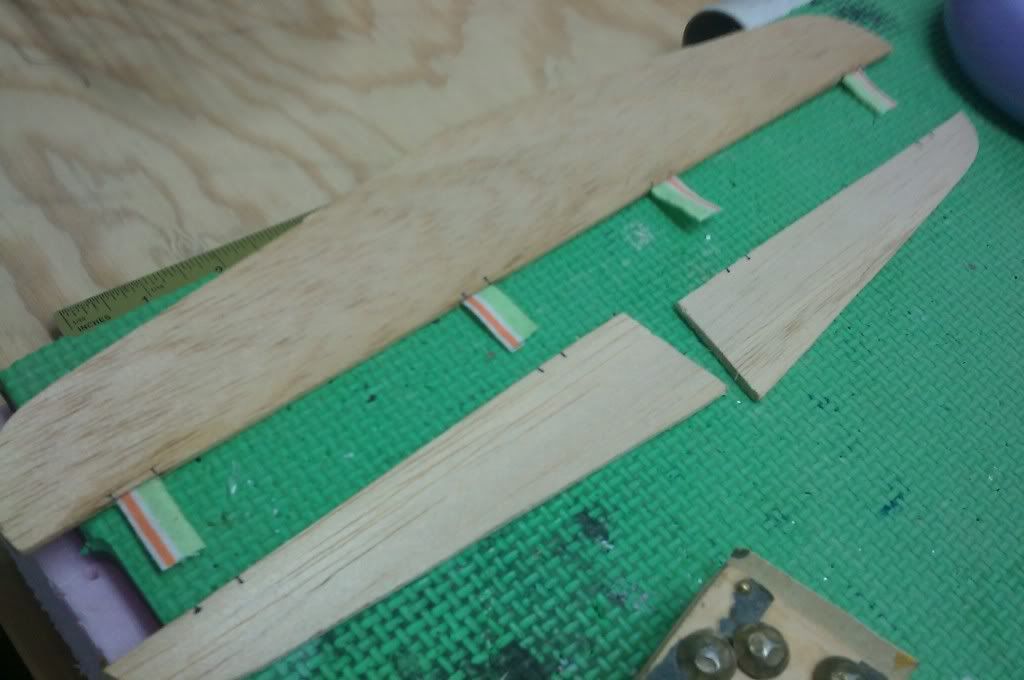
i used expoxy to take care of glueing, as CA glue will soak the cloth and harden it, wich will eventually snap it. in fact, with that white cloth in the kits (i didnt use it) i have put some thin CA on it, and it actually smokes and heats up. never did that again...
rudder built up. angled out 1/4" to keep lines tought... maybe a little more, but it cant hurt.
tail feathers made. got the hinges attached to the stab. i used some wire that i cut some off so then there is a more pointed en of the wire to cut the slots for my cloth. i think it does an alright job. on display models i usually just use clear plastic, and cut a thin slot with my razor.
you can see my lines i made with a sharpie, which ensured that i am cutting my slots on target and everything will be lined up with the elevator when attached to the stab.
i used expoxy to take care of glueing, as CA glue will soak the cloth and harden it, wich will eventually snap it. in fact, with that white cloth in the kits (i didnt use it) i have put some thin CA on it, and it actually smokes and heats up. never did that again...
rudder built up. angled out 1/4" to keep lines tought... maybe a little more, but it cant hurt.
-
Pulsepilot
- Posts: 25
- Joined: Wed Mar 09, 2011 9:15 pm
- Location: Greenville, South Carolina
-
cliffm
- Posts: 370
- Joined: Fri Feb 27, 2009 11:08 am
- Location: fairdale N D
I know it's a while back,but an .049 with a 3 blade prop used to haul an old F-100 u-control around the round quite good, as I remember the thing screamed. The trick is in getting a prop that will let the engine turn in the rpm range where it creates its power and make sure you have quality fuel. The balance of a prop will make a world of difference in performance too. Also, starting out with a not so high performance plane will give you a little insight into your planes handling before you turn it into a rocket.
-
cliffm
- Posts: 370
- Joined: Fri Feb 27, 2009 11:08 am
- Location: fairdale N D
I just read some more of your thread and your fuel tank has a supply and a vent and a fill. the angled one would go to the engine and the other 2 are vent and fill. Get some fuel proof plastic tubing at an auto parts store, it's way cheaper. The stuff I use is called Tygon, mount your tank so the angled fitting is on the bottom facing the engine, then plumb your other lines to a secure bulkhead. When you install the vent and fill make a trap by using the same principle as the trap under a sink, this will help with preventing fuel spewing from a straight run line. Hope this helps,and good flying.
-
BillParker
- Posts: 1031
- Joined: Sat Jan 19, 2008 1:21 pm
- Location: Houston, Texas
- Contact:

William H. Parker Jr. (Bill Parker)
President, Parker Information Resources
http://www.parkerinfo.com/ap.htm bparker@parkerinfo.com
President, Parker Information Resources
http://www.parkerinfo.com/ap.htm bparker@parkerinfo.com