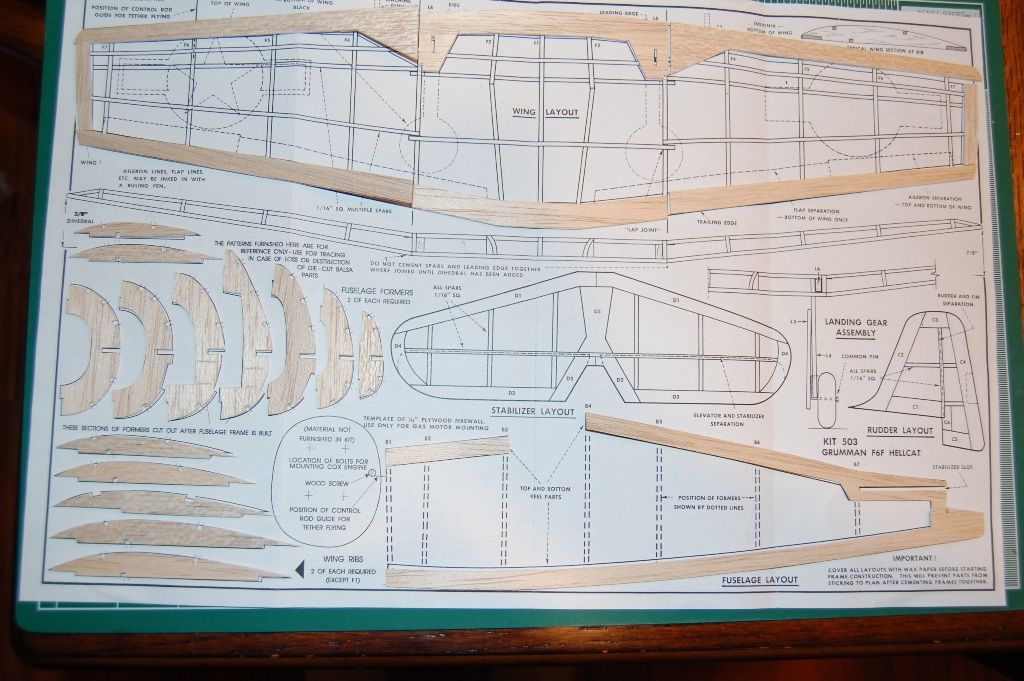
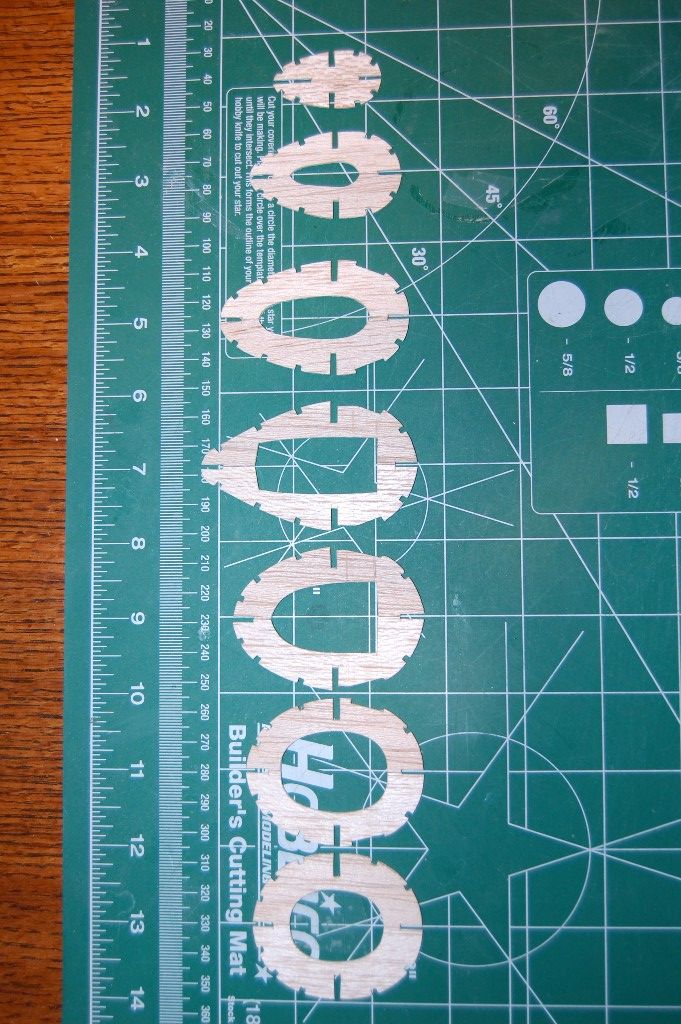
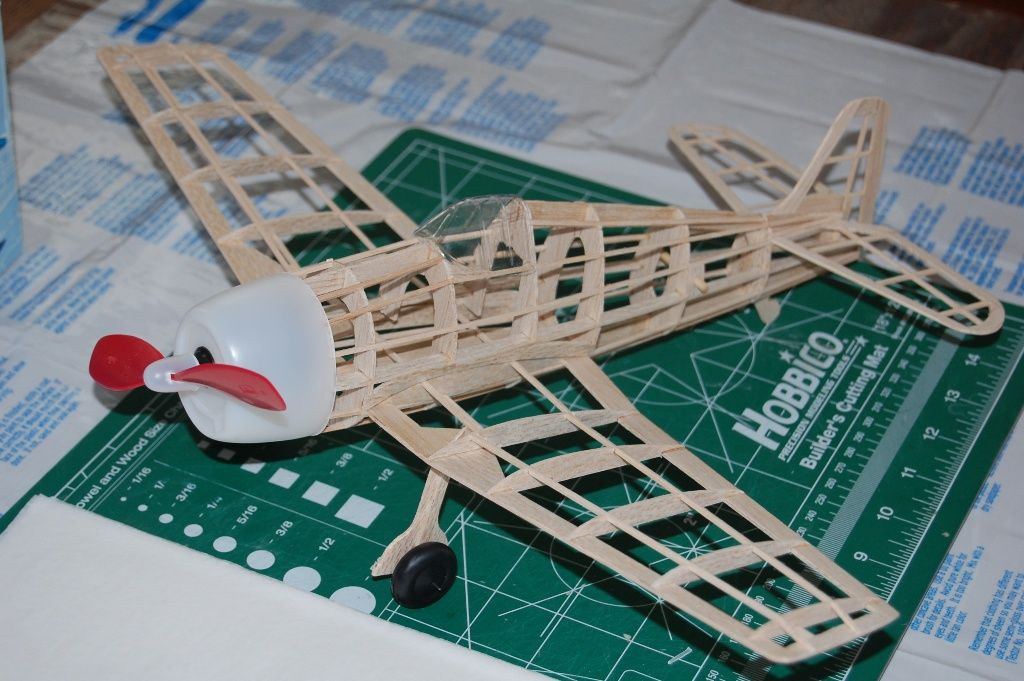
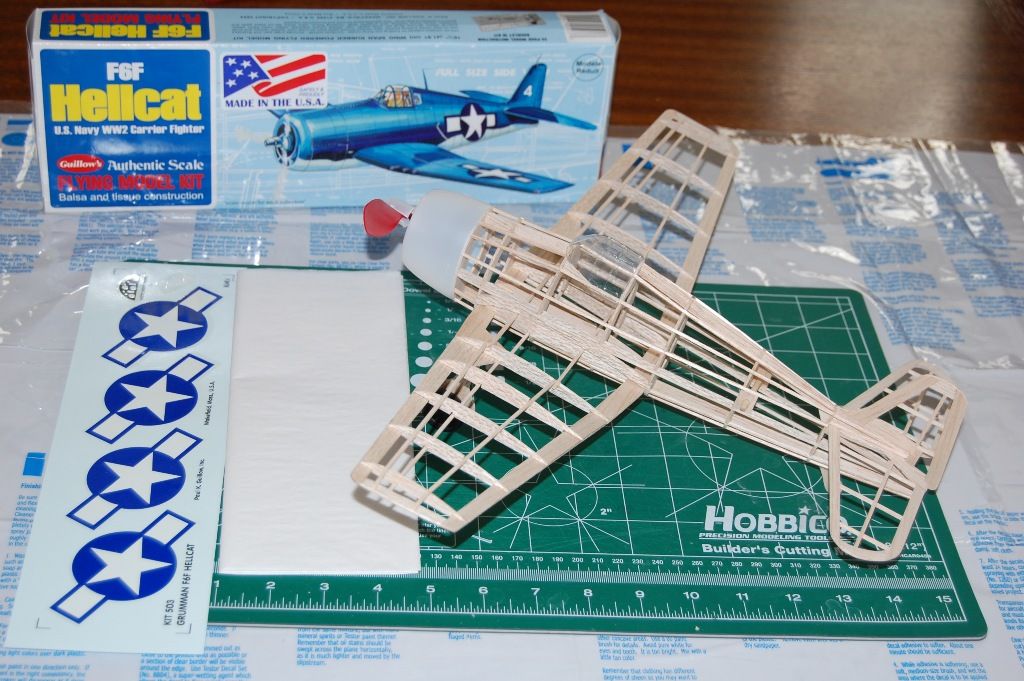
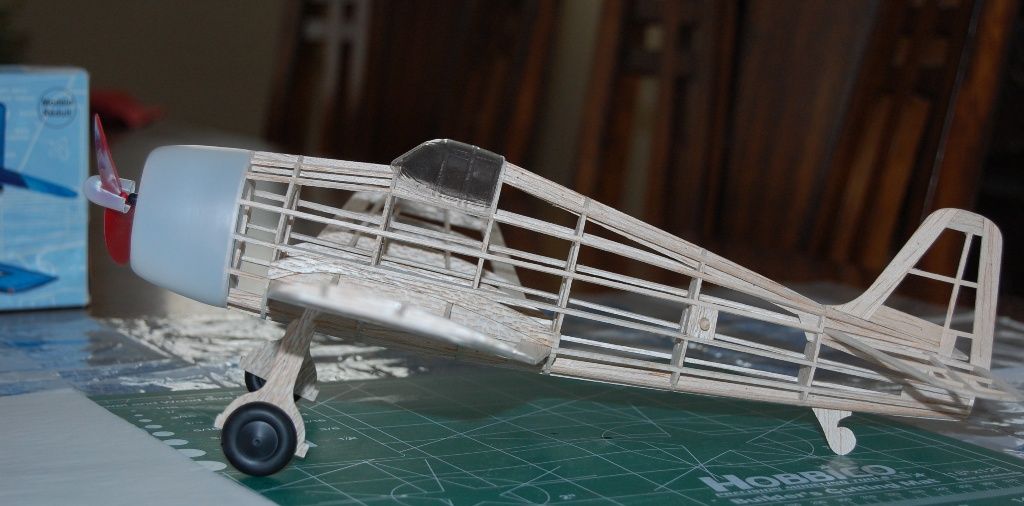
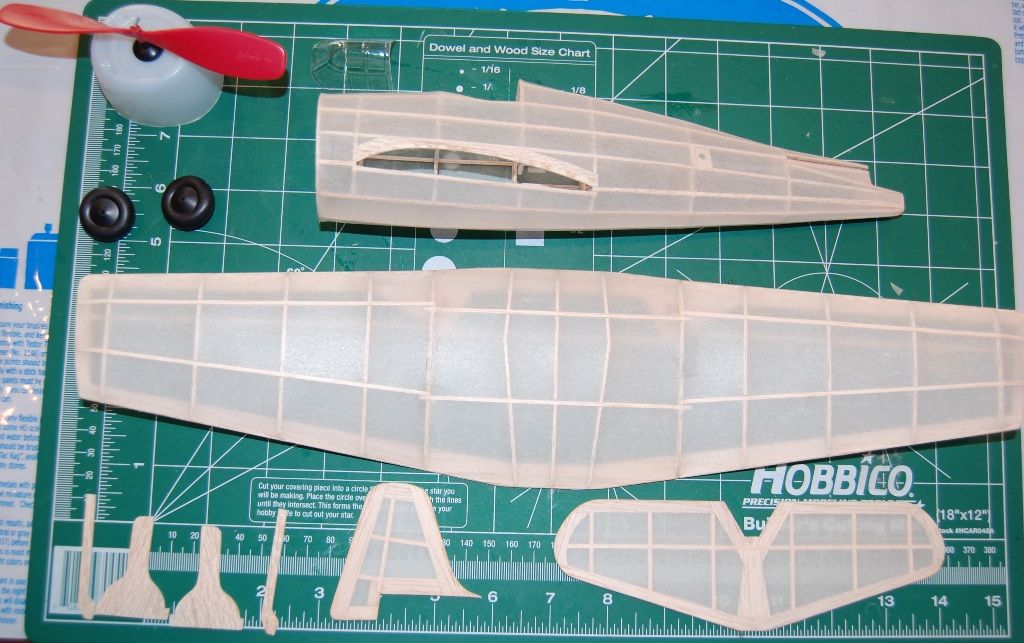
Since the 45 gram Messerschmitt flew pretty well, I figured what the heck and started on the Guillows Hellcat for the Yahoo challenge. Once again I will use everything in the kit and see how it goes. The wood is heavy but die cut is nice and sharp. I sanded off the print, other than that no other mods are being made.
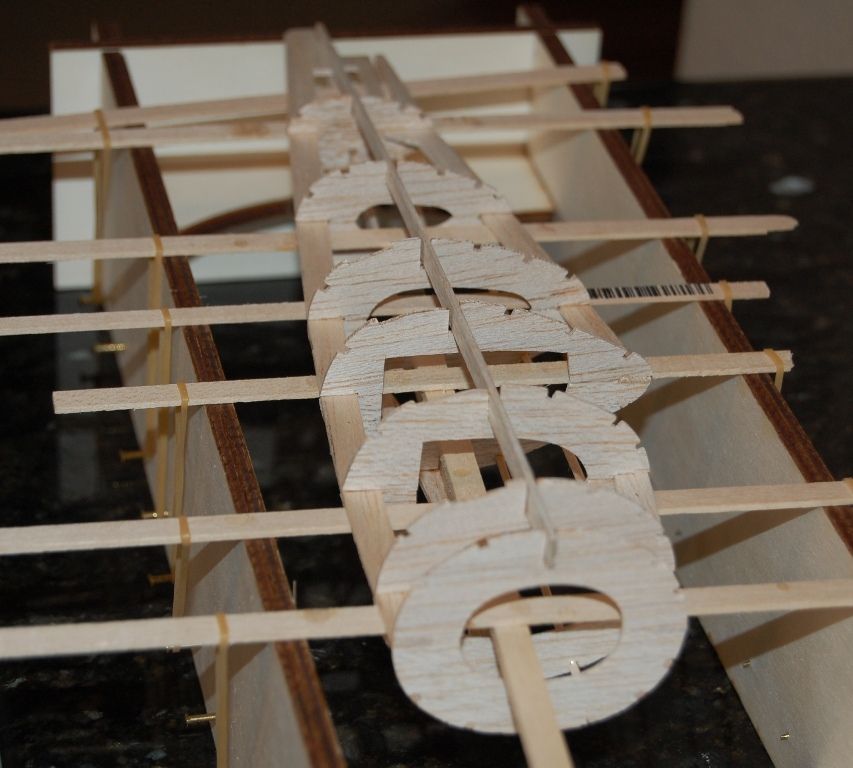
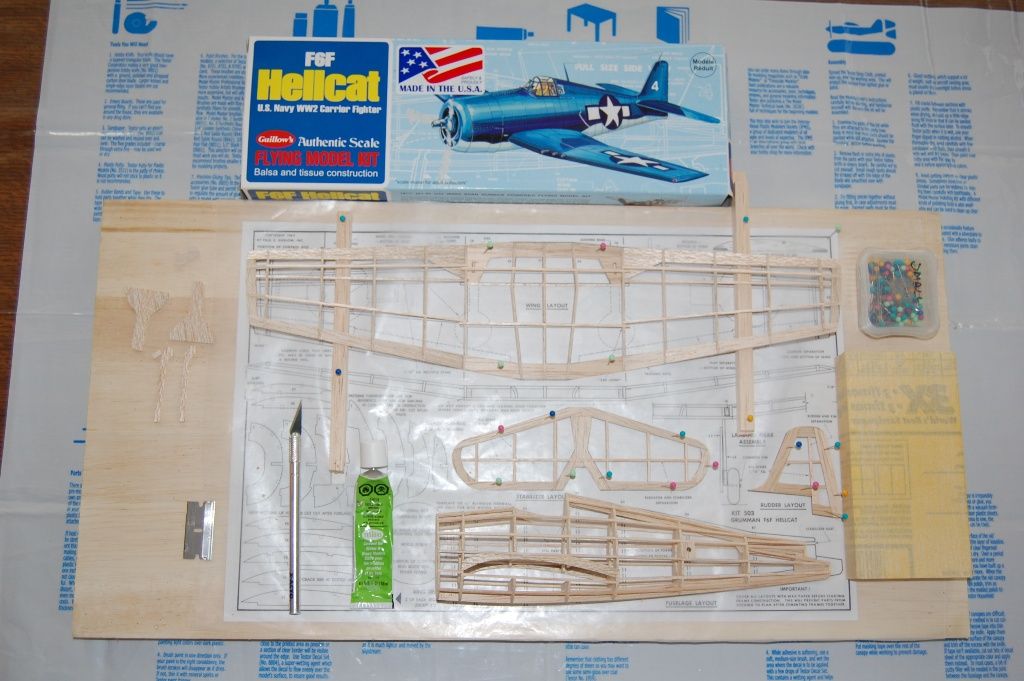
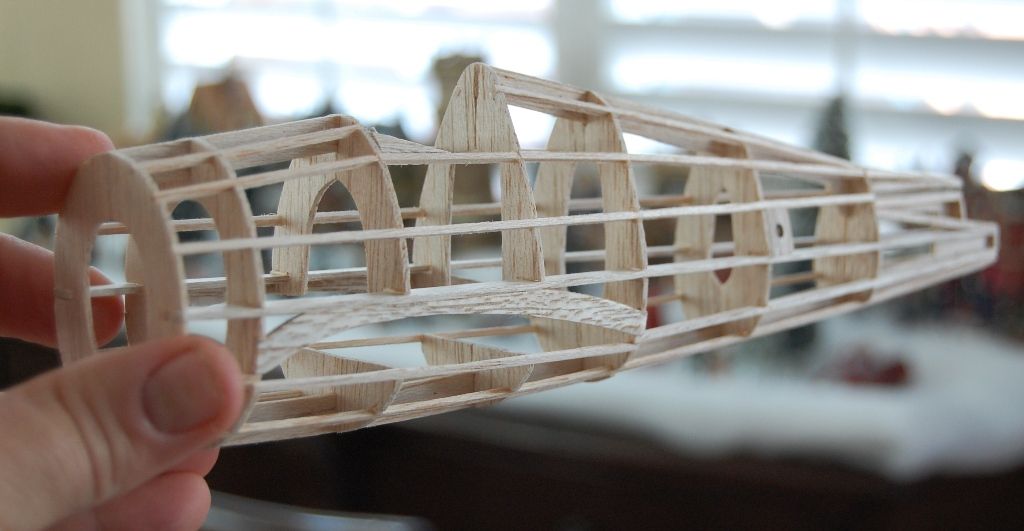
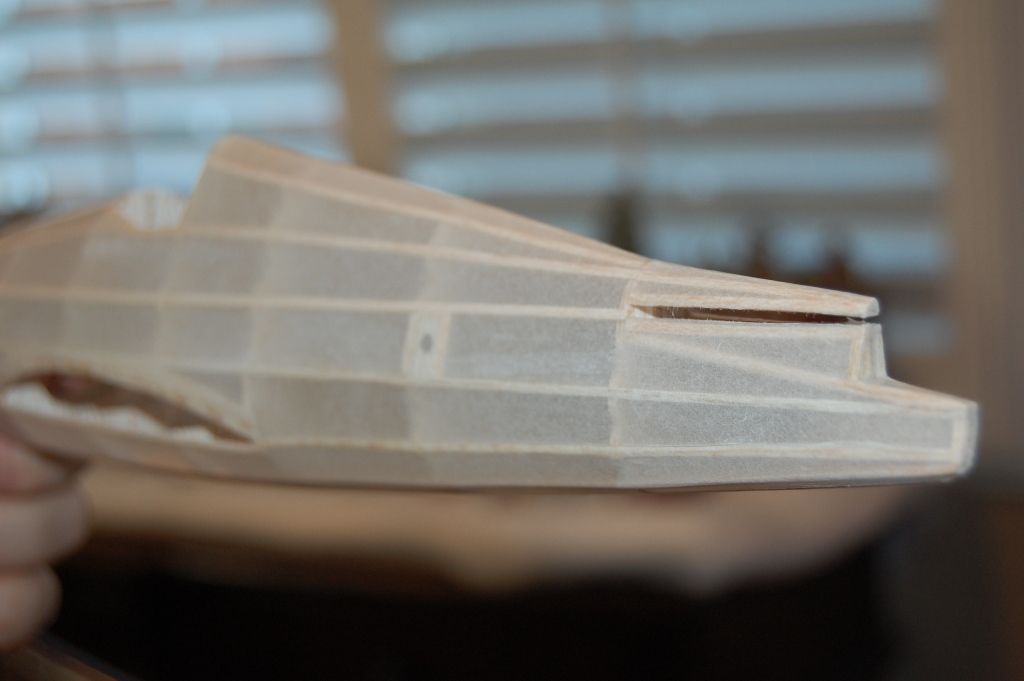
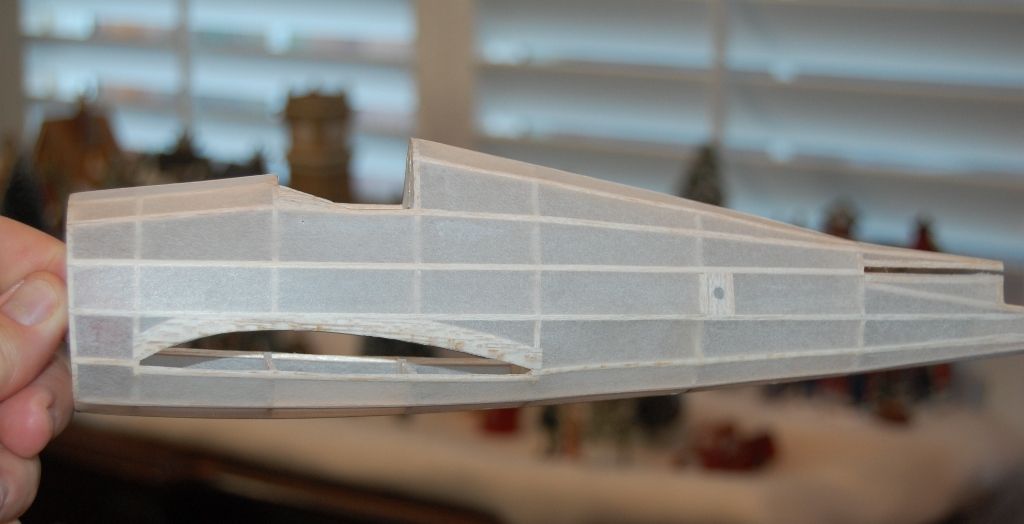
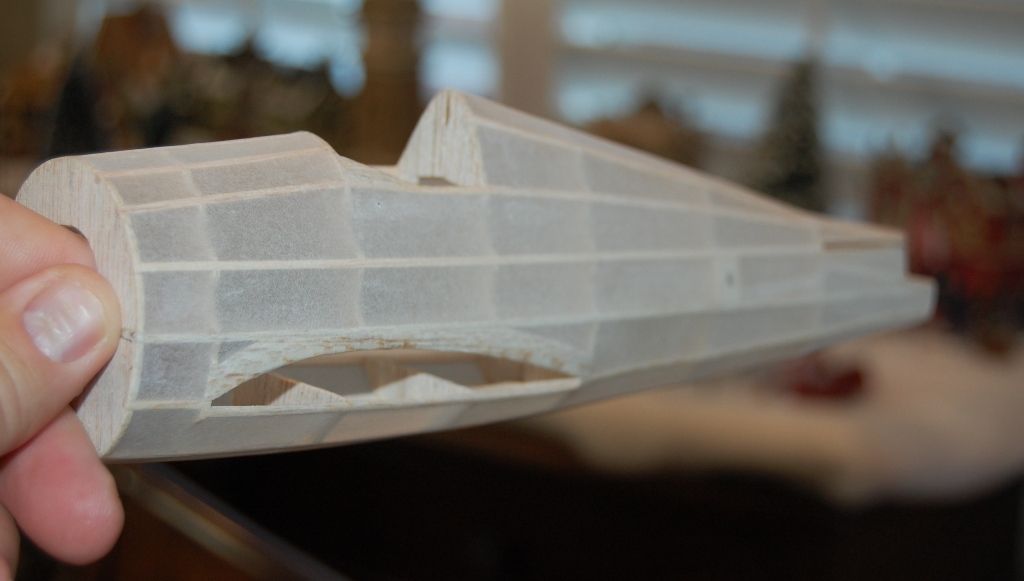
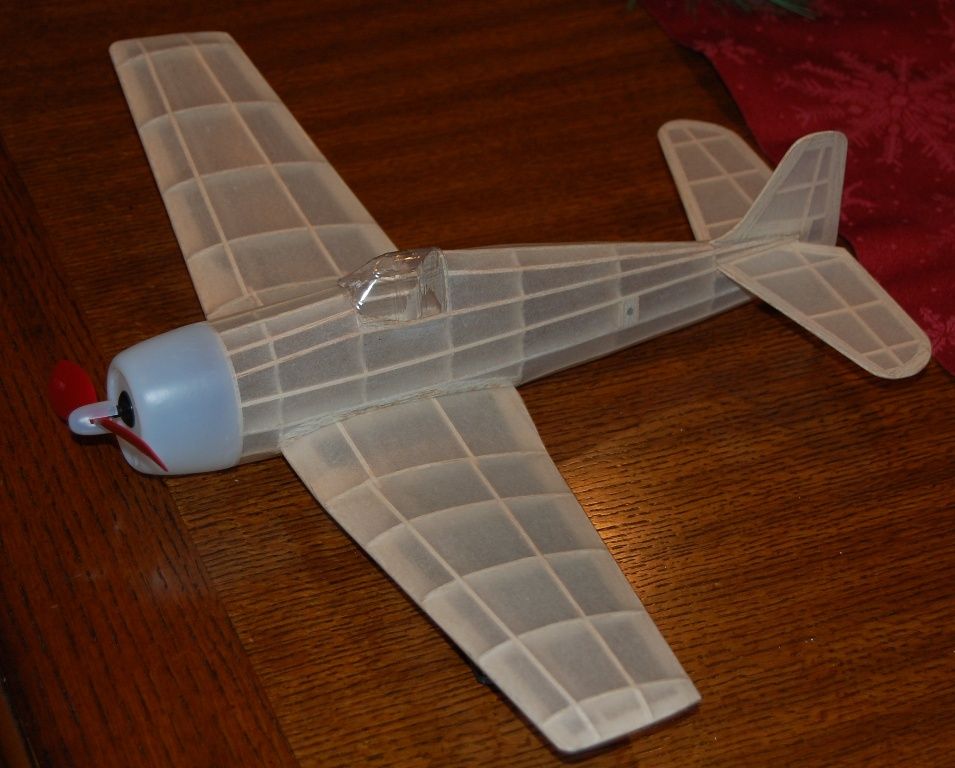
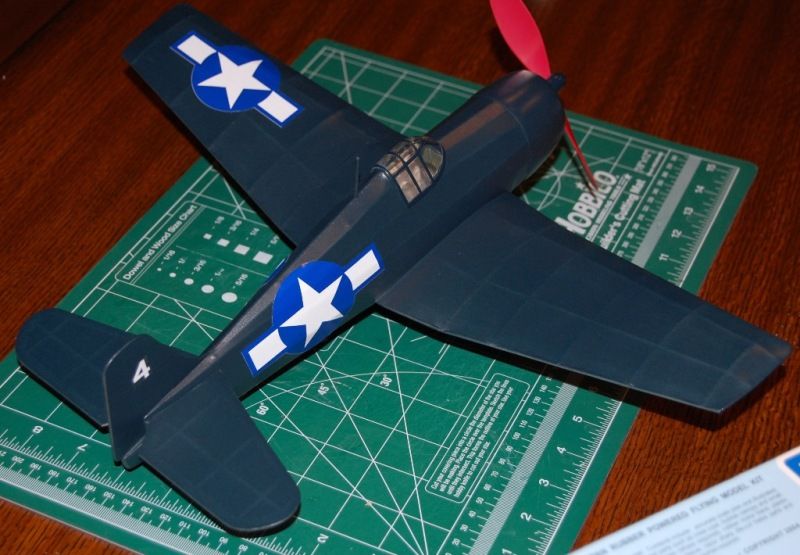
Have the structure built ready for final sanding then cover. So far the weight as shown with landing gear is 27 grams. Without landing gear 23 grams. The balsa alone was 17 grams, if I would have used lighter balsa it would have come in at 9 to 11 grams for the balsa parts. The die cut was excellent on this kit. I still think if Guillows used 7-9 lb/ft C grain balsa, their die cut sheets would come out just fine. I will enter this one in the 500 series challenge, tried to make it look like the picture on the plans.
Man I love this jig.
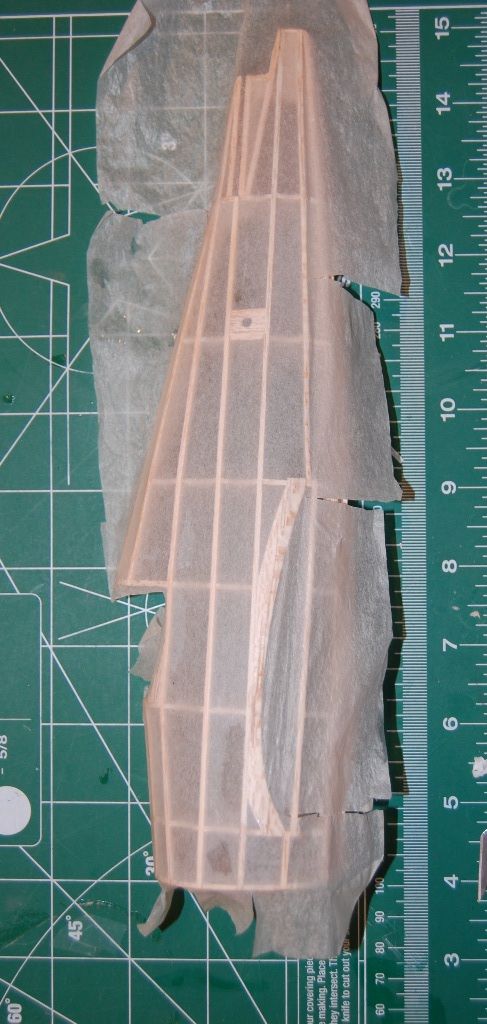
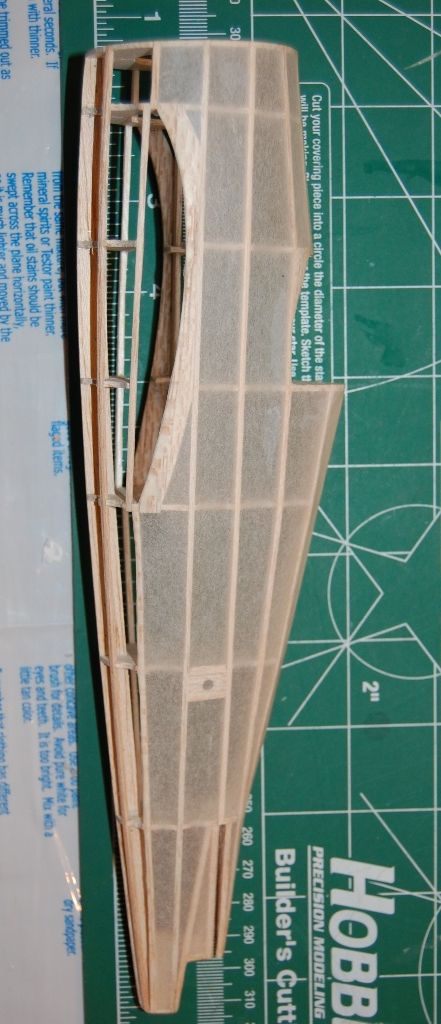
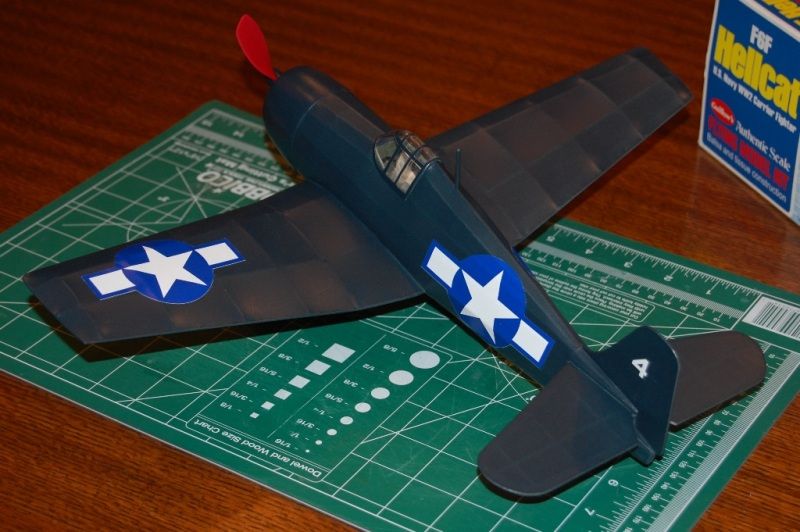
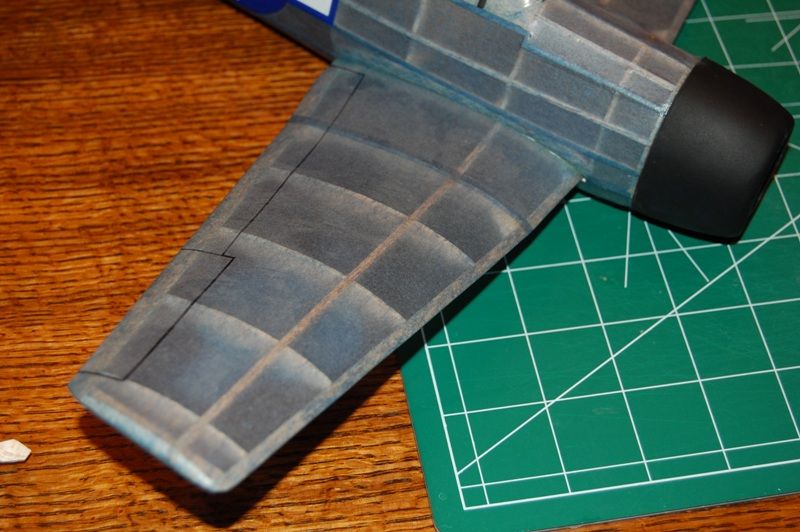
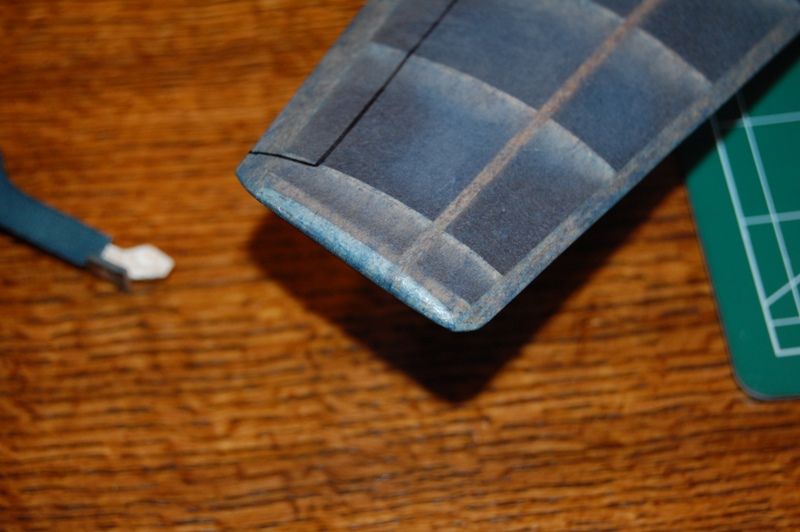
I covered my plane with Esaki tissue and covered the fuselage with wet tissue and used 3 pieces of tissue. The wing, stab, and rudder are covered dry with pre shrunk tissue. I will apply dope then airbrush with Testors Dark Blue.
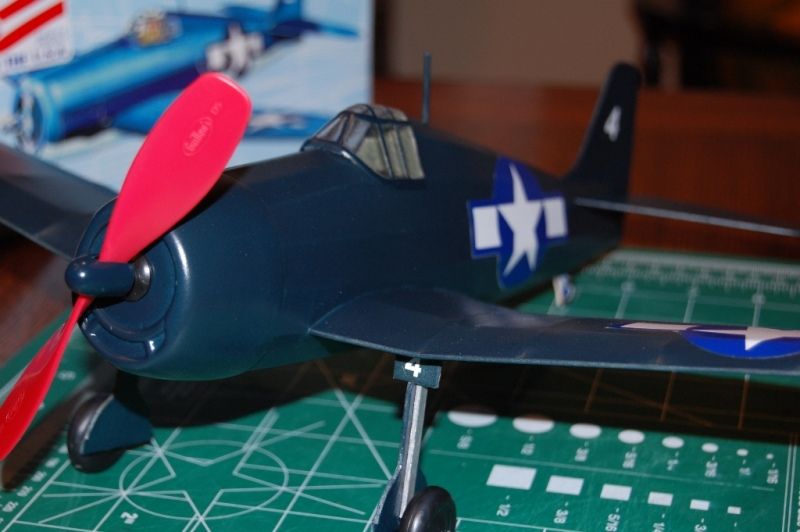
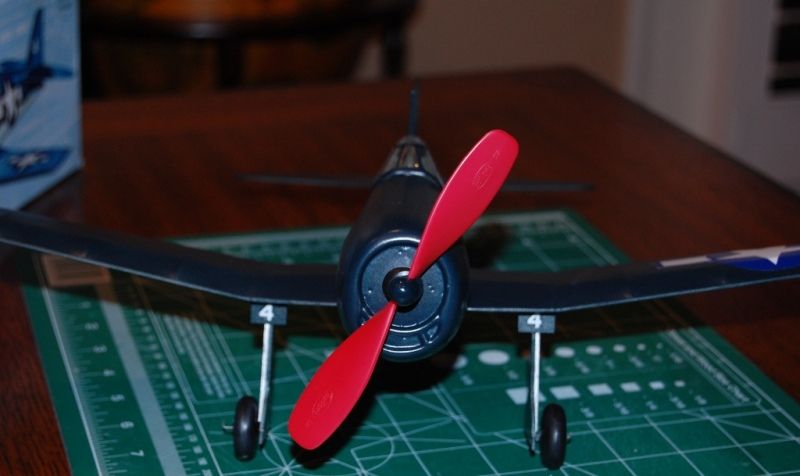
All doped and ready for paint shop on my next day off. Weight as shown, 26 grams. Paint shouldn't add too much weight and it is pretty balance as shown. May need a little clay.
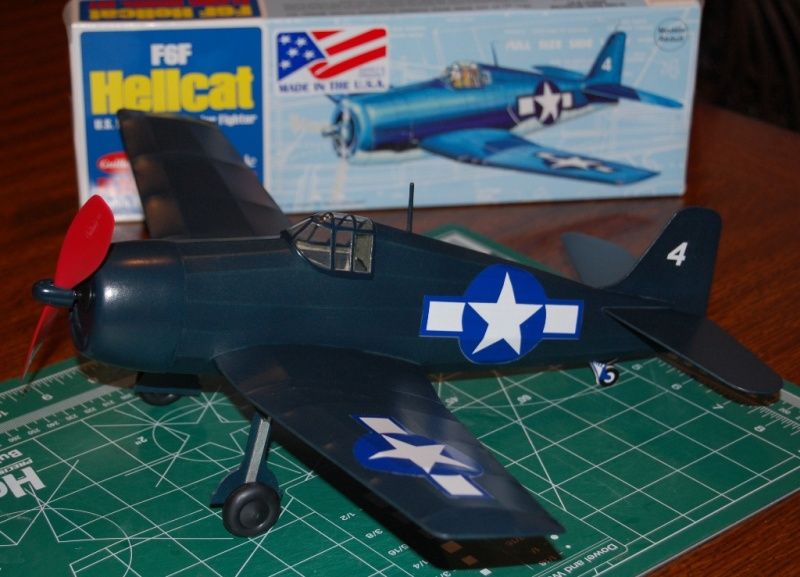
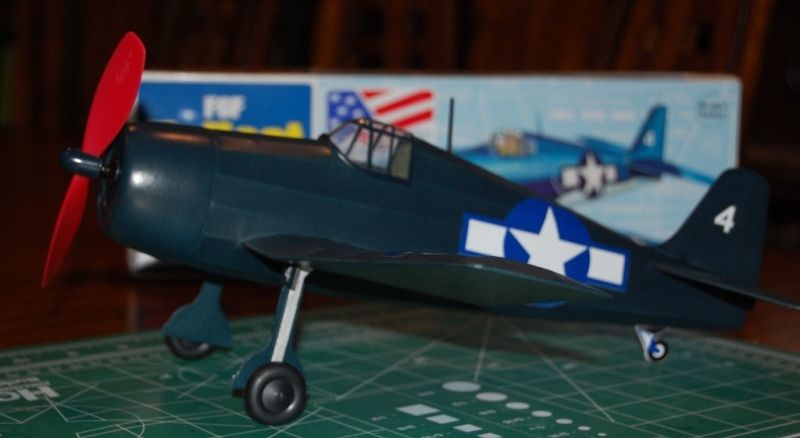
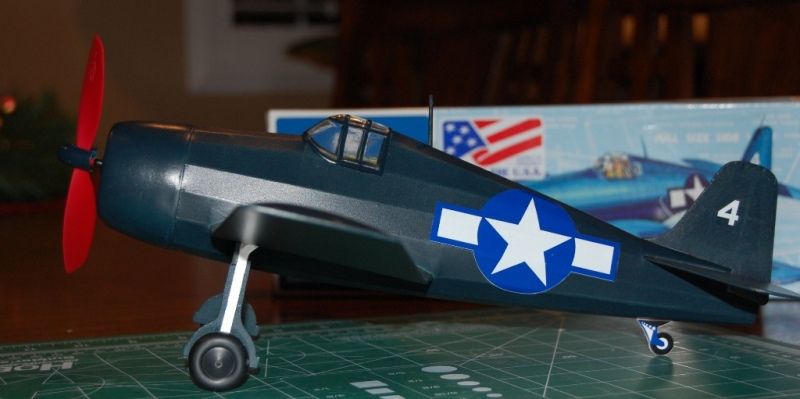
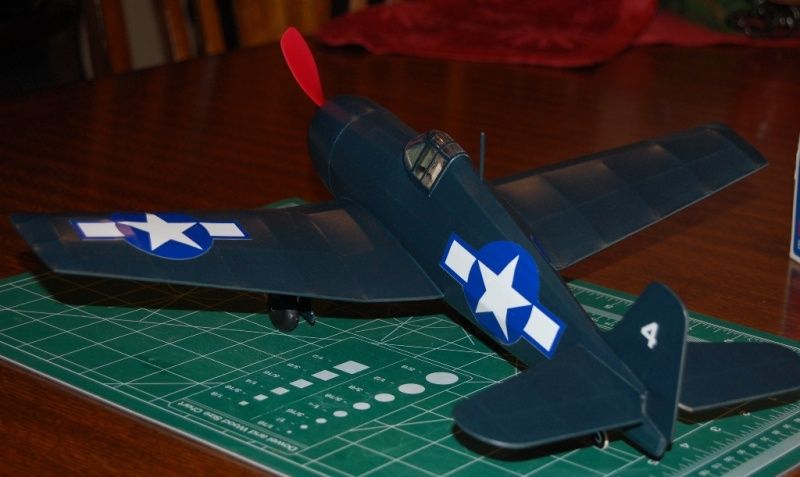
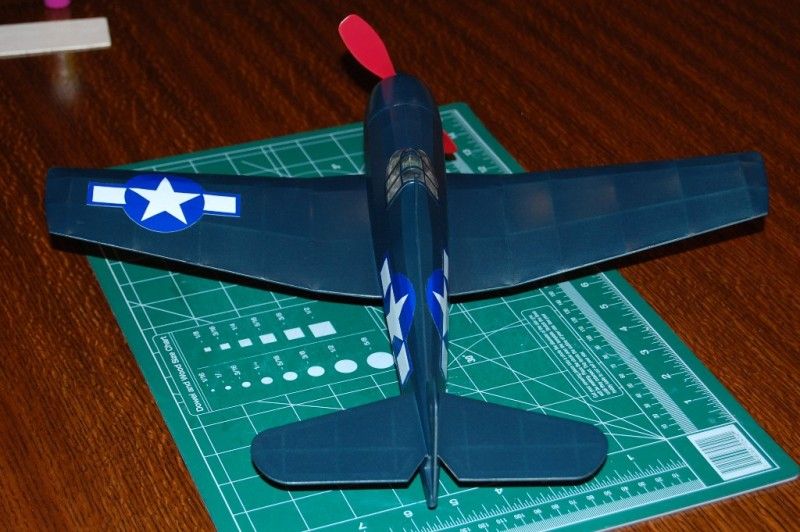
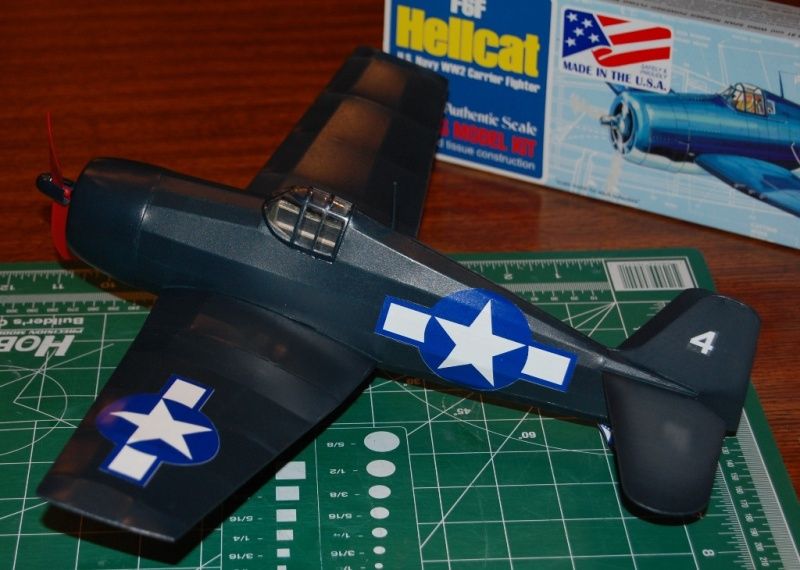
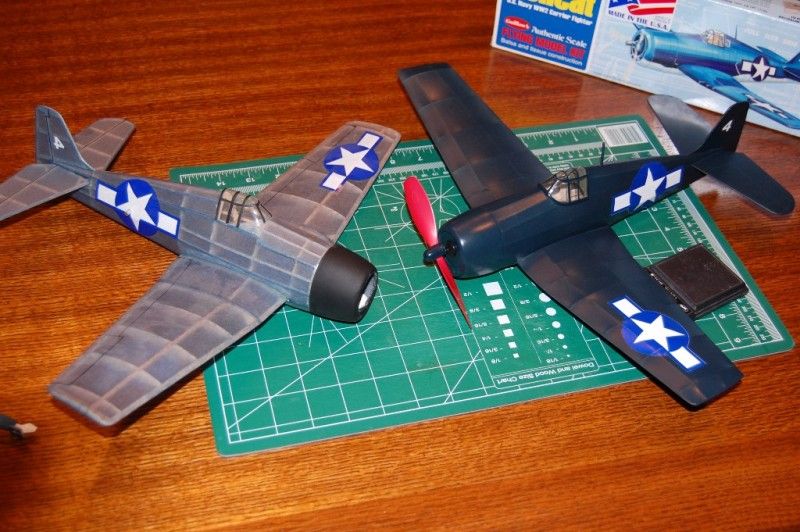
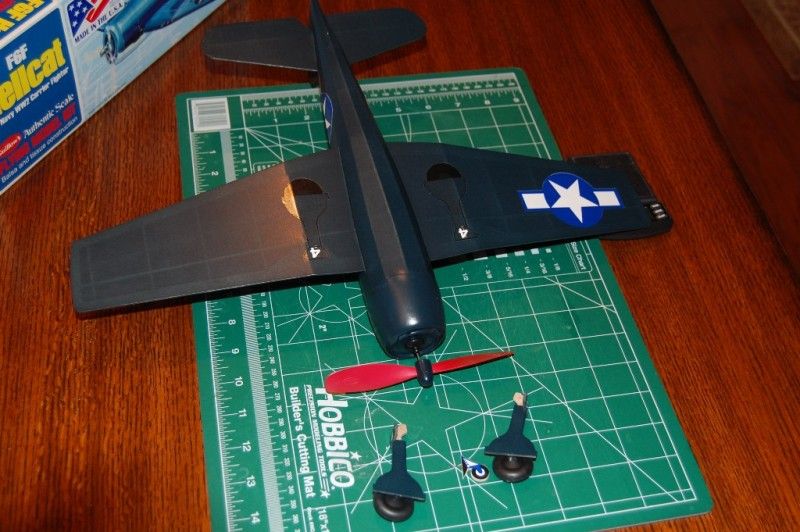
I finished this build for the Guillows Challenge and will start on the 500 Series Zero. This weighs in at 23 grams minus landing gear, clay and rubber. Should be a good flier will find out on friday. I went with the Hellcat F6F-5 version, dark paint and no rear window.
beautiful Hellcat Scigs, as usual I had a couple questions also:
First I notice on some of your builds you have something yellow wrapped around the thrust bearing, I assume to make a tight fit into the cowl/former. What do you use for that?
Second I notice with your last couple 500 series builds you've stopped building nose blocks and just mounted the thrust bearing directly into the cowl, any particular reason for that? I'm ramping up a run of 500 series and am doing a lot of looking around for different things people have done.
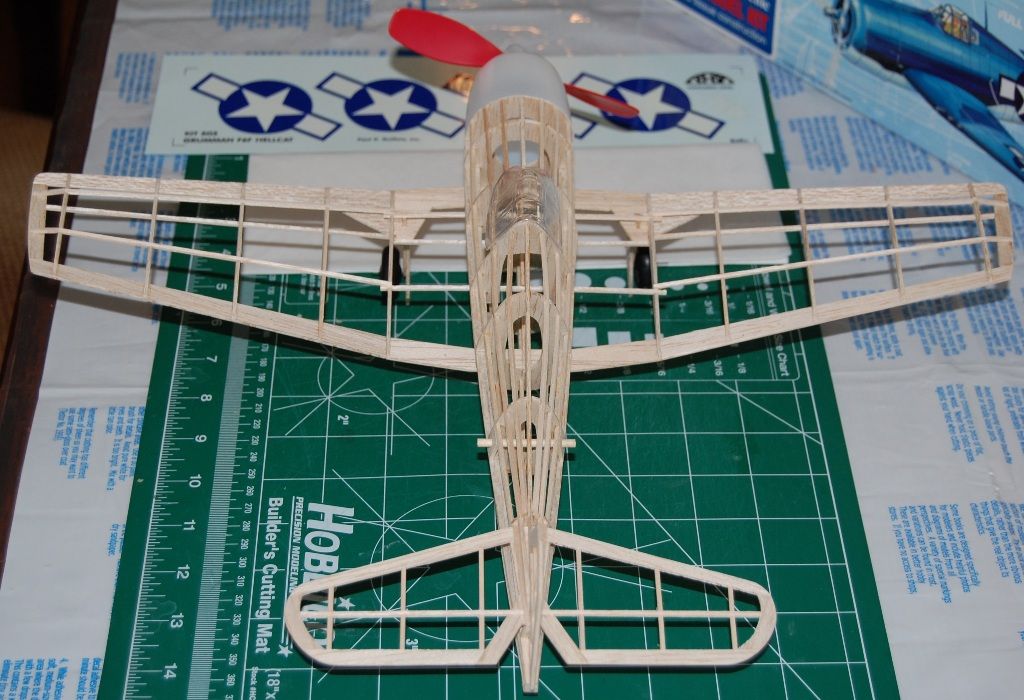
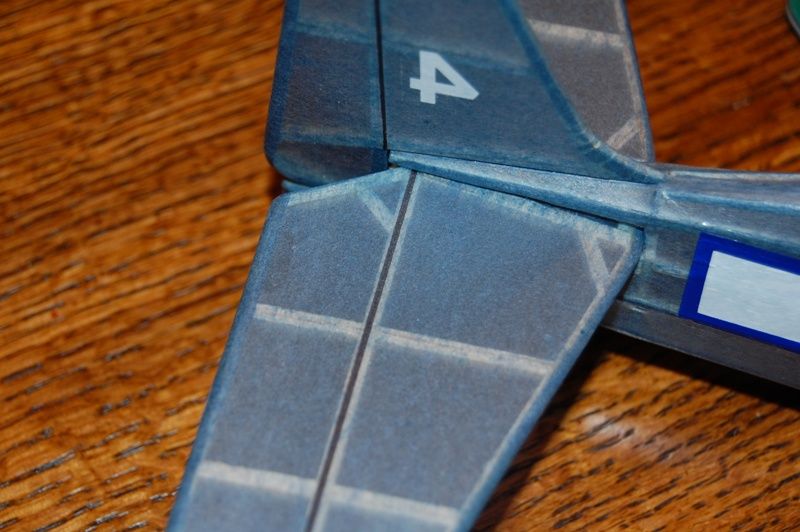
1. Attaching the wing. I made sure it was going to be a tight fit from the beginning. If you look at the picture were the fuselage is still on the building board. You will notice I have one of the ribs laying in the wing cradle. Then throughout the build I continue to make sure everything is going to fit ok, so when it is covered it is a tight fit. To glue in place, I leave the tissue on the wing and slide it in with no glue. Once everything is straight, I glue the wing in place with a long glue applicator from the cockpit area.
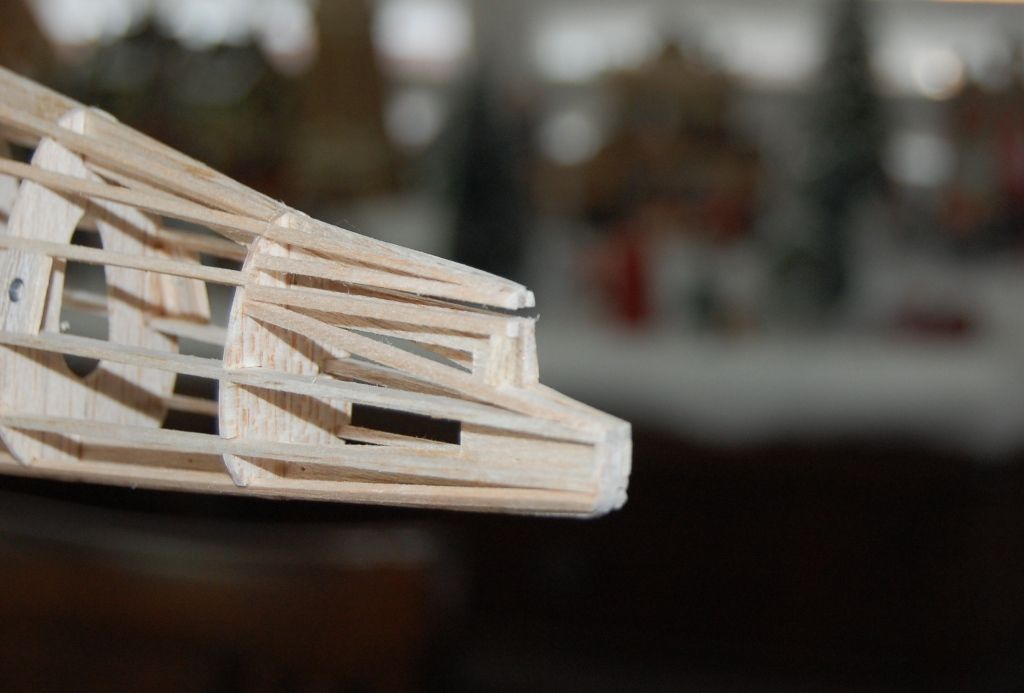
2. A built up nose block is way better than the button I am using. The button does work and the only reason I am doing that is because I want to speed up my builds. I use 1/4 masking tape to make the button a tighter fit.
scigs, beautiful work as always. I have done a search and found some of your other builds and they all look fantastic. I have this Hellcat on the shelf but need to finish my Spit first. I do have a question on the painting though. What type of paint did you use to get that finish to look so smooth and complete yet keep the the plane light enough for flight?
I used to use Aerogloss colored dope, but they no longer make it. Also I don't have a great area to spray dope, but I do brush clear dope on my models outside. Years ago I started spraying my plastic models with Testors Acrylics and thought to myself this stuff should be light enough for freeflight. So now I brush on 2 coats of dope followed by light coats of Testors acrylics.