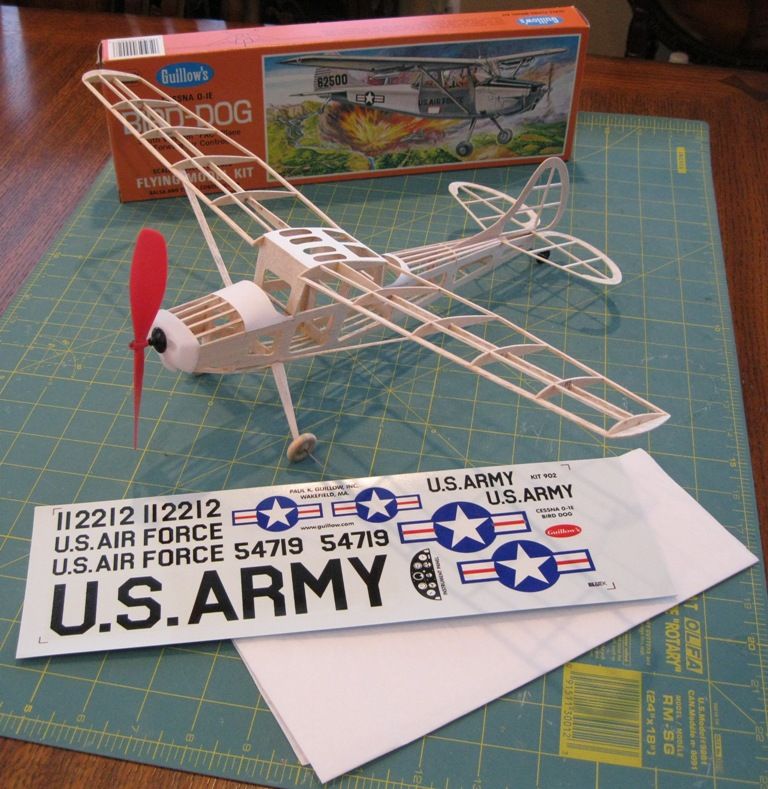
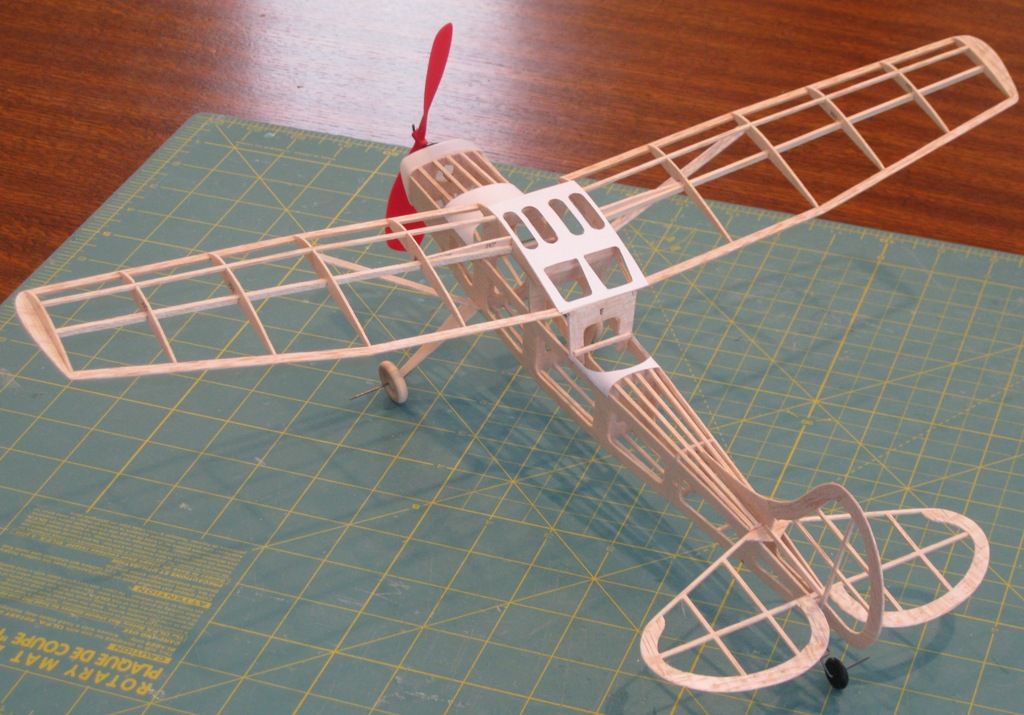
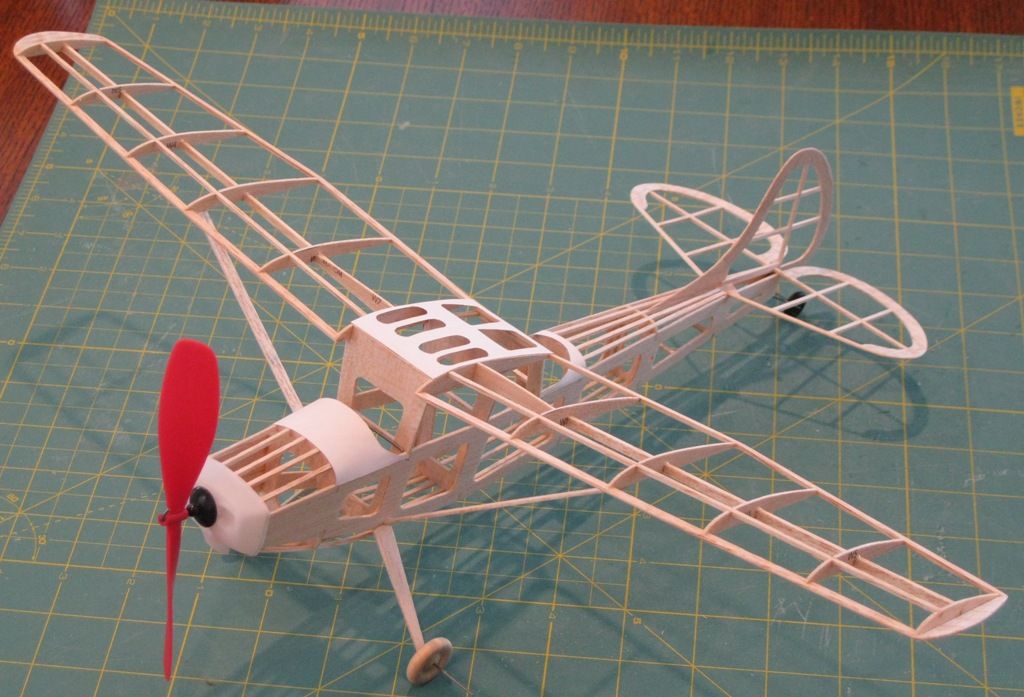
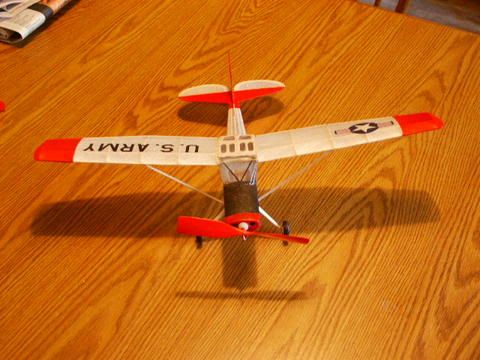
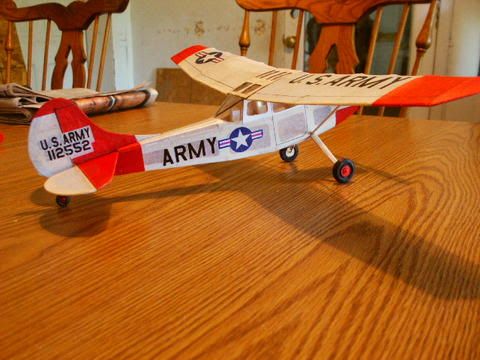
Well not really a build since the majority of construction is done. My camera was in the shop, so there are no build pictures. This was a straight forward build with no modifications other than moving the motor mount forward one former. This kit came with excellent quality 1/20th balsa. The average weight of the sheets was 8-9 lb balsa, not bad for Guillows. So far as shown with the prop, she weighs in at 12 grams. I will cover with the kit tissue and either paint it or leave it alone, have not decided yet. I don't know if I am keeping the wheels, they look small and are smaller than the wheels that are shown on the plans. This plane should fly real nice, fun fast build. I was going to build the Sterling Bird Dog, but that was a smaller bird with much more wood so I don't think it would fly on rubber.
A very nice clean build, you do credit to the model. I am also building a Bird Dog at present and am curious if you do fly what type of motor (rubber length) and flight times you might get.
If I don't paint it, it could fly on 1/8 rubber 1 1/2 times distance between motor hook and peg. I think it would do over a minute no problem. If I paint it, then 3/16 rubber same length and should come close to a minute.
I am also working on a Bird Dog, but am having trouble with the windscreen... if you have a couple pics of the windscreen in progress could you post them?
I am also working on a Bird Dog, but am having trouble with the windscreen... if you have a couple pics of the windscreen in progress could you post them?
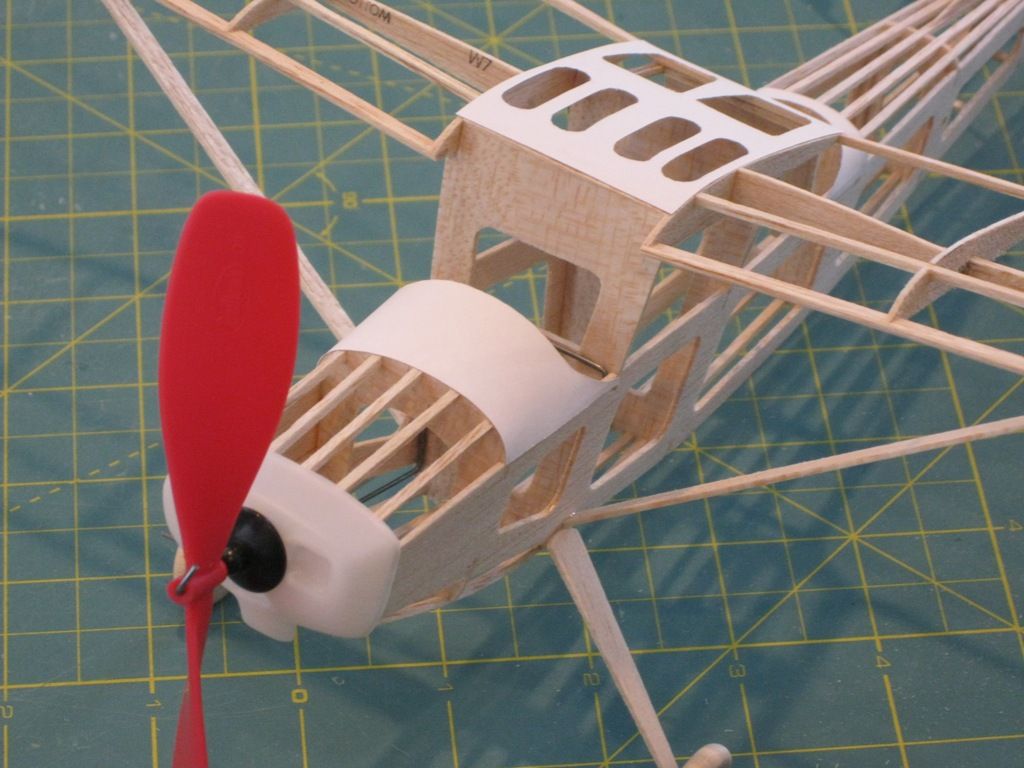
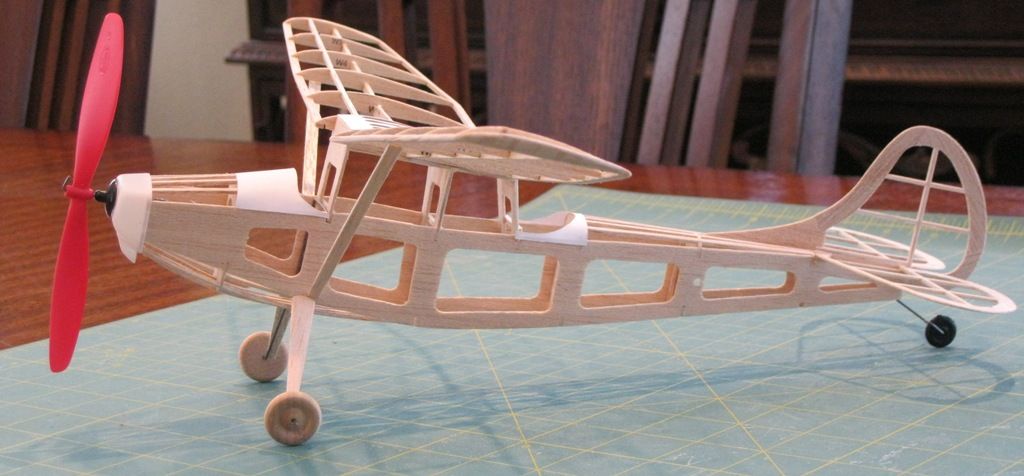
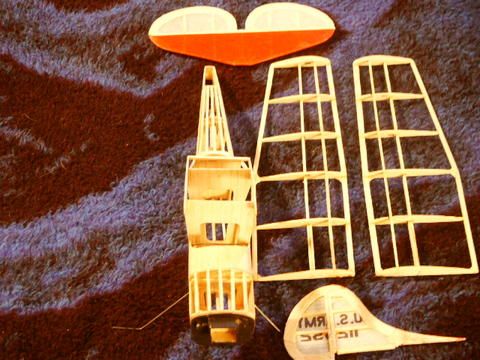
I don't know if these pics will help you with the windscreen. I cut out the template on the plan and modified the paper template until it fit the plane. I then cut out some thin acetate. I put the acetate "windscreen" in a pill bottle that had about the same curve as the windscreen, filled it with water and microwaved it several times until the acetate took the desired curve. I glued it with Testor's canopy glue along the top, waited for it dry throughly and then glued it along the rest of the edges.
For once, this kit came with excellent wood, but still I sand the sheets before building. I also sanded off some of the print so it does not show through the tissue. I use Elmers white glue all or Testors wood cement, that way everything looks nice and clean. A lot of glues dry brown or orange or stain the wood like CA's so I stay away from those glues.
Longer to dry than what? The first rule of any glue is a good tight fit. Any wood glue has to be doubled glued for a strong bond, but also a fast drying bond. You have seen how fast I build and most of my builds are with Elmers white glue all. If I am building a Guillows kit with the kit wood, I sometimes use Testors wood glue. The reason is because of the poor quality of the wood. I have never had an issue with dry times with white glue or strength issues. I have build large R/C birds and Estes rockets with white glue and once again no issues.
I have been using Elmer's carpenter's glue. It is a yellow glue that dries clear. It dries pretty quickly; about 20 - 30 minute set time. I pin the structure to my building board until the glue dries, or I have a variety of clamps to hold the various pieces together until the glue sets.
I sometimes use CA, but, being a klutz and sometimes not checking for final fit of pieces before applying glue, I have been leaning to the carpenter's glue more and more. It gives me a second chance before everything is stuck together, and I am teaching my grandkids new words that their mothers don't like. Besides, there are many steps in building a model, and, usually, I can go to another step while one dries.
ADW, What type of parts are you talking about? Lets take a typical Guillows model. I pin the keels to the board. Put Elmers glue on the former, touch the former to were I want it and remove it, add more glue to the former and attach it back to the keel. It tack dries super fast so I don't have to hold it up. I continue with all my formers. The great thing about Elmers, it tack dries fast but takes awhile to cure completely. So if I find out that a former is crooked or does not line up with the center keel, then I can adjust it. This is why my builds are straight. Stringers: I pre bend the stringers so they are not causing stress on the fuselage. This prevents a crooked fuselage. I make my notches tight enough to hold the stringers so I don't have to use pins. If the notch opening is too big to hold the stringer, then I fill the void with wood shims. I add glue to the notch, set the stringer in place, and remove the stringer, Then add more glue to the notch and set the stringer in place. Once again it tack dries so fast I don't have to pin it in place. Any time you have to force a piece of wood into place by severe bending, you are taking a chance of a banana fuselage. I try to eliminate severe bending by pre forming my parts with steam or water. I use the same technique for Testros green tube wood glue.
and do you think that after the model is built and covered and painted and stuff it will make the plane look better? also, just to clarify, you take the former, put it into place, put glue on it, then take it off, and put more glue on it or wait until the clue tacks a little....