500 Series Stuka Build
-
scigs30
- Posts: 855
- Joined: Mon Nov 06, 2006 11:31 am
500 Series Stuka Build
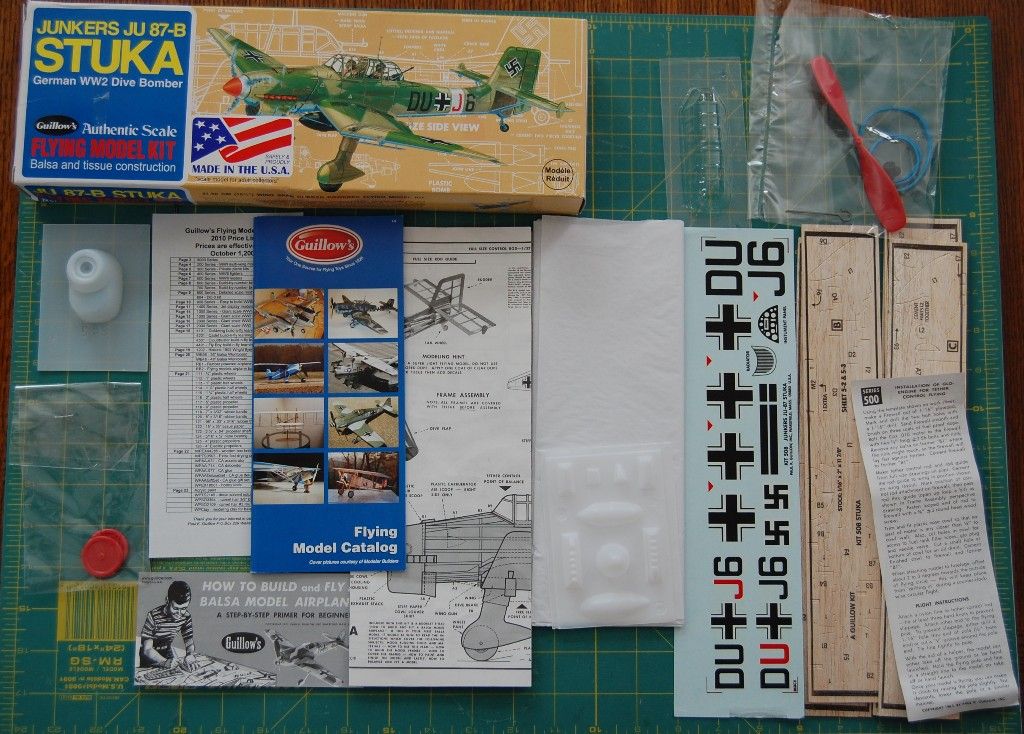
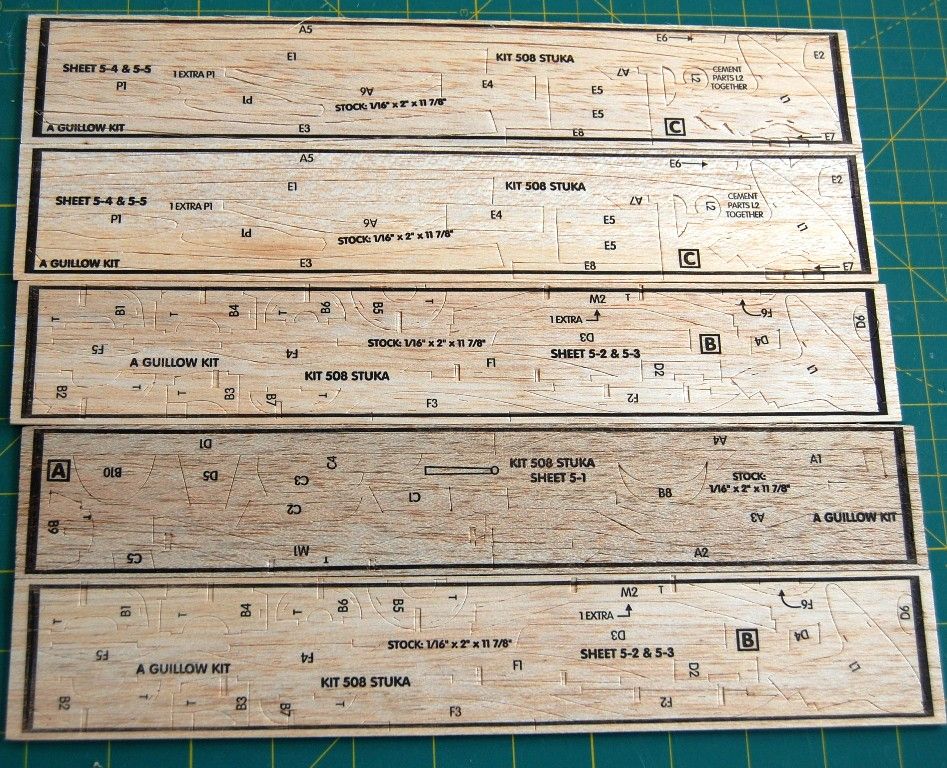
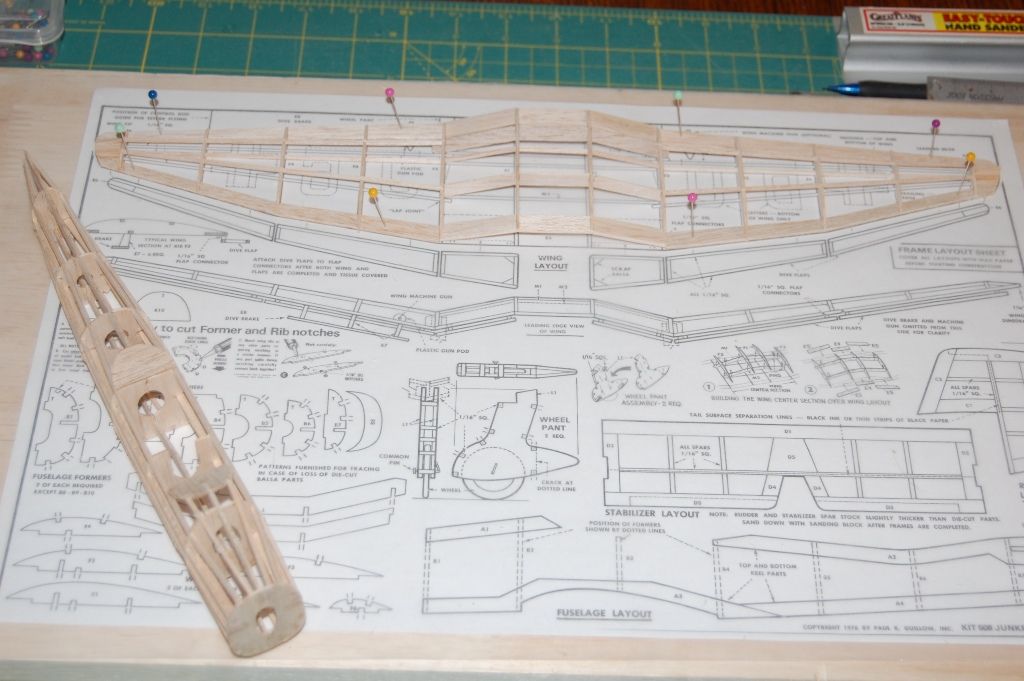
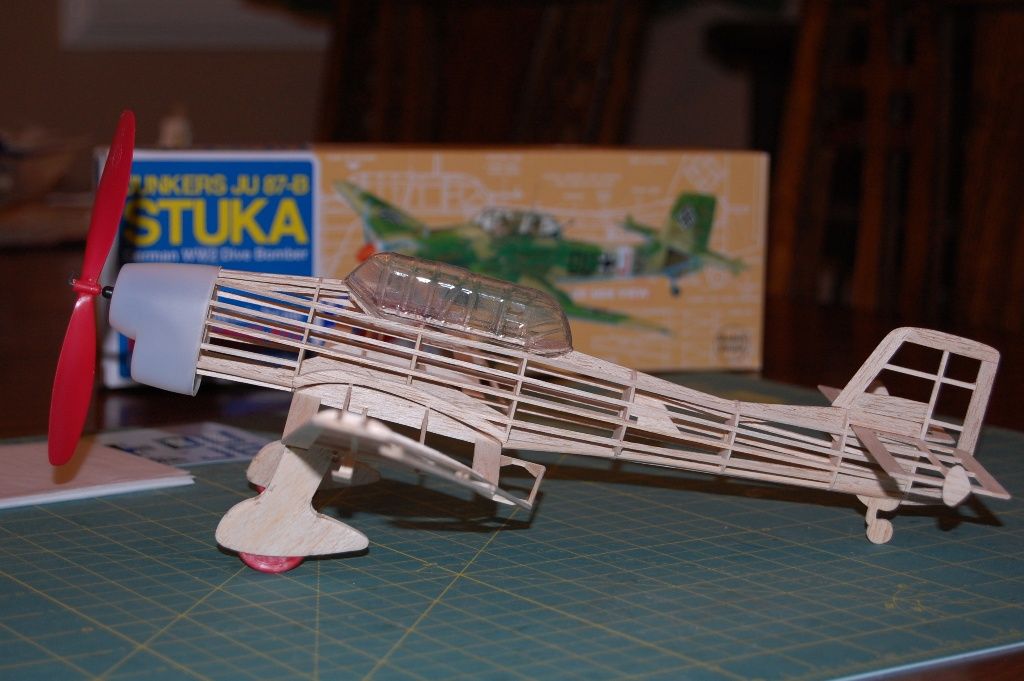
This has always been one of my favorite designs by Guillows but never built one. I always knew this would make a nice looking bird, but trying to trim it to fly would be a nightmare. Now that I am older, I think I am ready to tackle this challenge. This is a newer kit with the date on the decals from 2009 so the wood quality is pretty good. Most of the balsa sheets are 9-12 lb range, not too bad. You can see from the picture that the die cut is nice and clean. Not a bad kit for 9 bucks.
-
BillParker
- Posts: 1031
- Joined: Sat Jan 19, 2008 1:21 pm
- Location: Houston, Texas
- Contact:
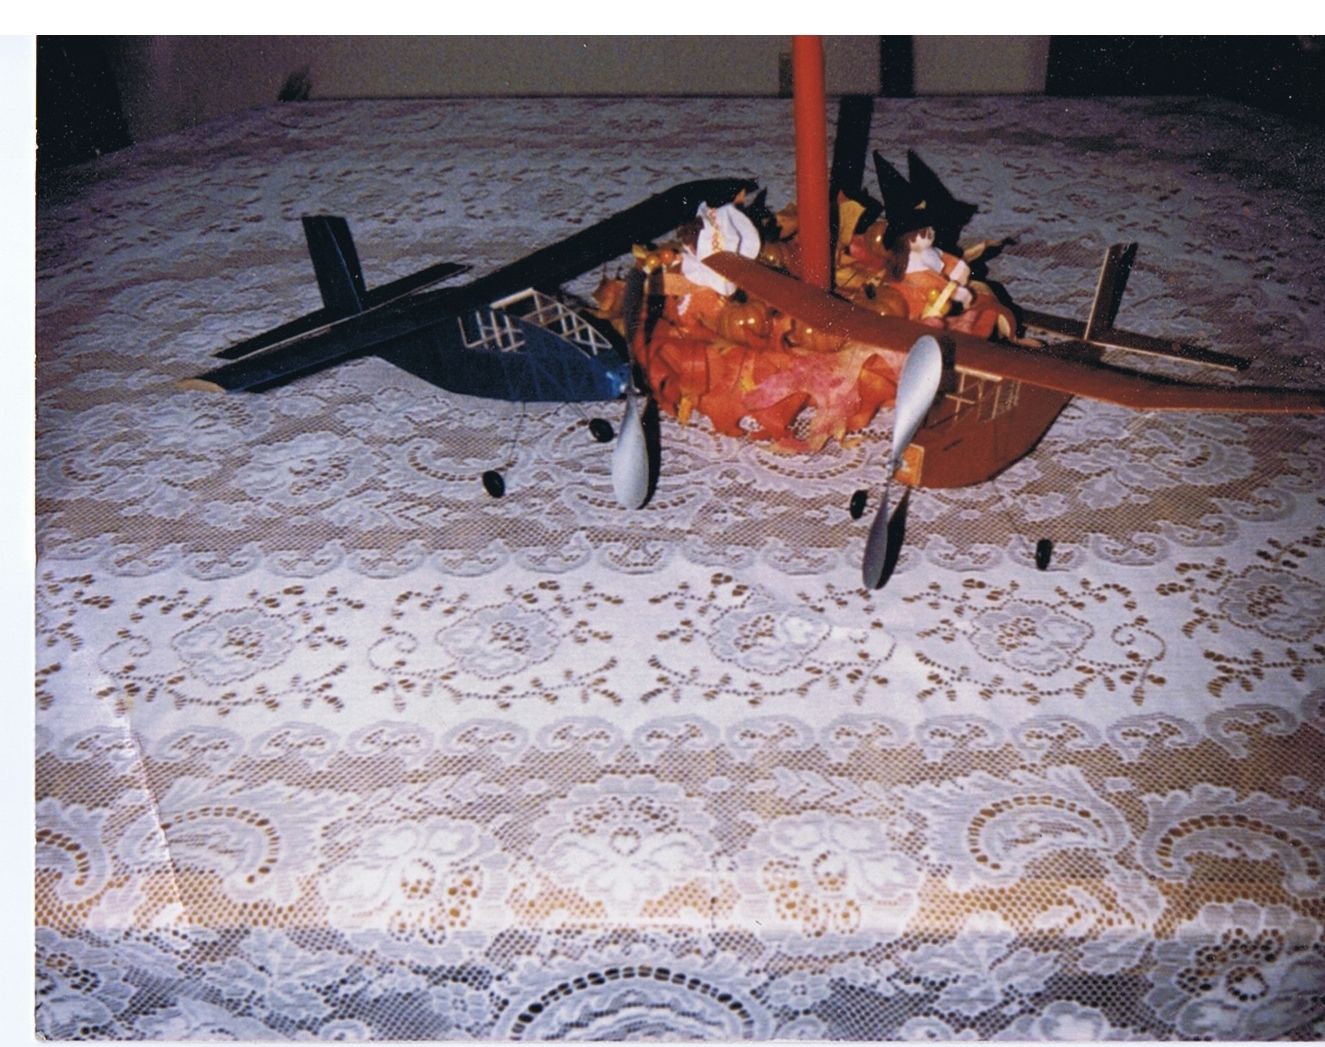
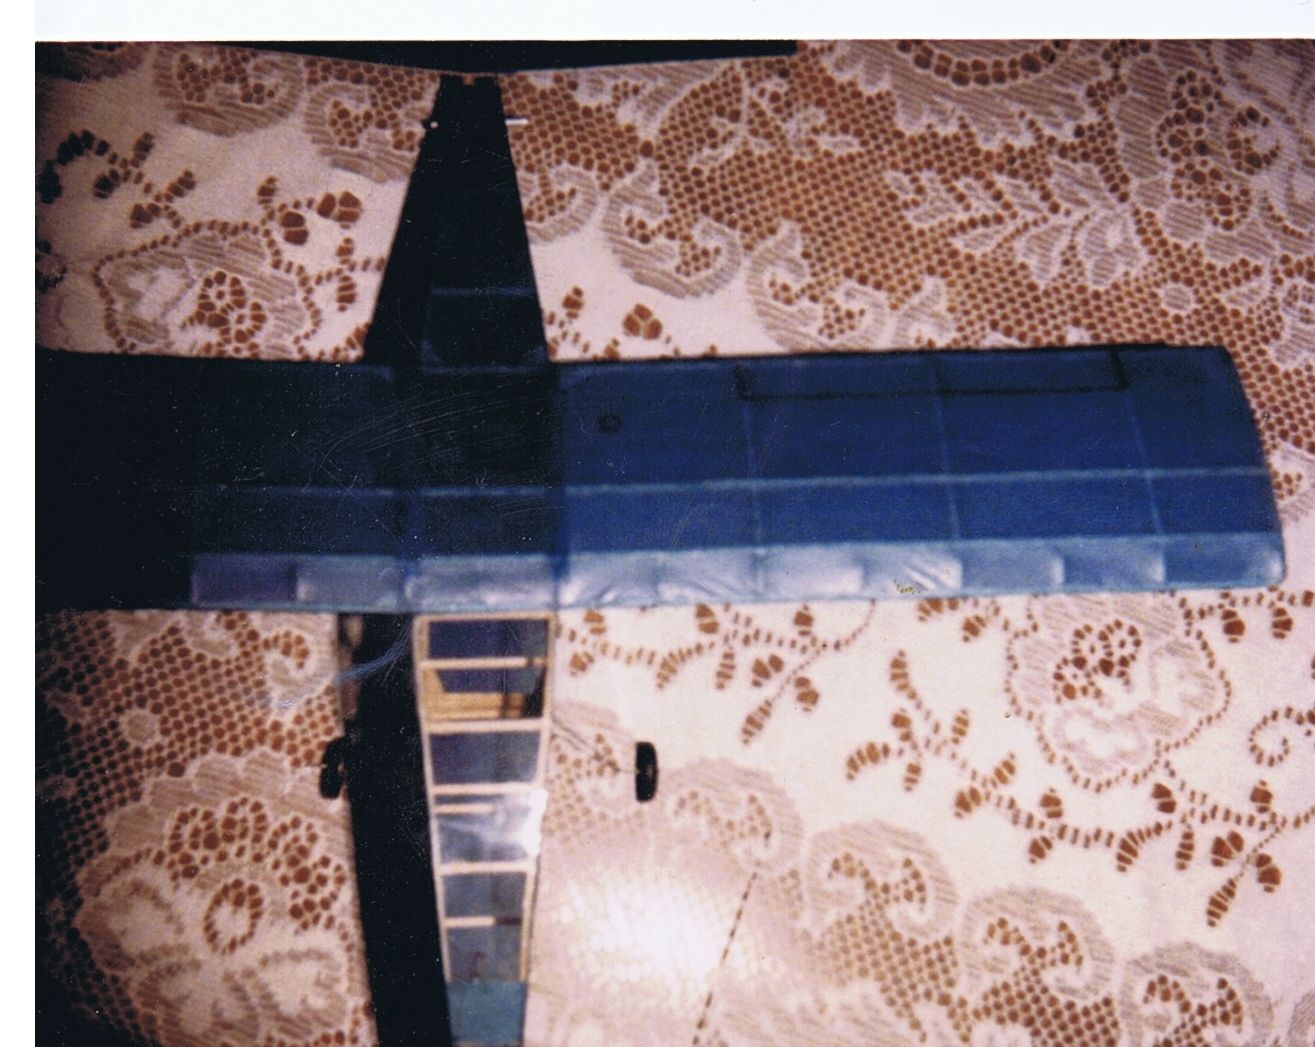
here's mine...

bp
bp
William H. Parker Jr. (Bill Parker)
President, Parker Information Resources
http://www.parkerinfo.com/ap.htm bparker@parkerinfo.com
President, Parker Information Resources
http://www.parkerinfo.com/ap.htm bparker@parkerinfo.com
-
wingnut
- Posts: 36
- Joined: Thu Nov 26, 2009 9:42 pm
- Location: Kalamazoo, MI
I'll be watching this one with interest(not that I don't watch ALL of your builds with interest..just sayin'), I'm building one of these too, and stumbling around in the dark for hints and tips to try and make it fly since nobody seems to build this model (for good reason I hear).
good luck!
good luck!
not your average nut.
-
scigs30
- Posts: 855
- Joined: Mon Nov 06, 2006 11:31 am
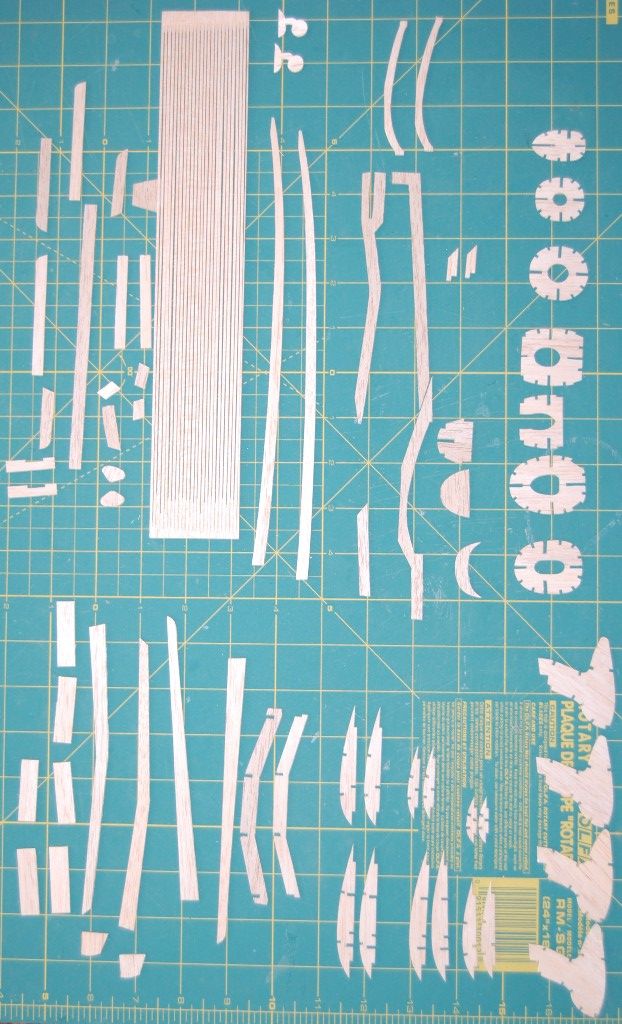
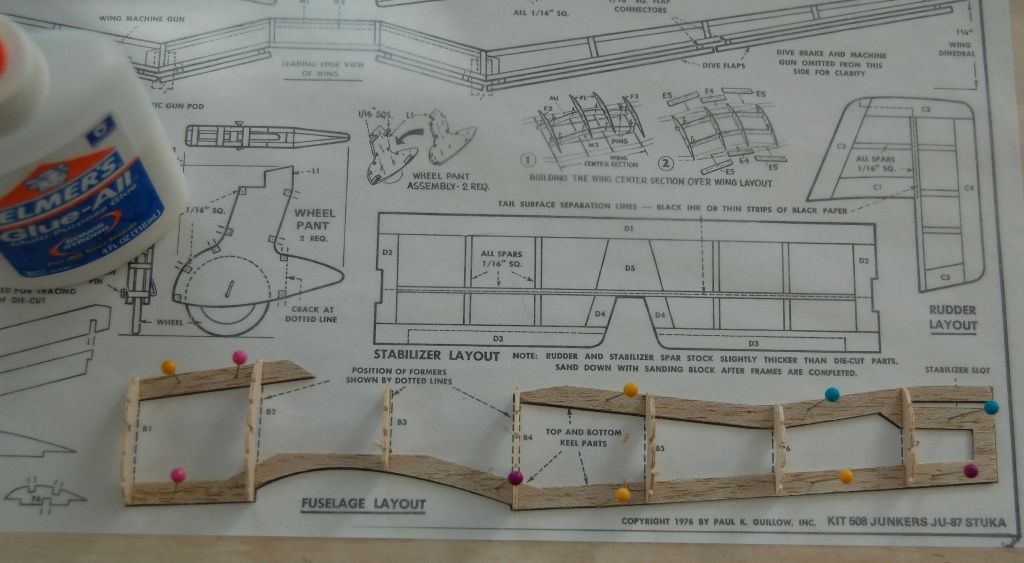
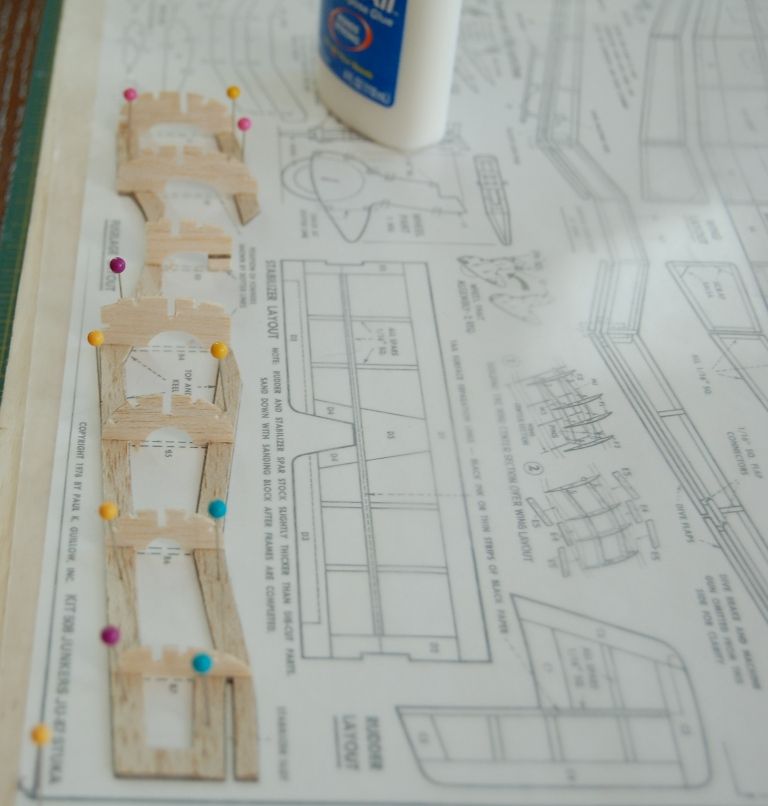
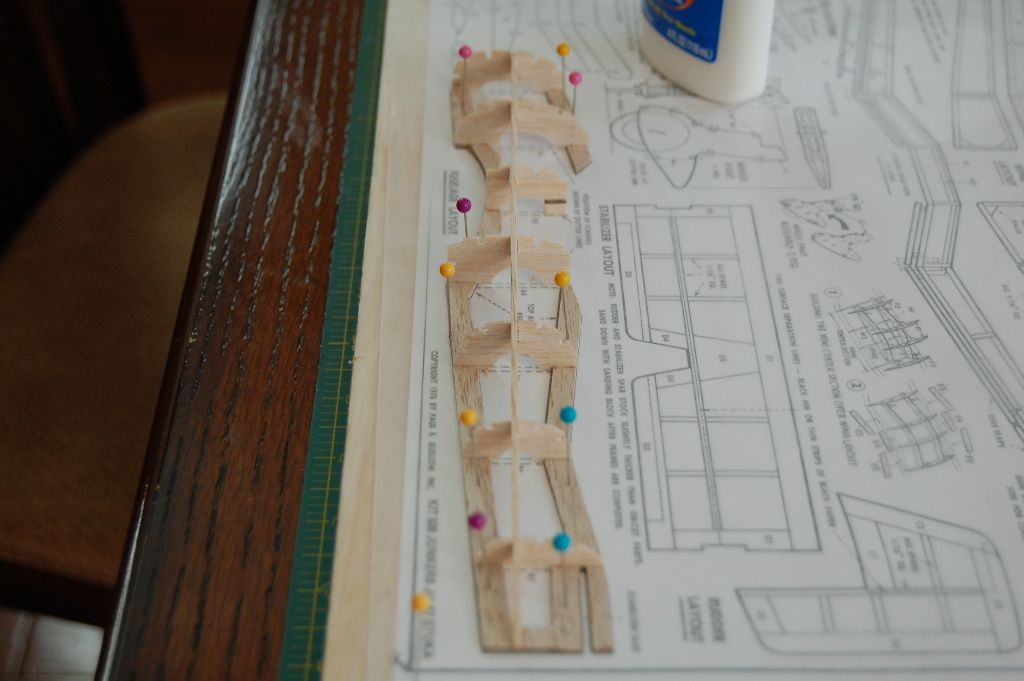
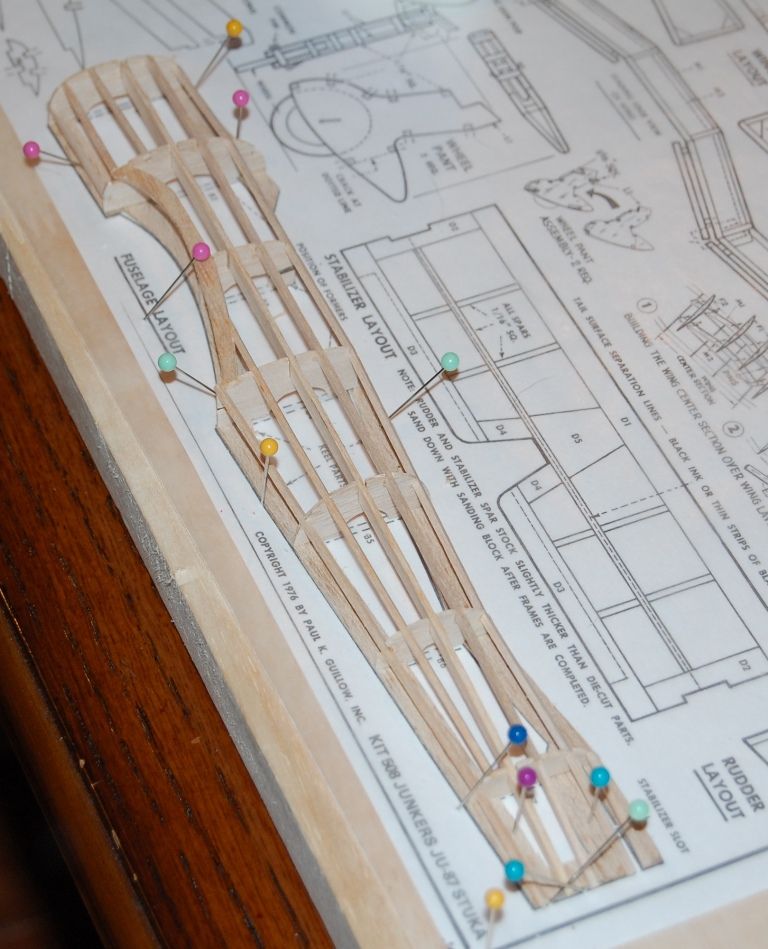
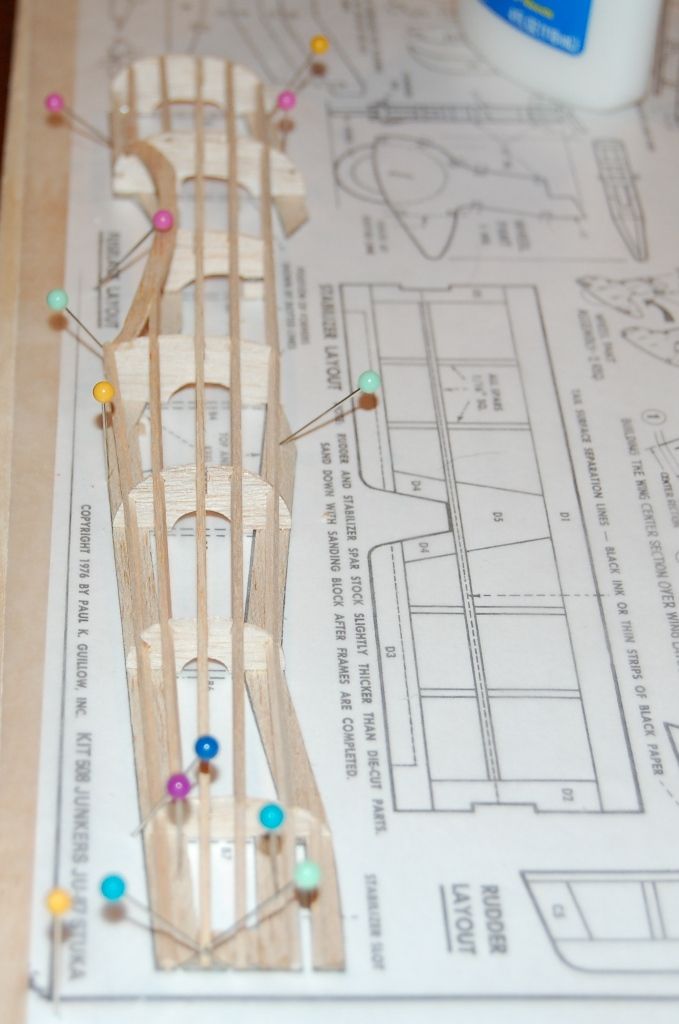
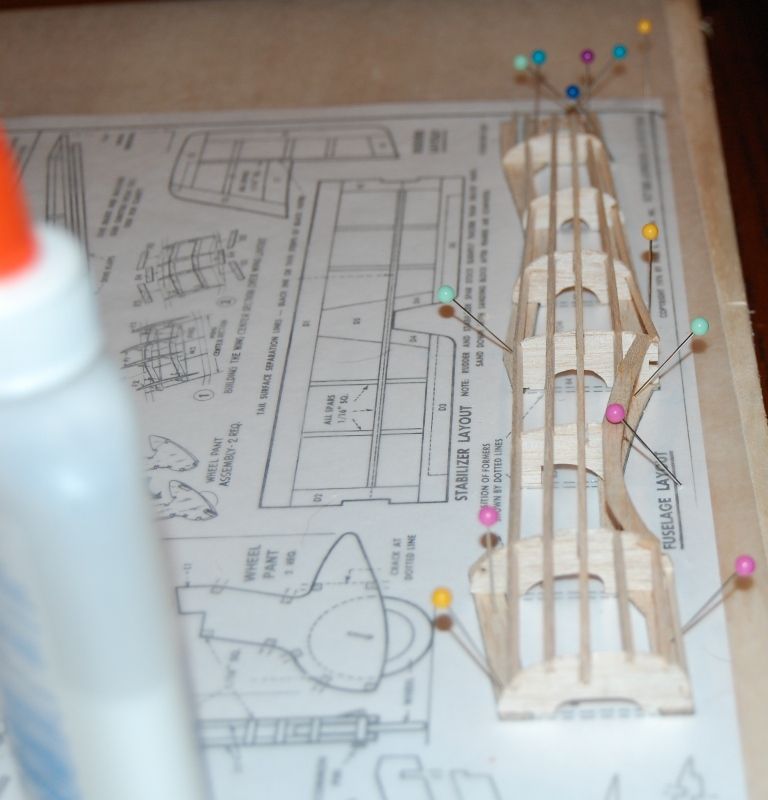
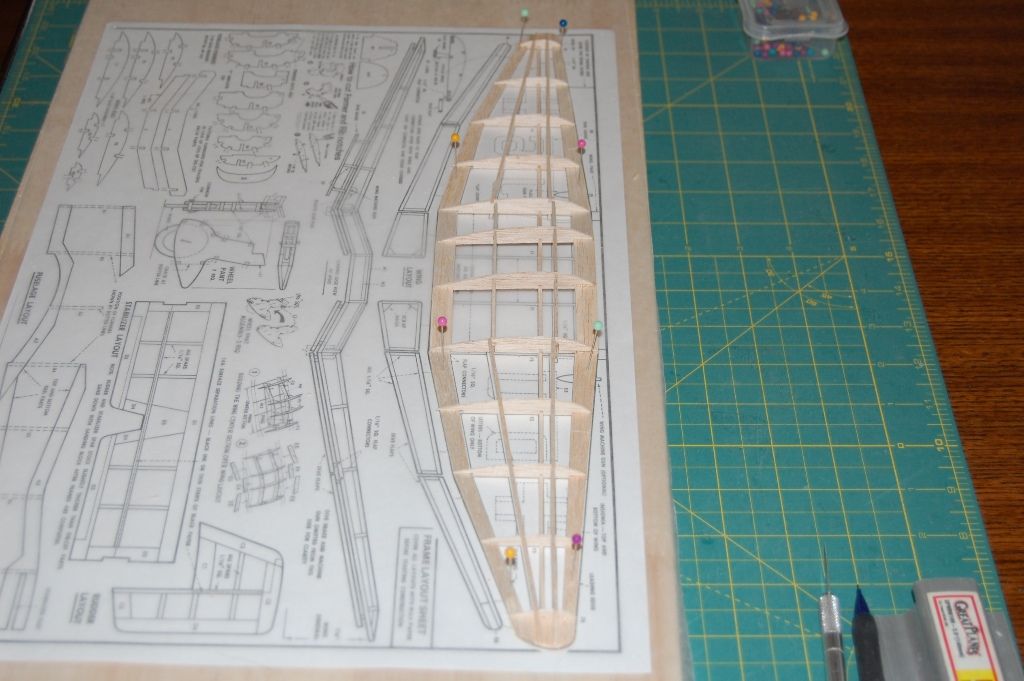
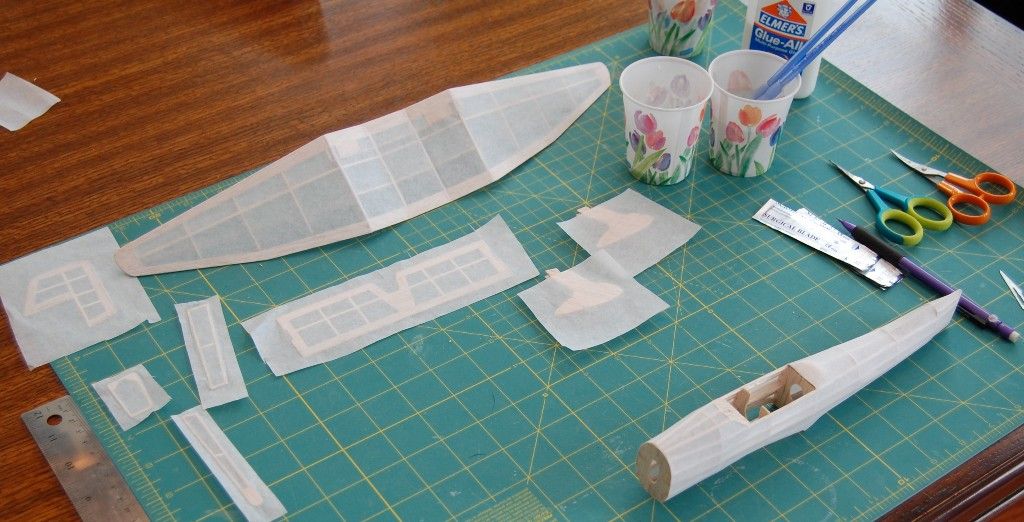
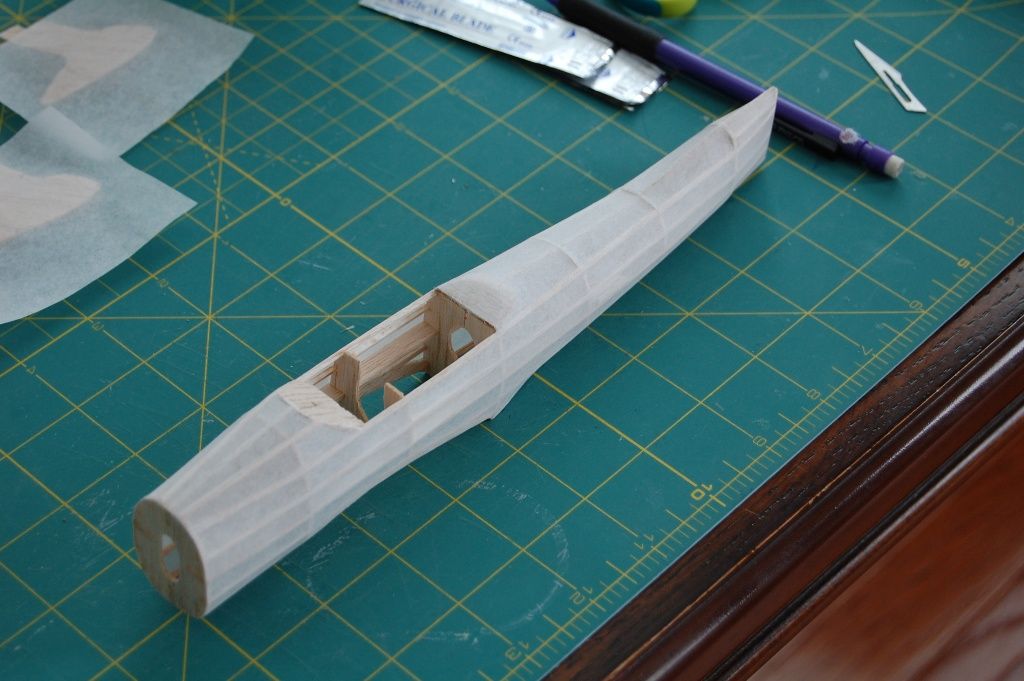
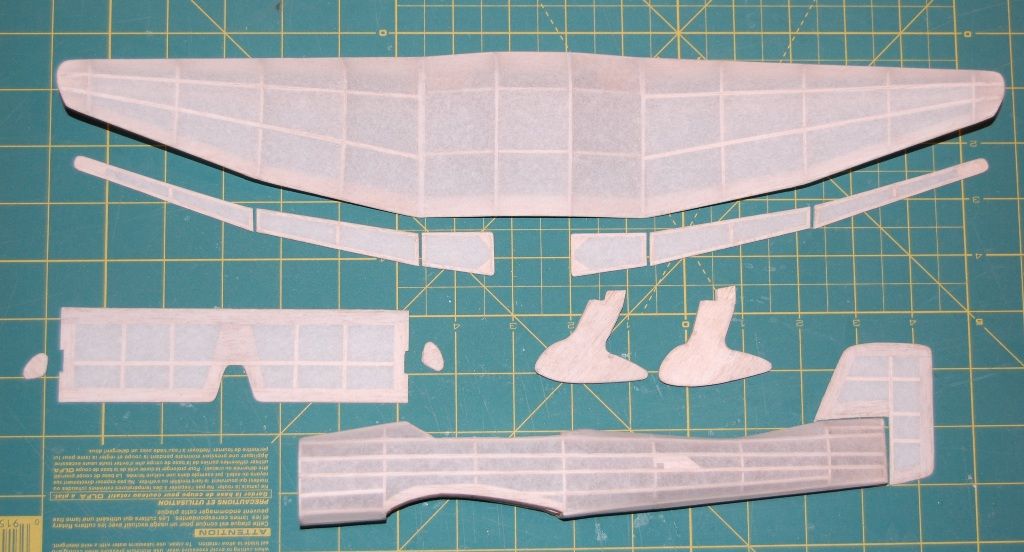
Here is another shot of the wood before I sanded the back and punched it out. The dark piece is actually one of the lightest pieces of them all. The die cut is nice and sharp with no real crushed wood. I punch out all the parts and match them up with the plans. I sand them to the exact shape and sand off the print. This bird uses a lot of wood, the total weight of everything you see on the board including the stringers is 11 grams.
I will start building the fuselage tonight.
I will start building the fuselage tonight.

-
scigs30
- Posts: 855
- Joined: Mon Nov 06, 2006 11:31 am
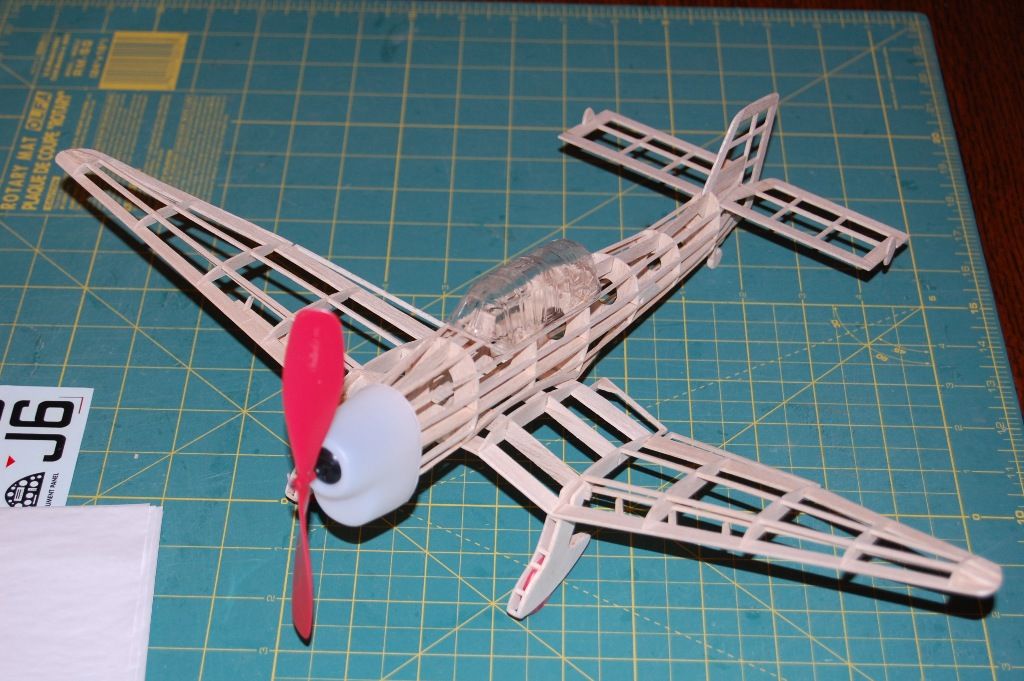
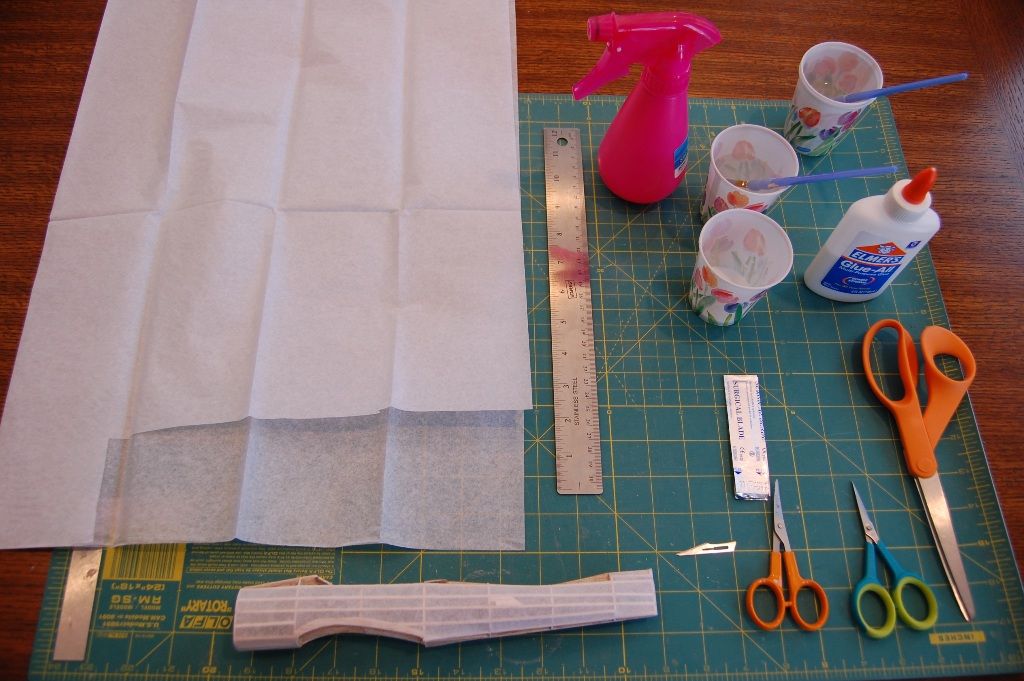
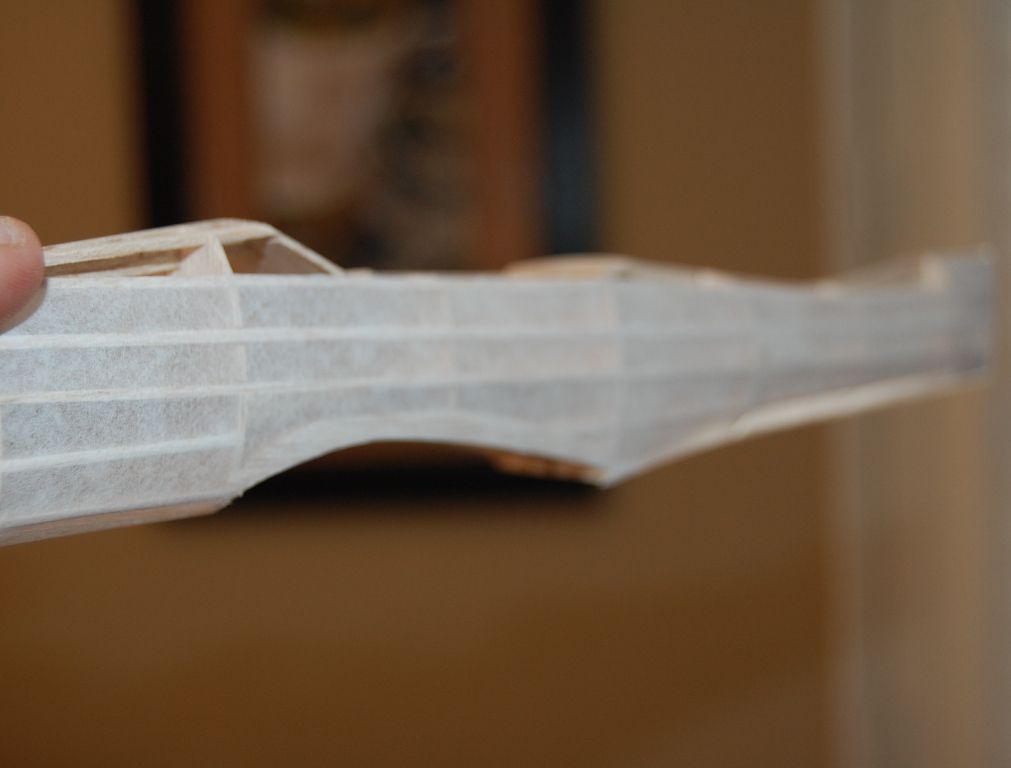
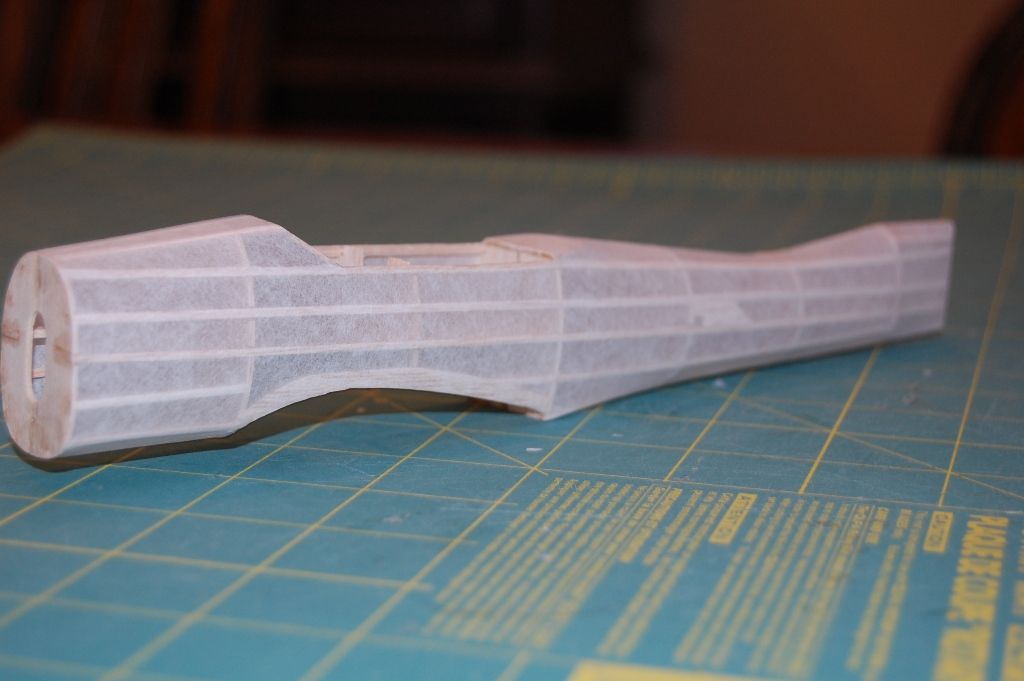
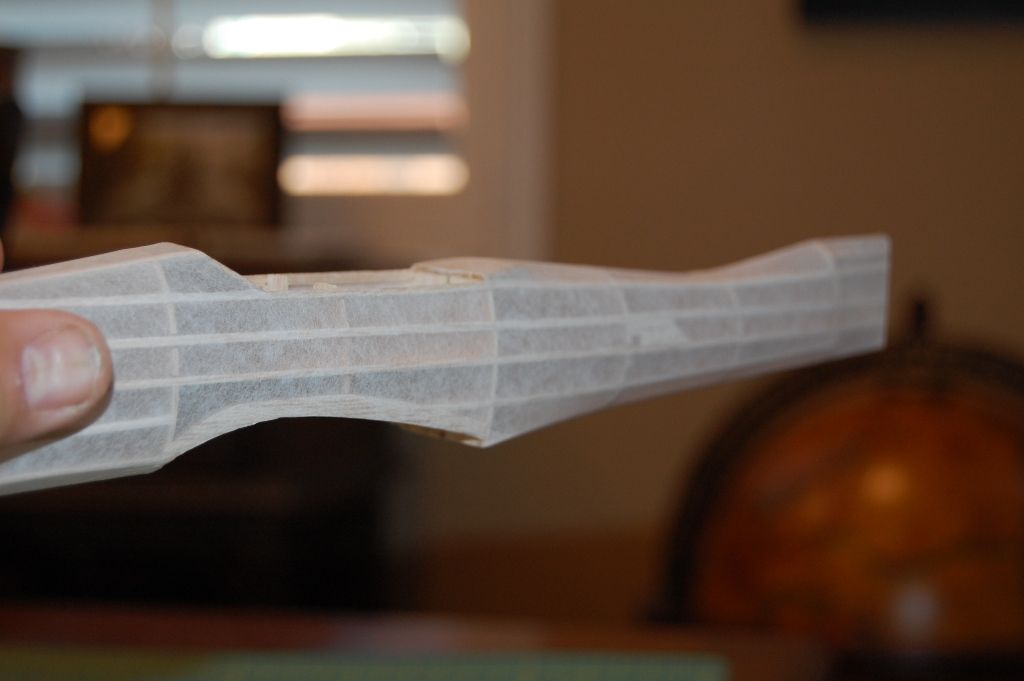
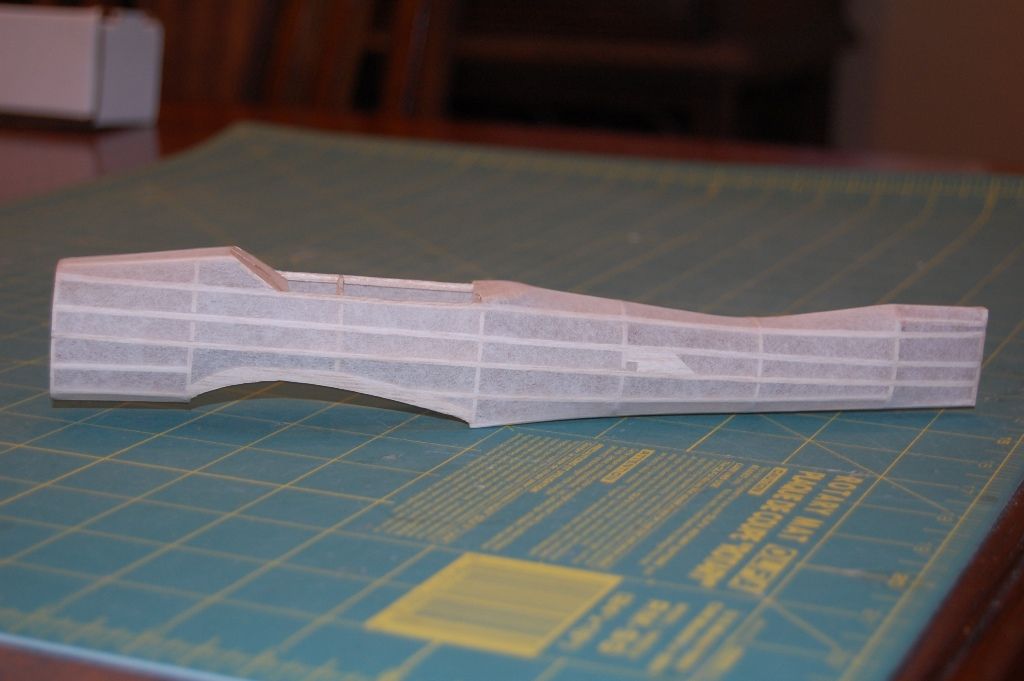
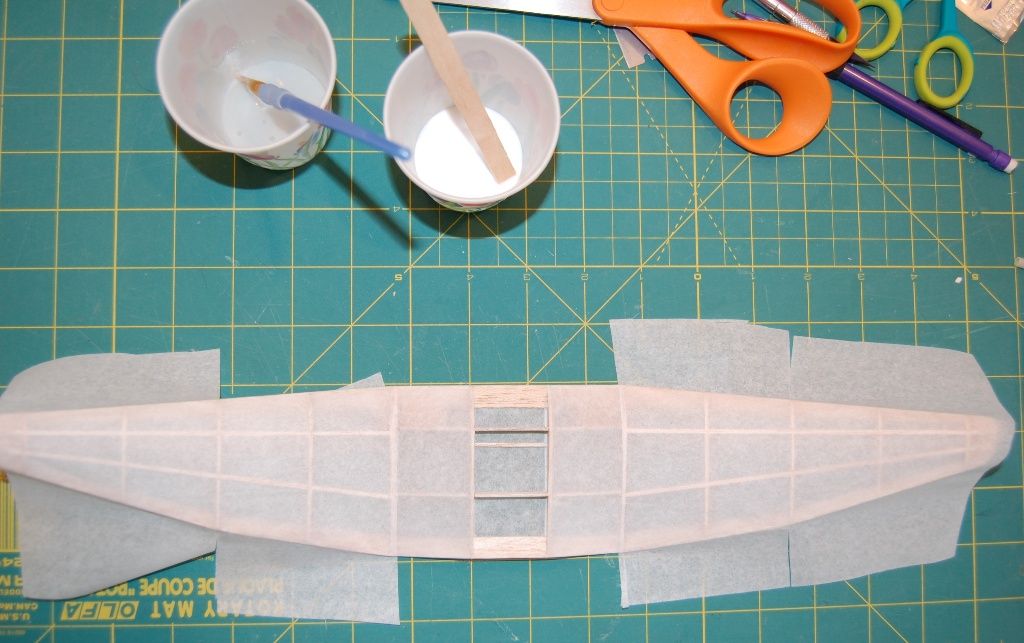
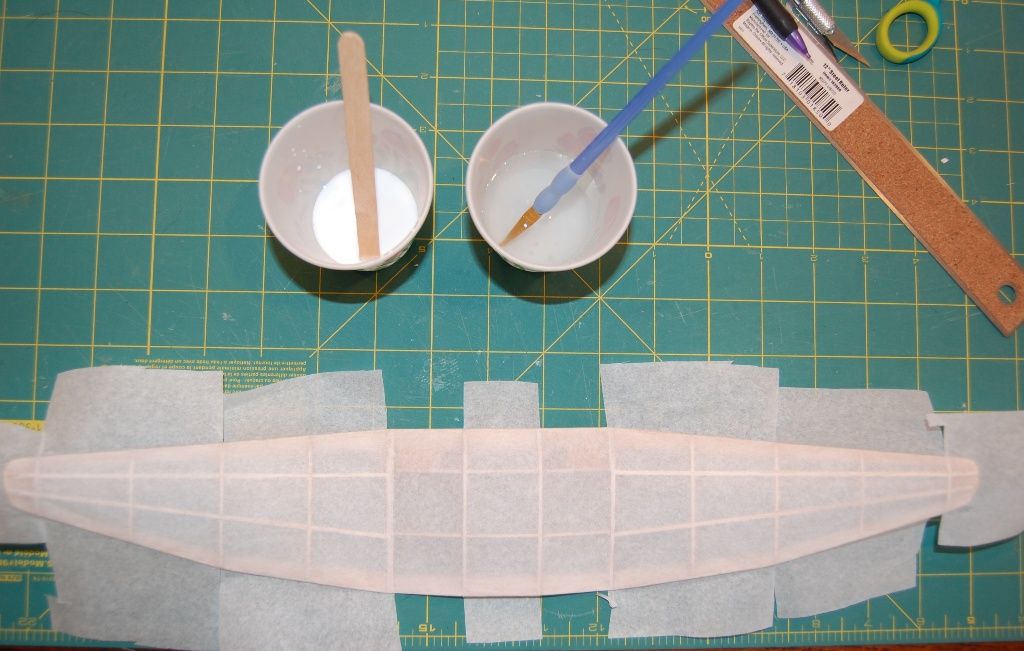
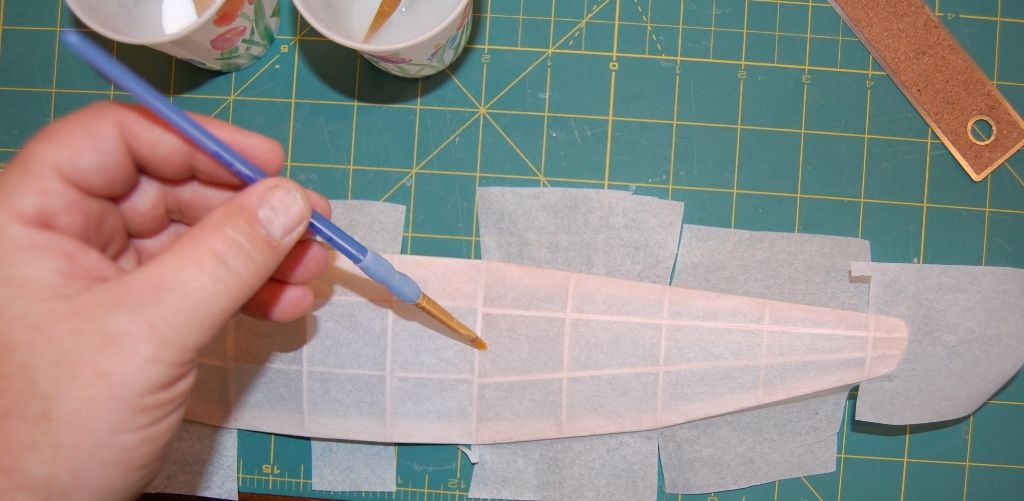
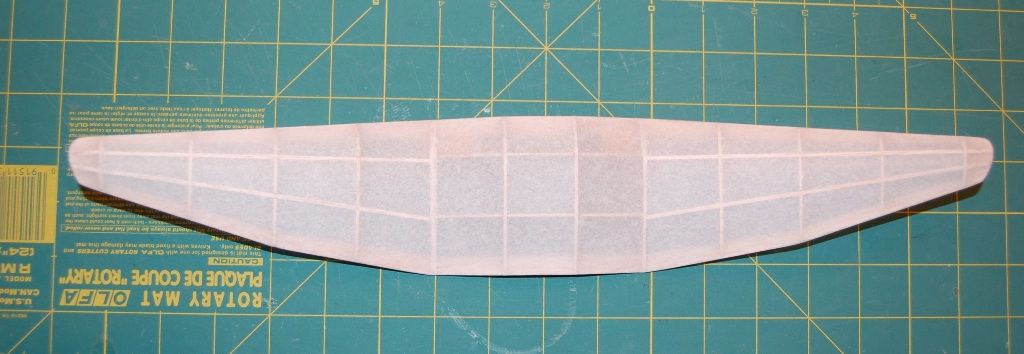
The build and covering went pretty quick, now the decision of what color scheme to use. Part of me thought about just leaving it white, but I can't say I would be happy with that. So far as shown on the board, she weighs 15 grams. I used the kits tissue, I am enjoying this tissue more and more when compared to Esaki. I used thinned Elmer's white glue to attach the tissue. I covered the fuselage with wet tissue so I did not have to use very many pieces, nothing tricky here. I first brushed on the Elmer's glue mixture and let it sit on the frame for awhile. Then I moistened the piece of tissue and laid it on the tacky fuselage. This prevents the tissue from ripping when it hits the wet glue. I slowly pull out the wrinkles and the wet tissue re activates the glue making the tissue stick. If not, I just brush water or the glue mixture over the area where it is not sticking. I really like this technique, but it does take practice. The good thing about the Elmer's glue is if I mess up, I can just brush on copious amounts of water on the tissue and it pulls right up. Also I wait a day or so to shrink the tissue after it was glued on the frame. This allows the glue to dry and the tissue to settle. Then when I spray the tissue, I mist on the water, and it is very important not to drench the tissue. I guarantee if you drench the tissue, you will get wrinkles. The next paragraph will detail how I covered the wing, since it was a little complicated.
This is one piece of tissue, covered wet.
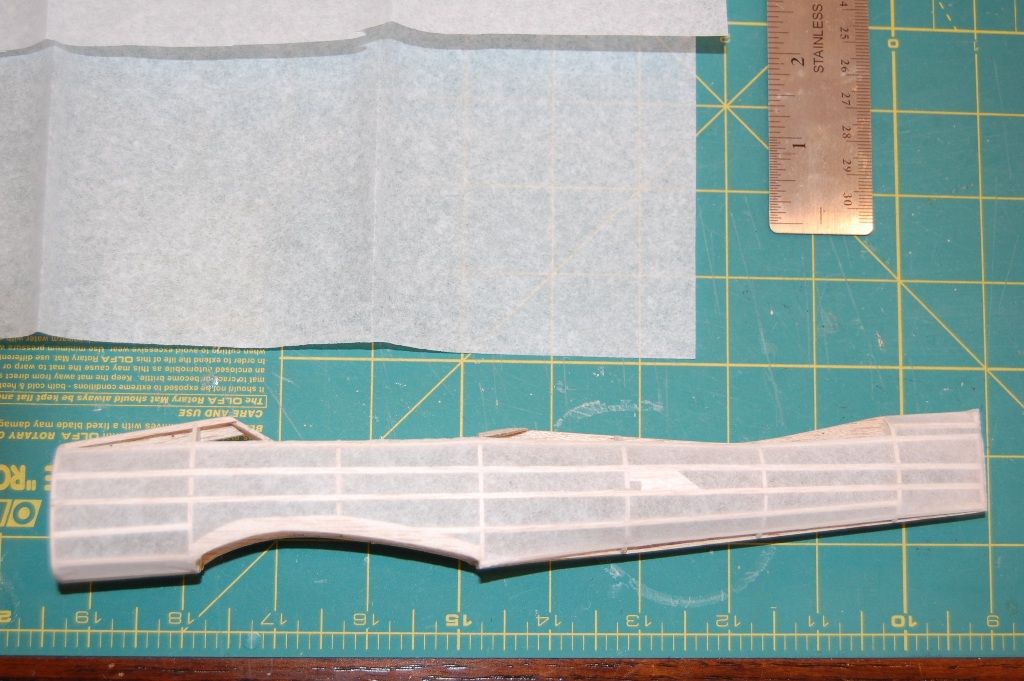
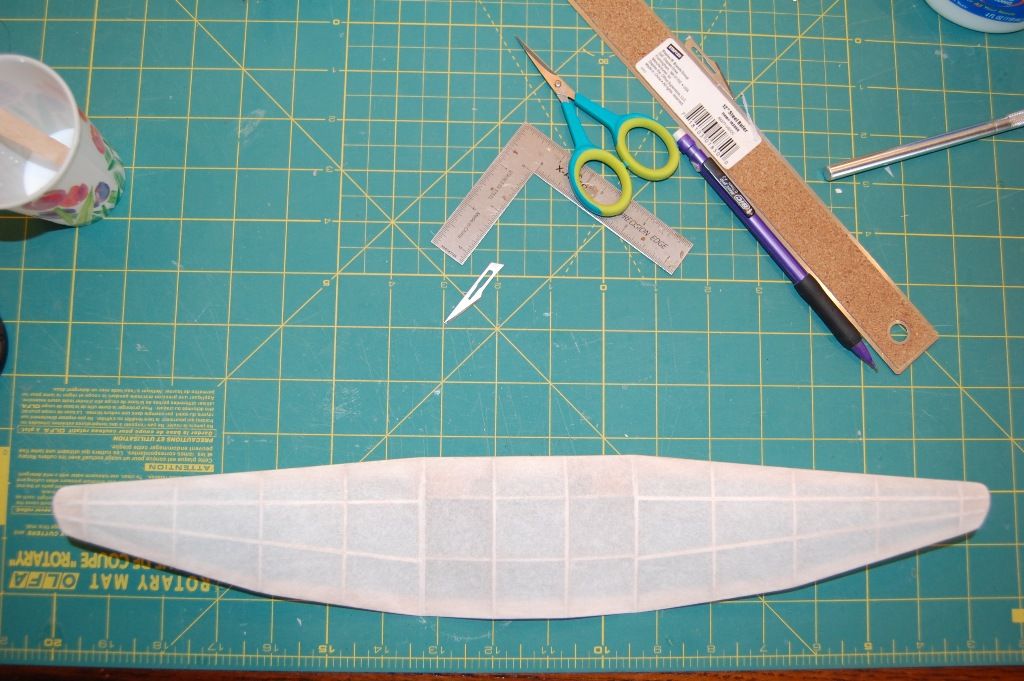
All ready tight and almost wrinkle free.
Fuselage covered and ready for shrinking.
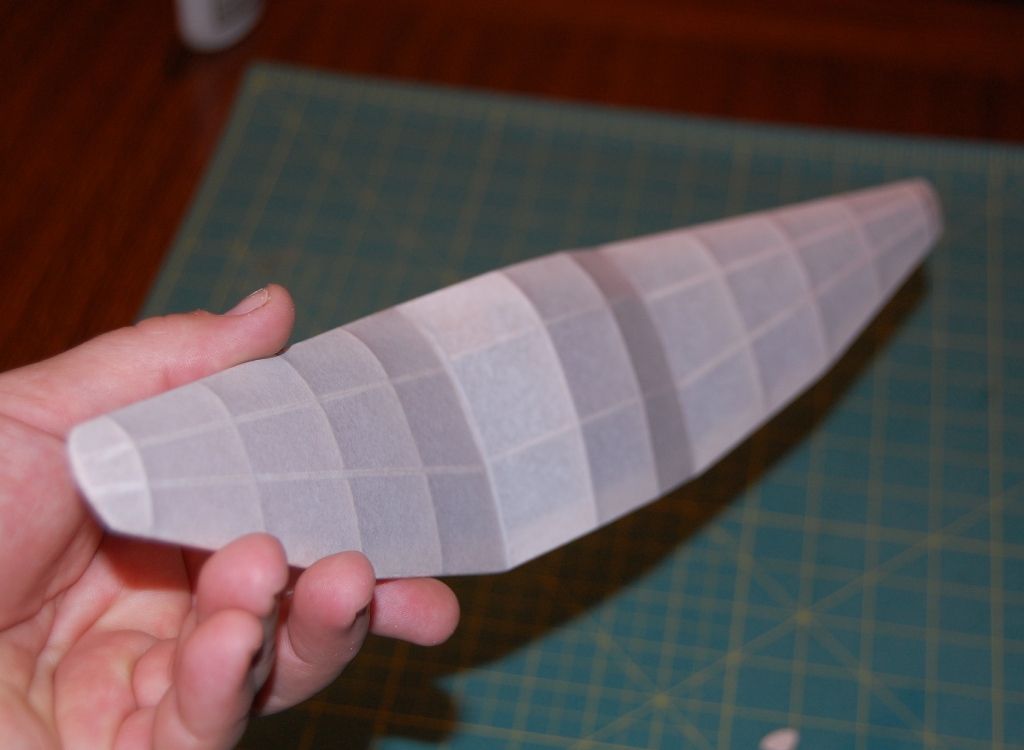
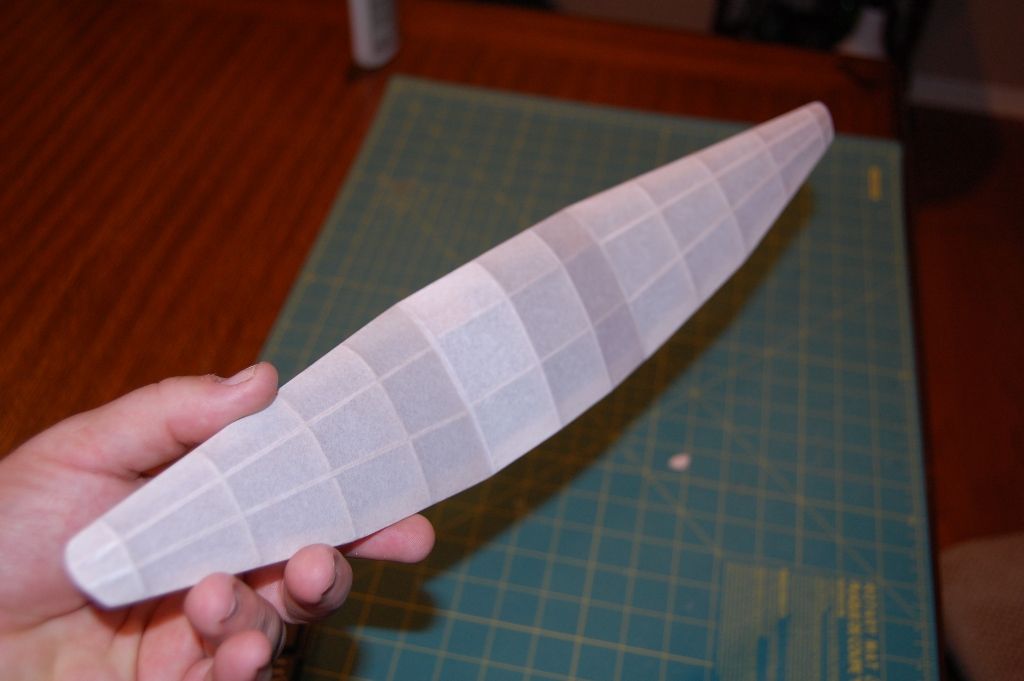
After water misting
This is one piece of tissue, covered wet.
All ready tight and almost wrinkle free.
Fuselage covered and ready for shrinking.
After water misting
-
scigs30
- Posts: 855
- Joined: Mon Nov 06, 2006 11:31 am
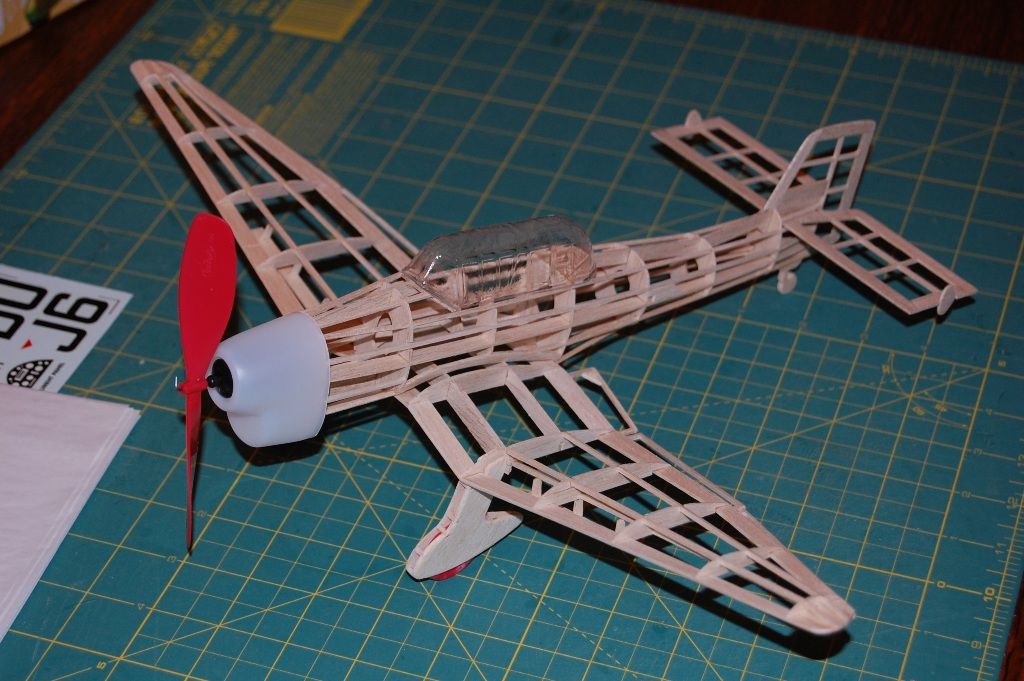
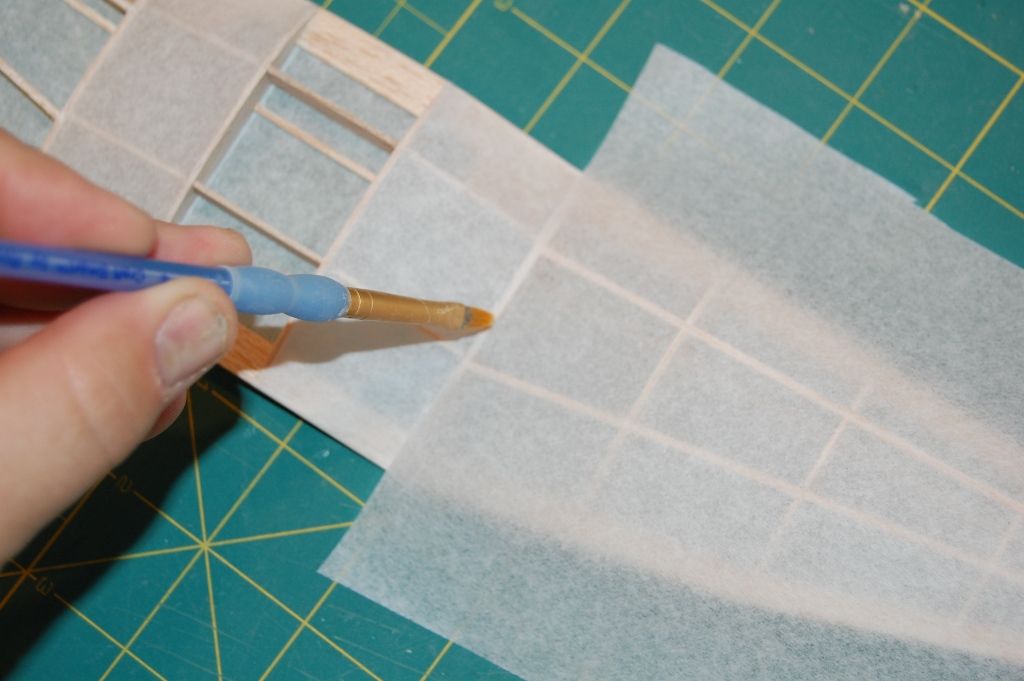
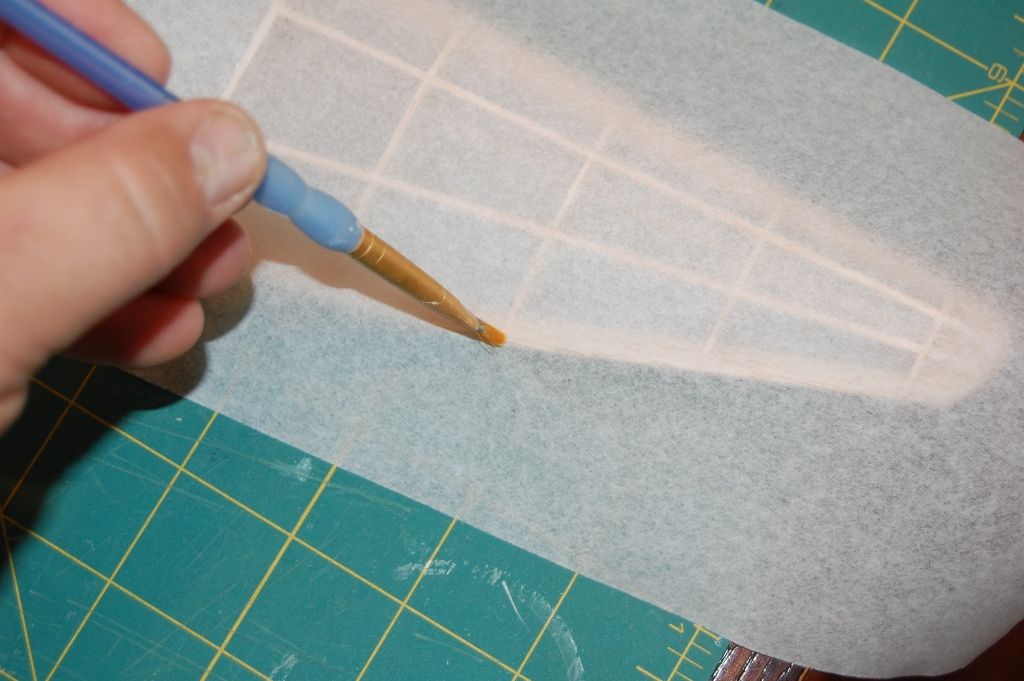
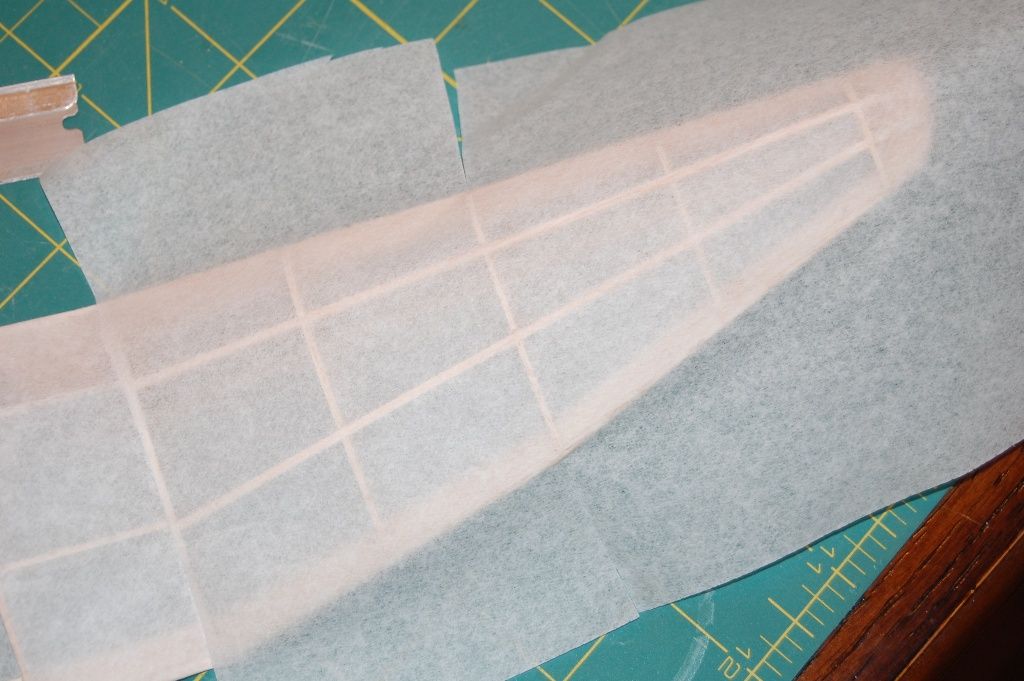
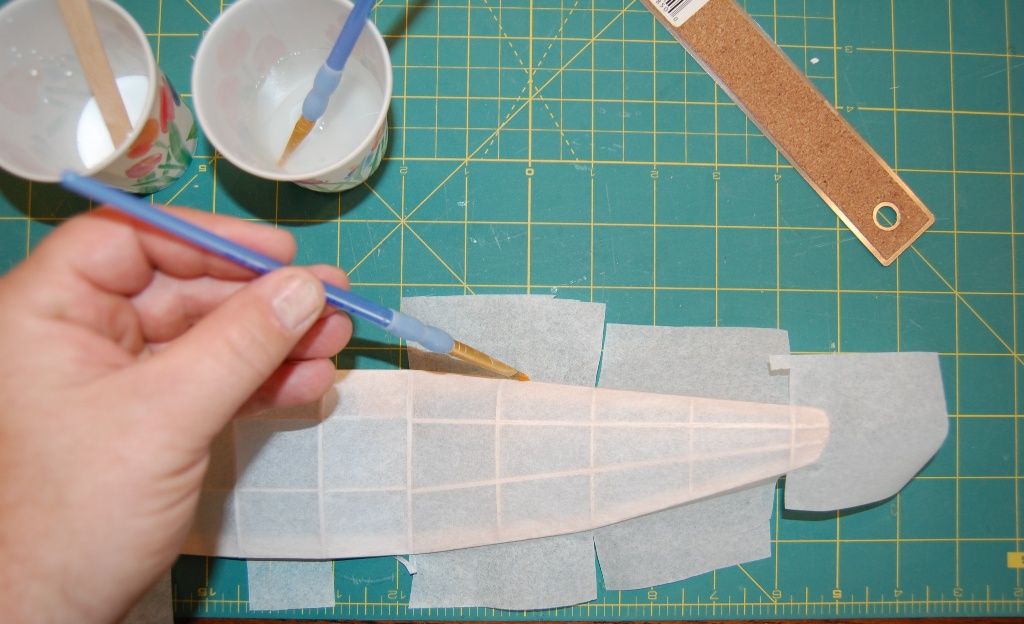
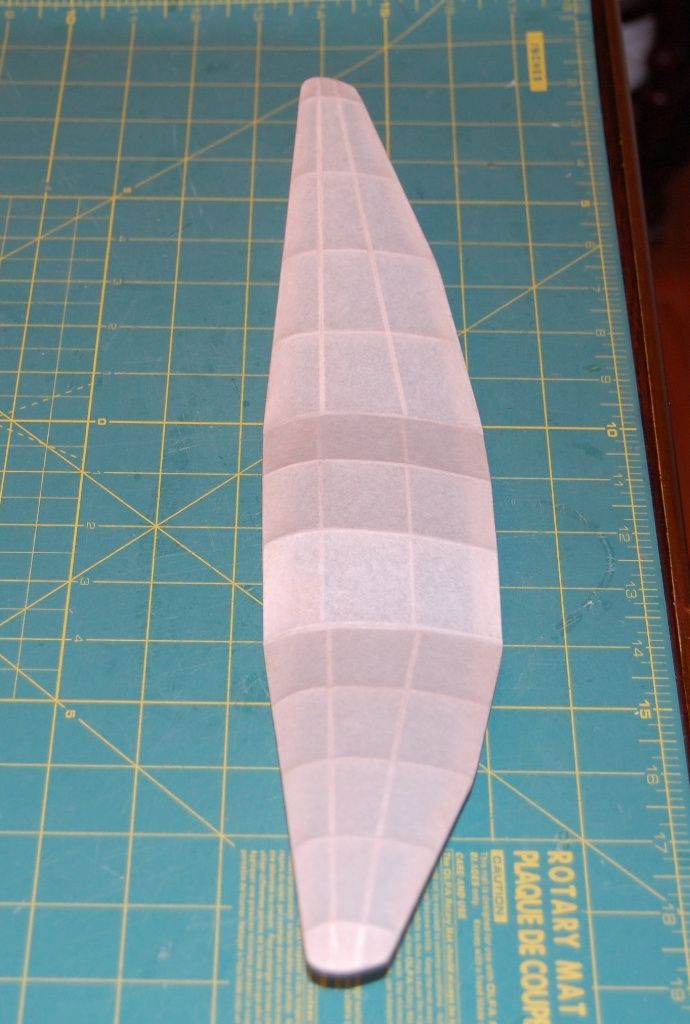
The wing can be a little tricky because of the taper and dihedral. I covered the wing with dry tissue to prevent warps. The small sections are easy, just lay the tissue down and work out any wrinkles. The taper section was covered like all my other wings. I first dab on a dot of glue on the root rib and tip rib, then attach the tissue at these two points. When that dries I put a dab of glue in the middle of the leading edge and trailing edge, once again securing the tissue. When this is dry, I cut some slits in the tissue where I think it is going to cause wrinkles. I then flip up one section of tissue, glue the frame and put the flap of tissue back on. I don't fuss much with the tissue, but I make sure there is no wrinkles. I then continue with the other 3 flaps. The wing is always the hardest part to make wrinkle free but this method works the best for me. I then do the tips separately. Finally I glue the edges down once again to secure the tissue. When dry, I trim the tissue and glue the excess down. Wait a few hours or a day and lightly spray the tissue. I only spray the tissue until the wrinkles are gone. Once again, I don't saturate the tissue since this will cause wrinkles. Now I will brush on 2 coats of dope before painting.
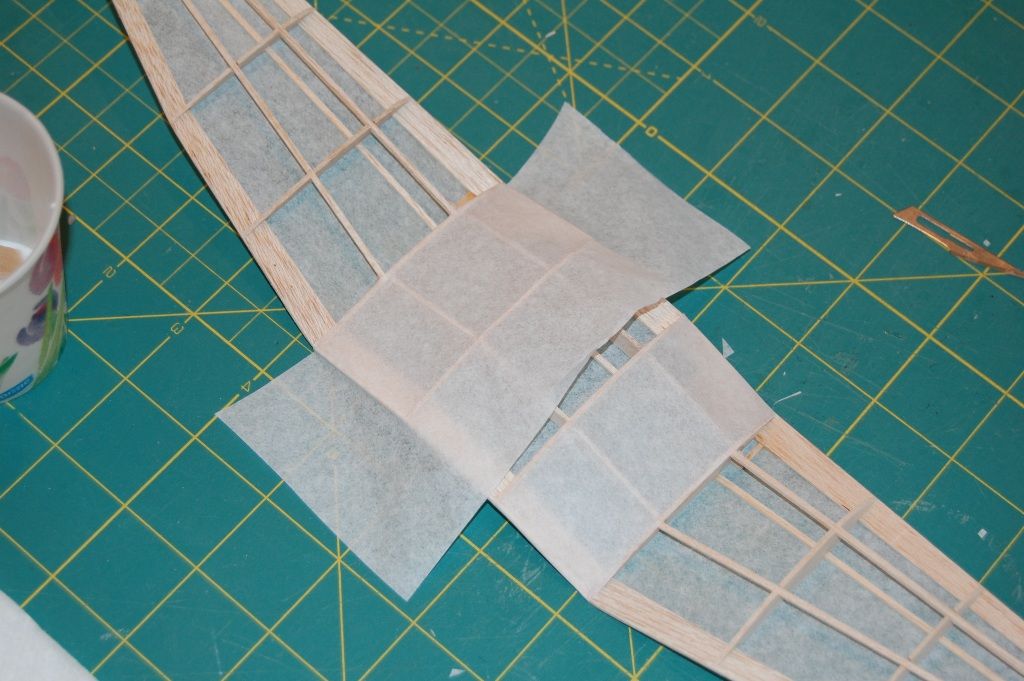
First dab of glue
Second dab of glue, then let these two dabs of glue dry.
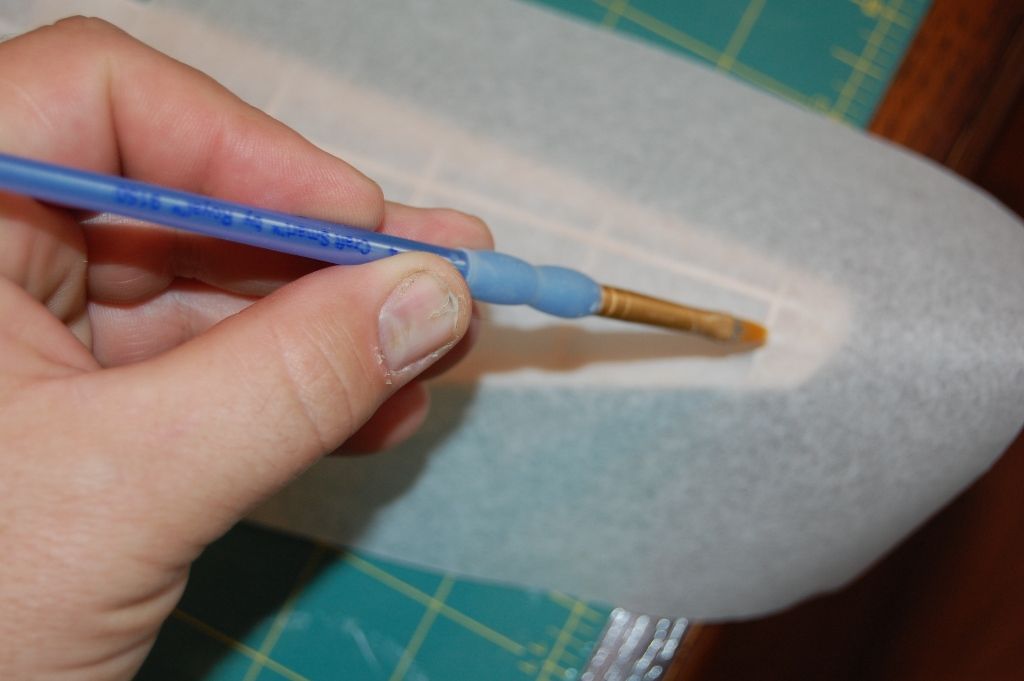
Once the glue is dryed, I apply a dab of glue in the middle of the leading edge and one on the trailing edge, this now makes 4 flaps of tissue that still need to be glued down.
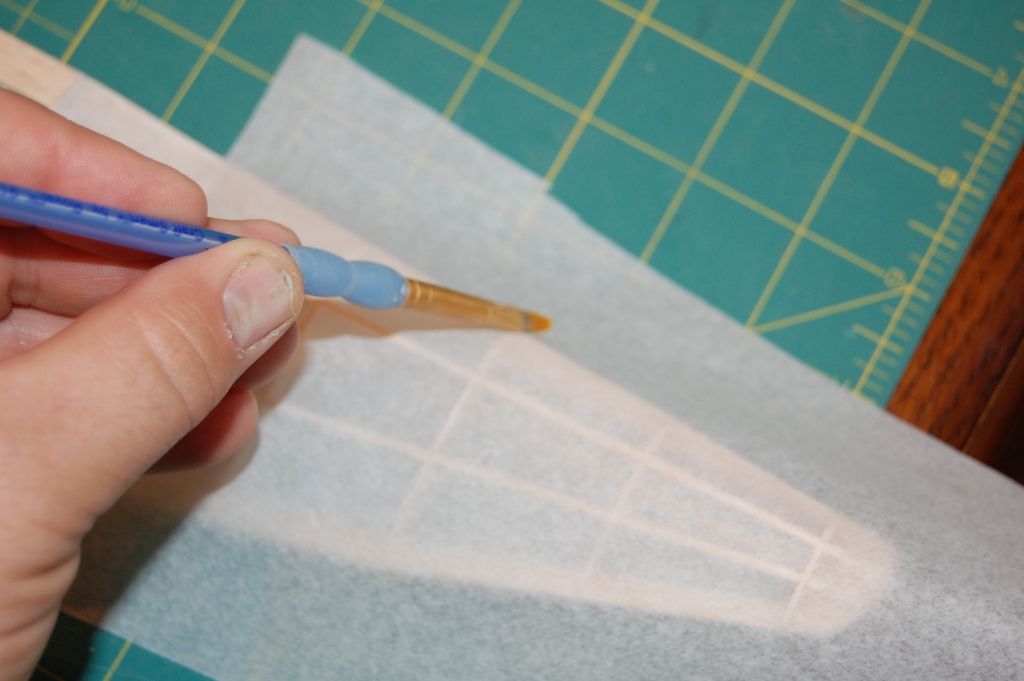
Then I cut slits in the excess tissue.
First dab of glue
Second dab of glue, then let these two dabs of glue dry.
Once the glue is dryed, I apply a dab of glue in the middle of the leading edge and one on the trailing edge, this now makes 4 flaps of tissue that still need to be glued down.
Then I cut slits in the excess tissue.
-
scigs30
- Posts: 855
- Joined: Mon Nov 06, 2006 11:31 am
-
scigs30
- Posts: 855
- Joined: Mon Nov 06, 2006 11:31 am
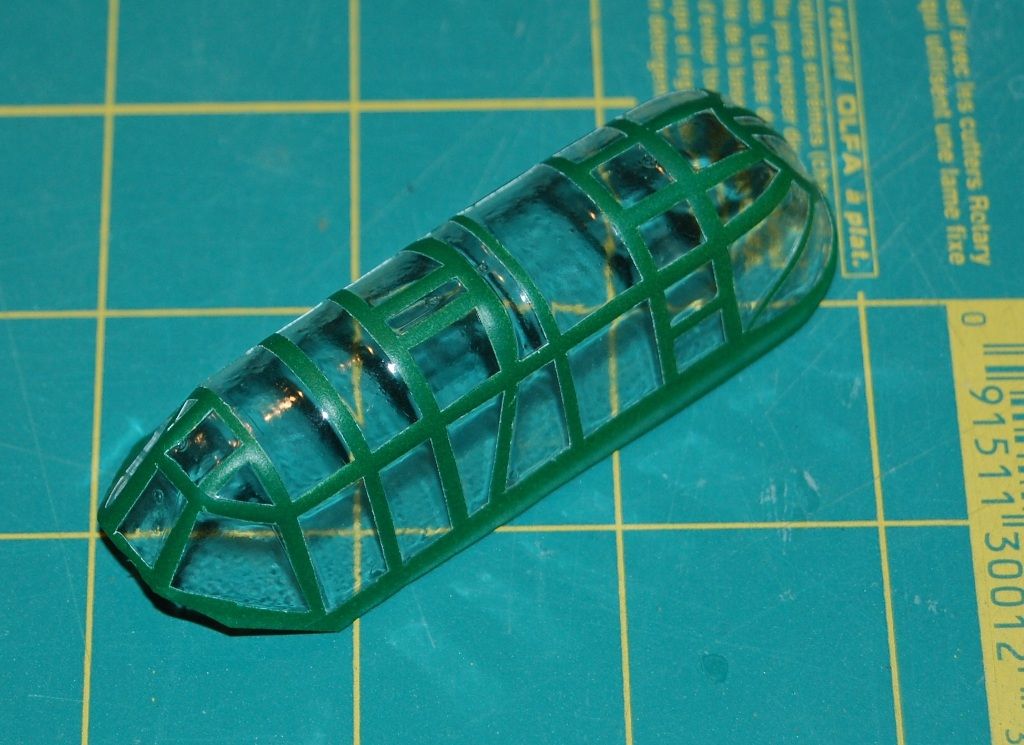
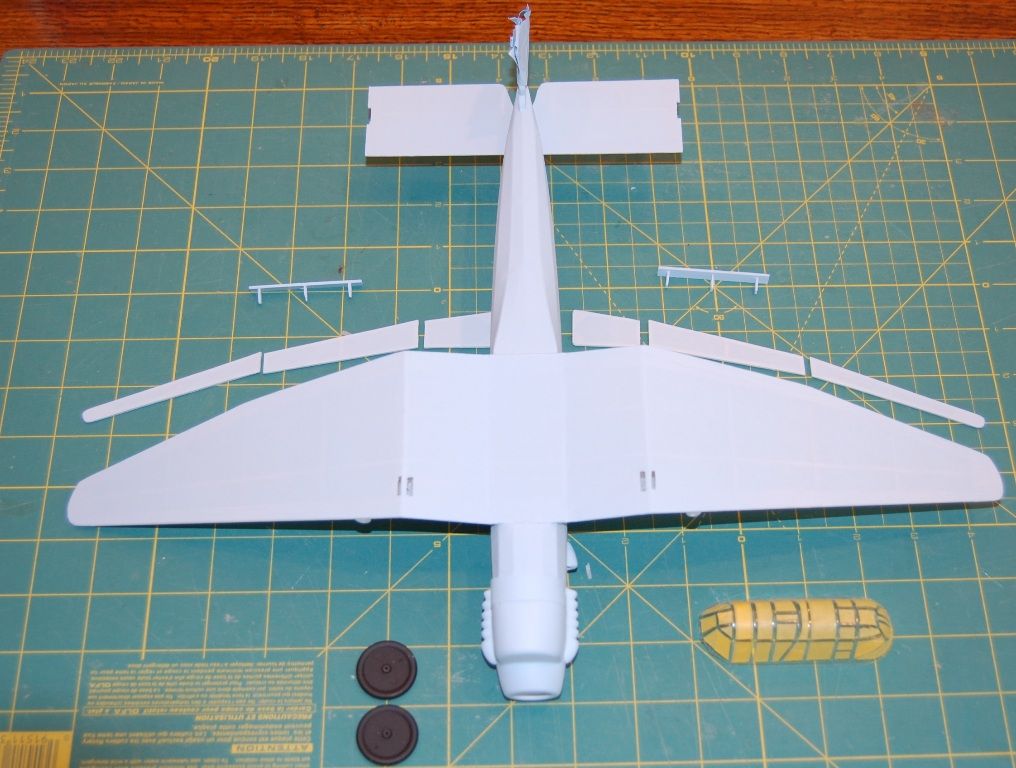
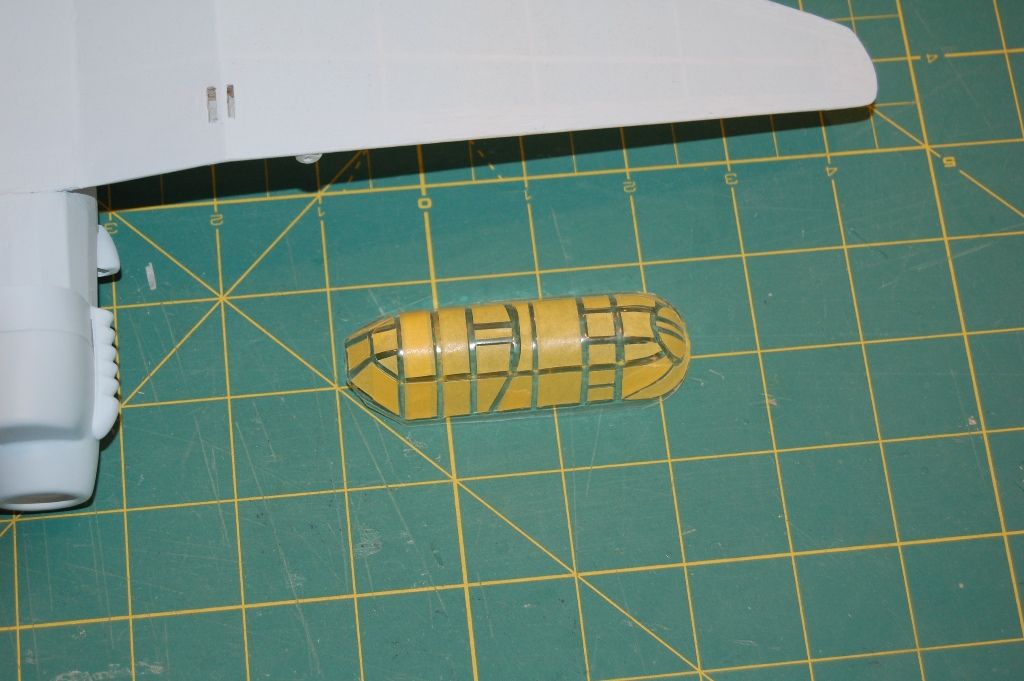
Here I go with the painting. I am once again trying Design Masters spray paint. I am dusting it on lightly and will see how much weight it adds since I will be painting 3 different colors. The first coat is the light blue. The canopy is all masked and ready for paint. I will put a light coat of primer on the canopy so the paint adheres better.
-
scigs30
- Posts: 855
- Joined: Mon Nov 06, 2006 11:31 am
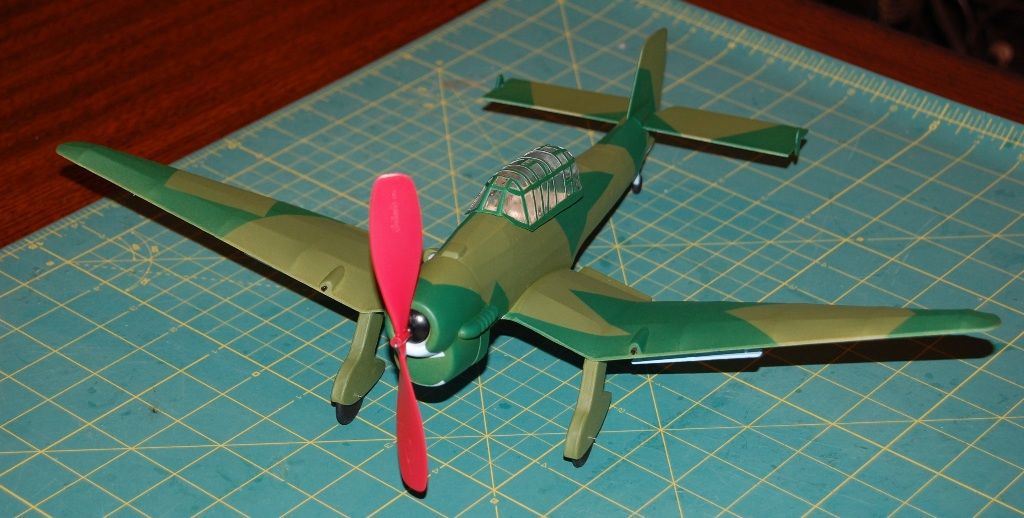
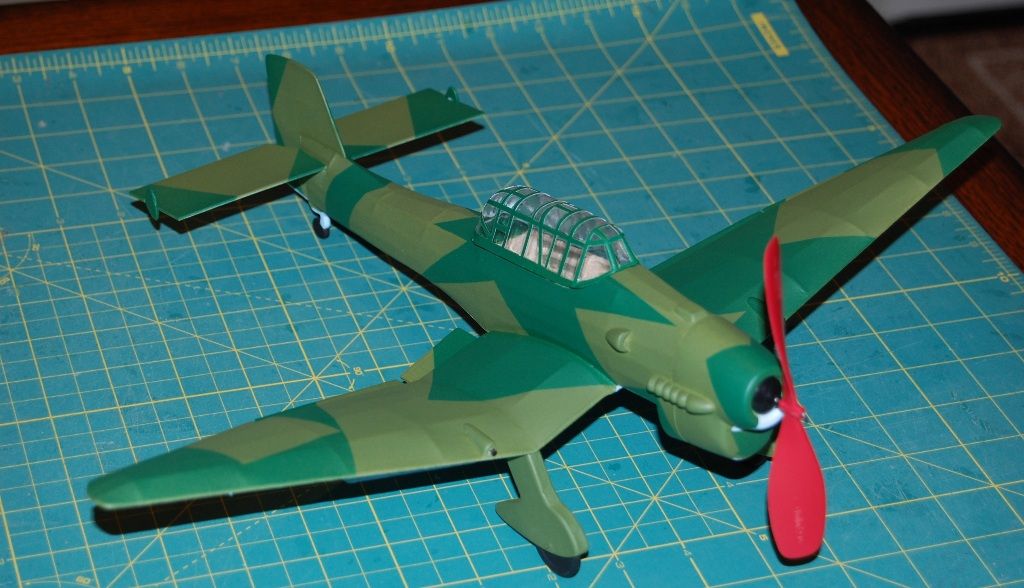
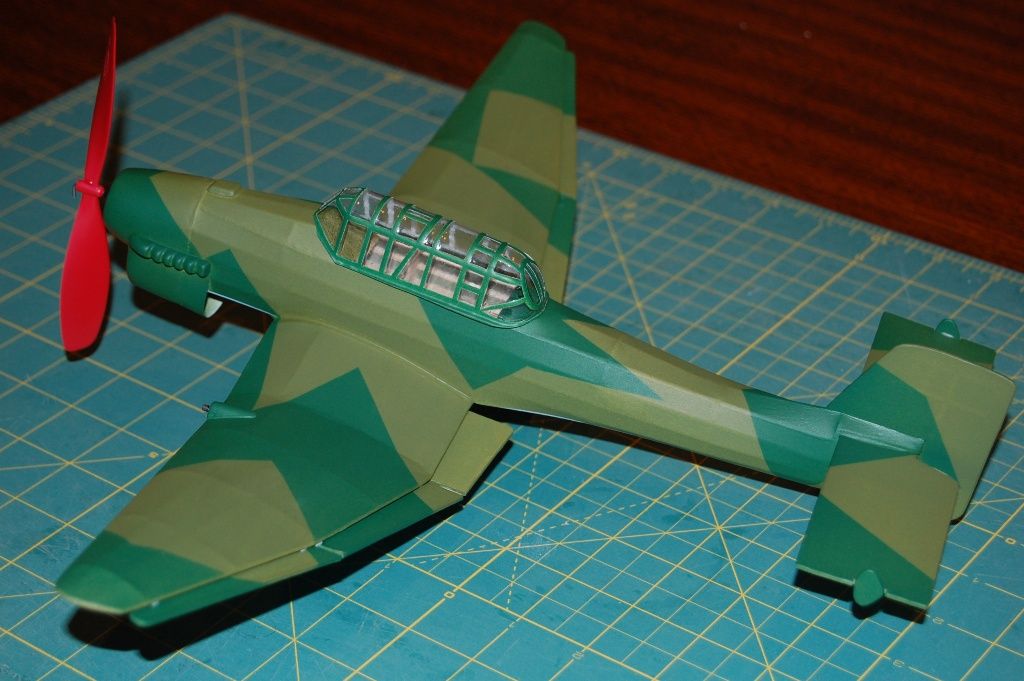
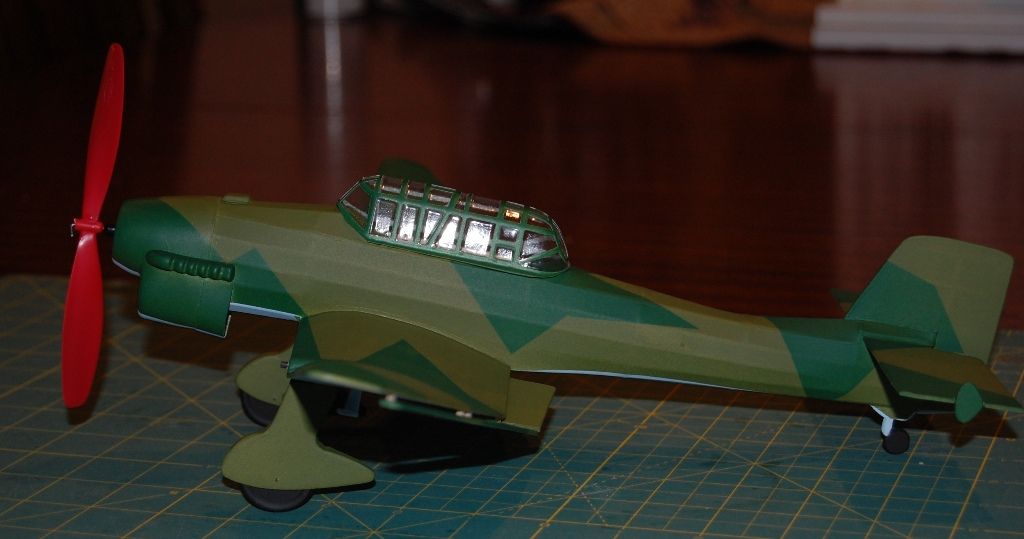
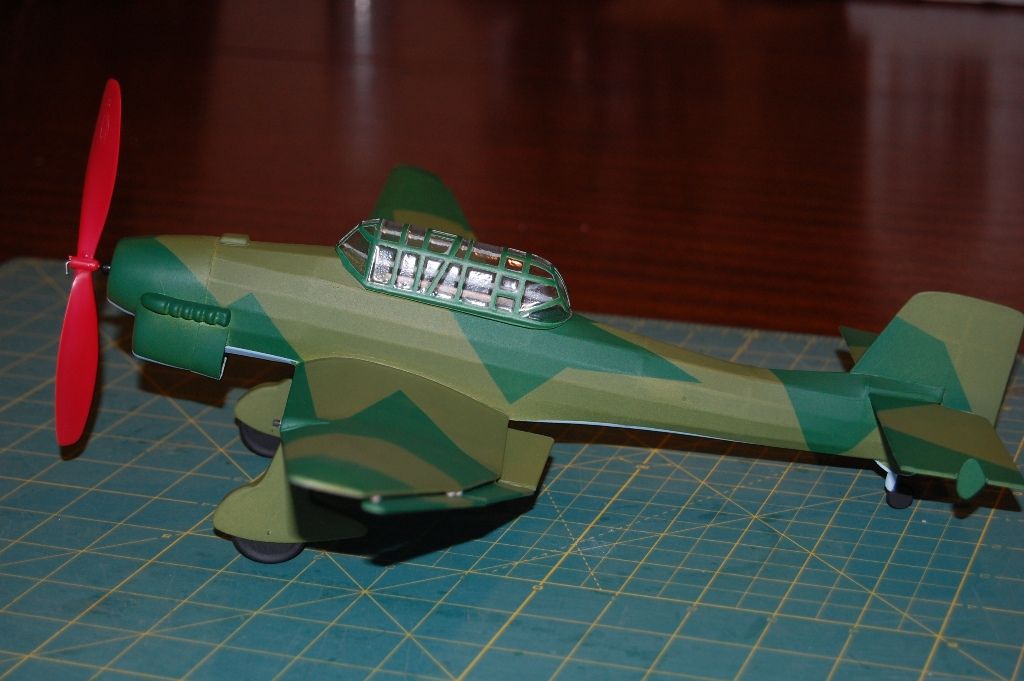
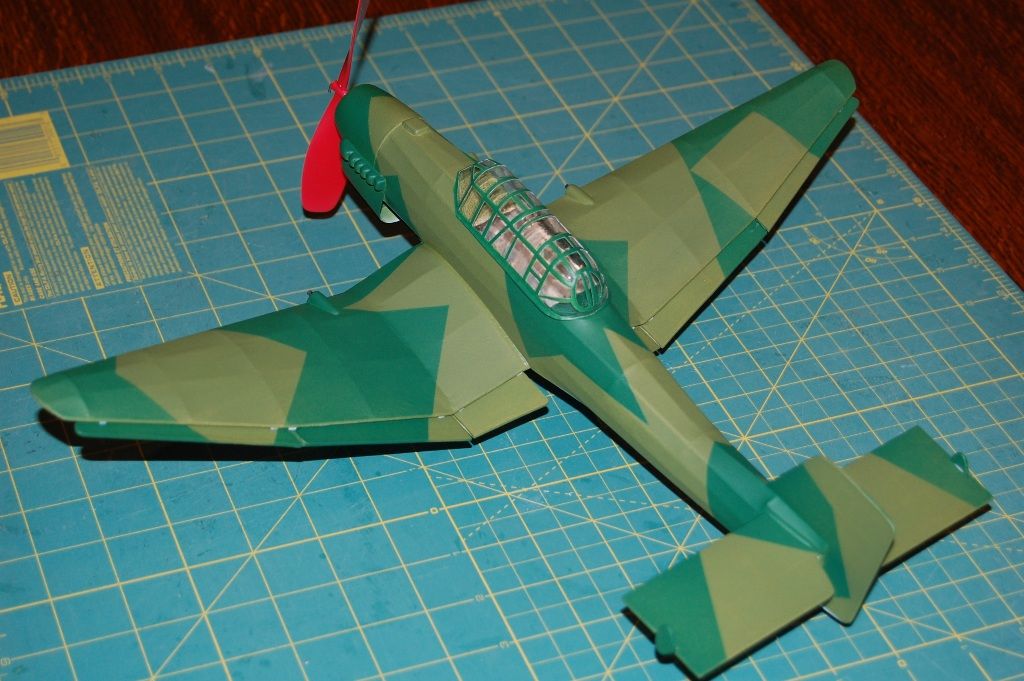
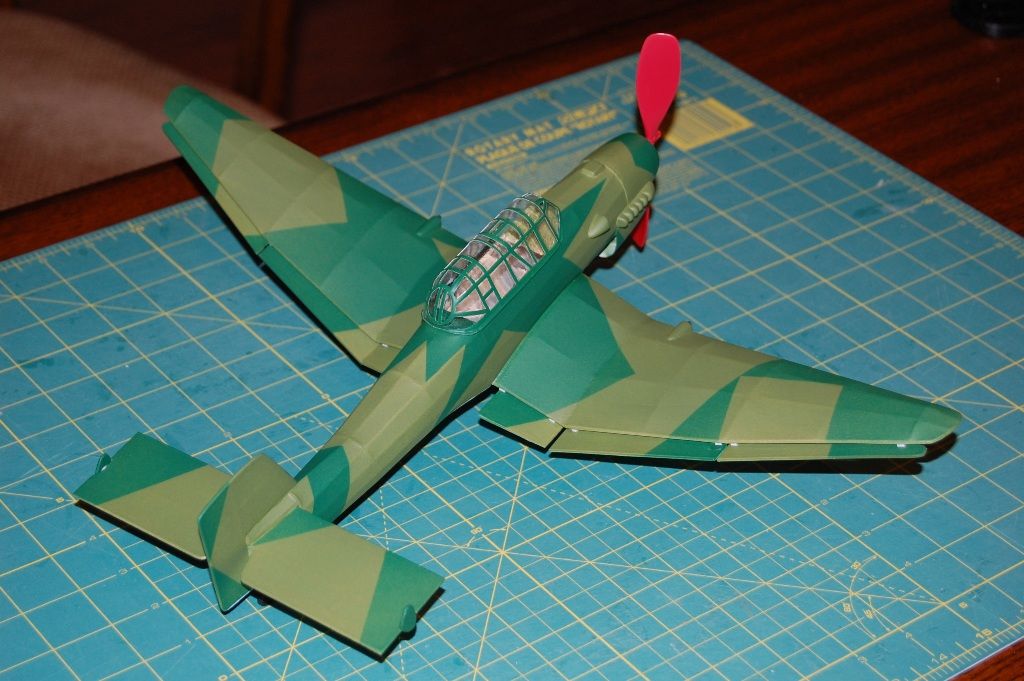
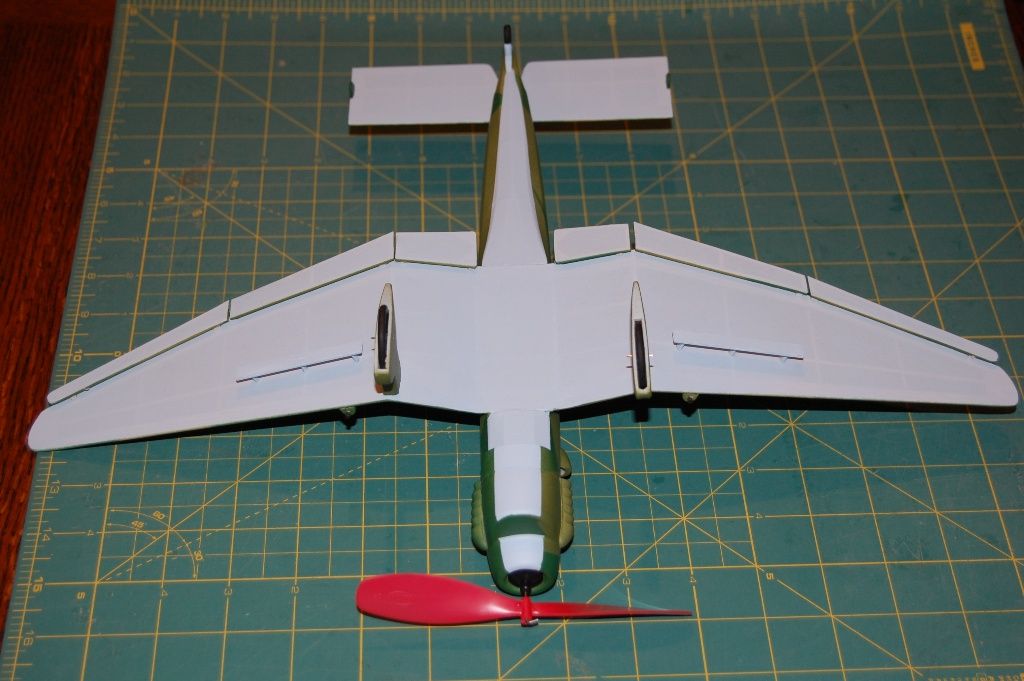
I am getting closer to finishing this plane, unfortunately the next few days are going to be busy so she will have to wait. I still have some small details and painting to do then the decals. I used Design Master Floral paints and dusted it on. As shown she weighs 26.2 grams, the paint only added over a gram of weight, not bad. This spray paint reminds of the old Pactra spray dope. It masks real well, and does not peel. The plastic needs to be ruffed up a bit or lightly primed to prevent peeling. The canopy is not glued on, still needs some final adjustments.