Wright Flyer
-
ADW 123
- Posts: 1158
- Joined: Mon Feb 22, 2010 5:22 pm
- Location: Cincinnati, Ohio
Wright Flyer
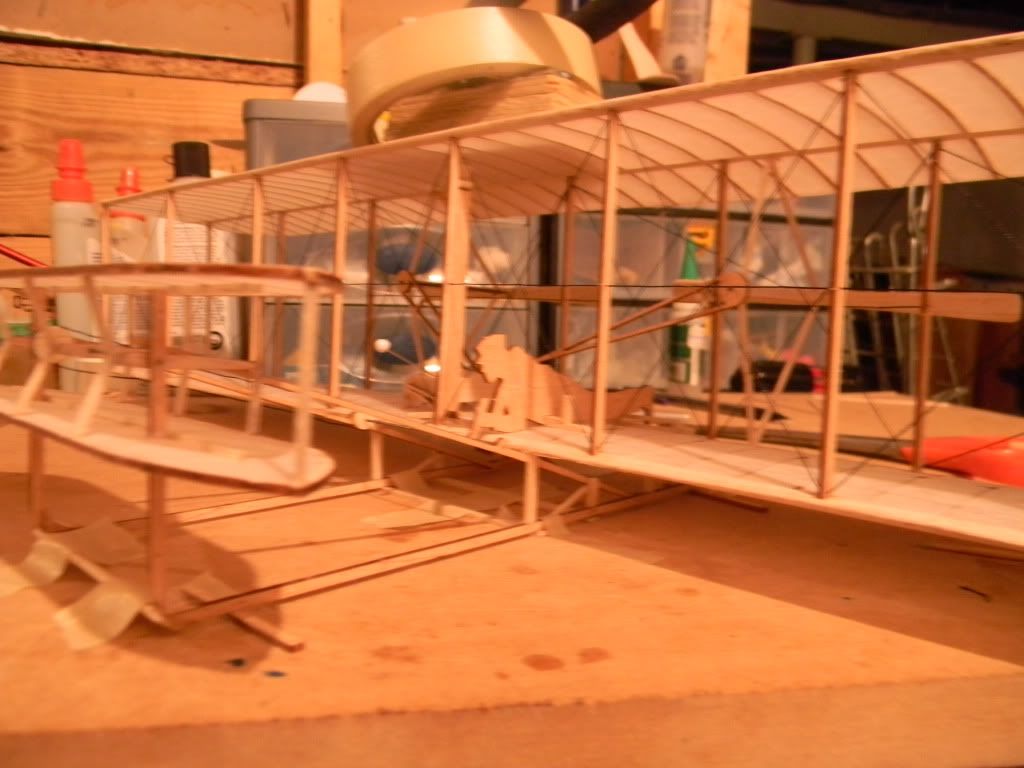
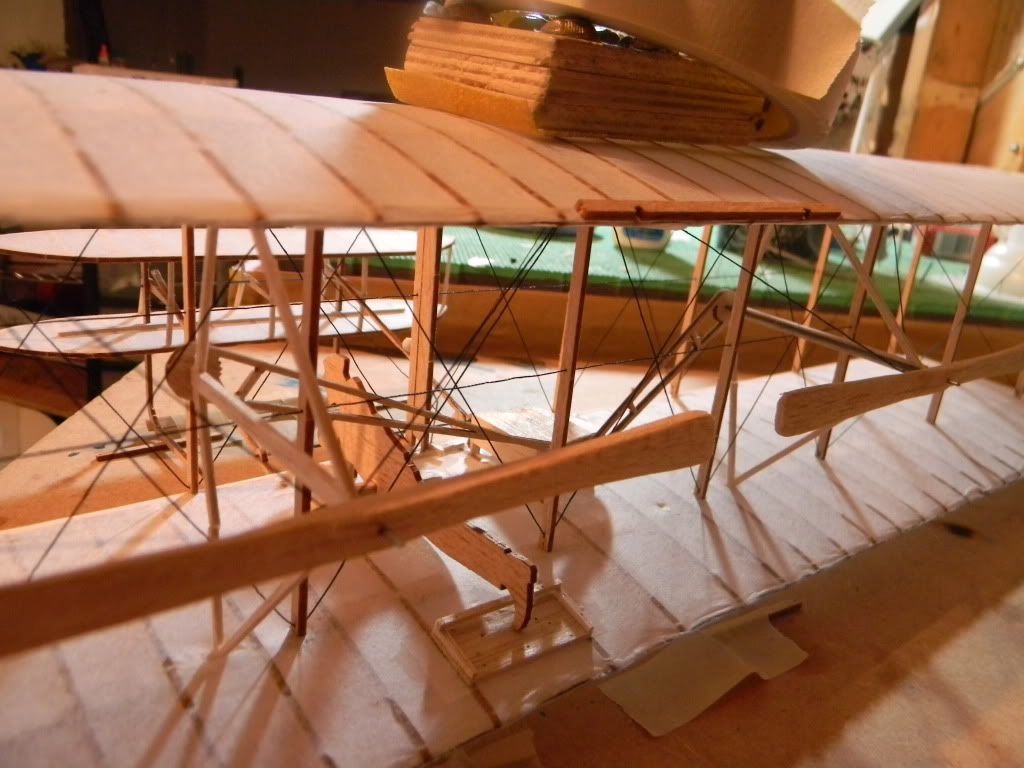
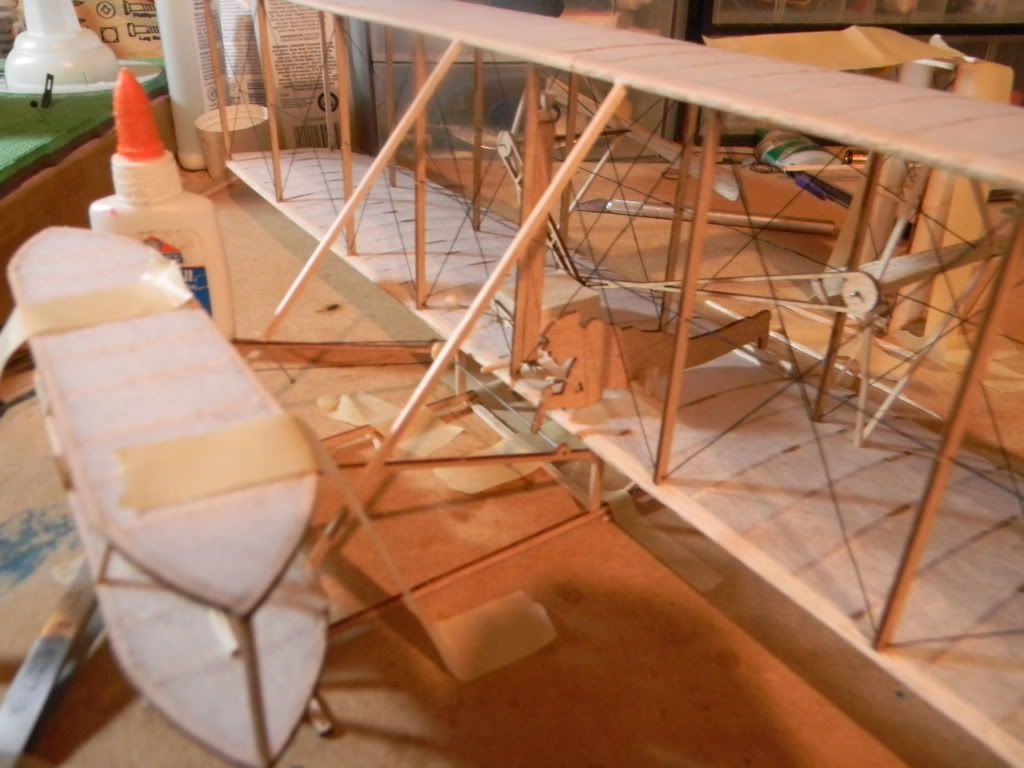
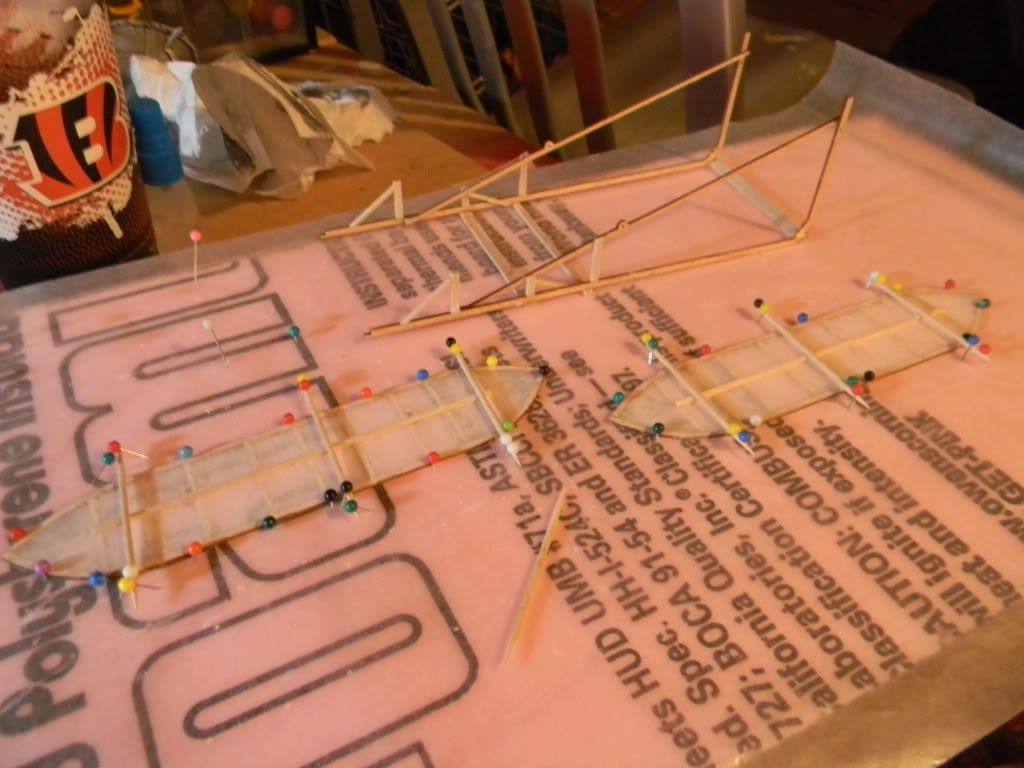
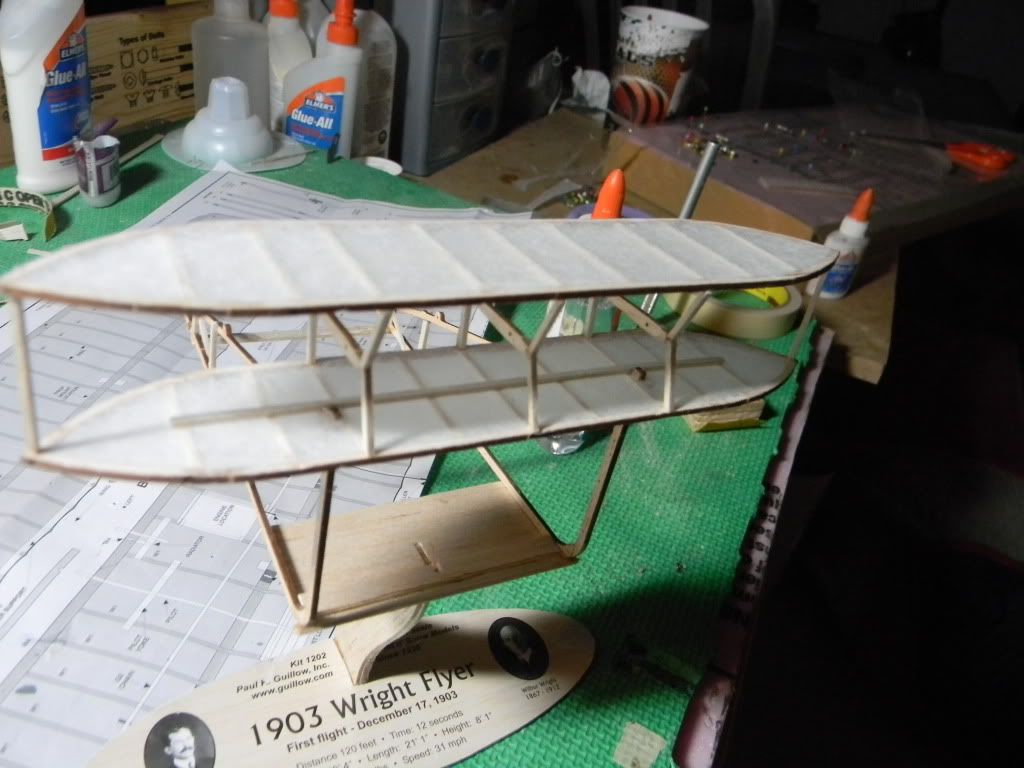
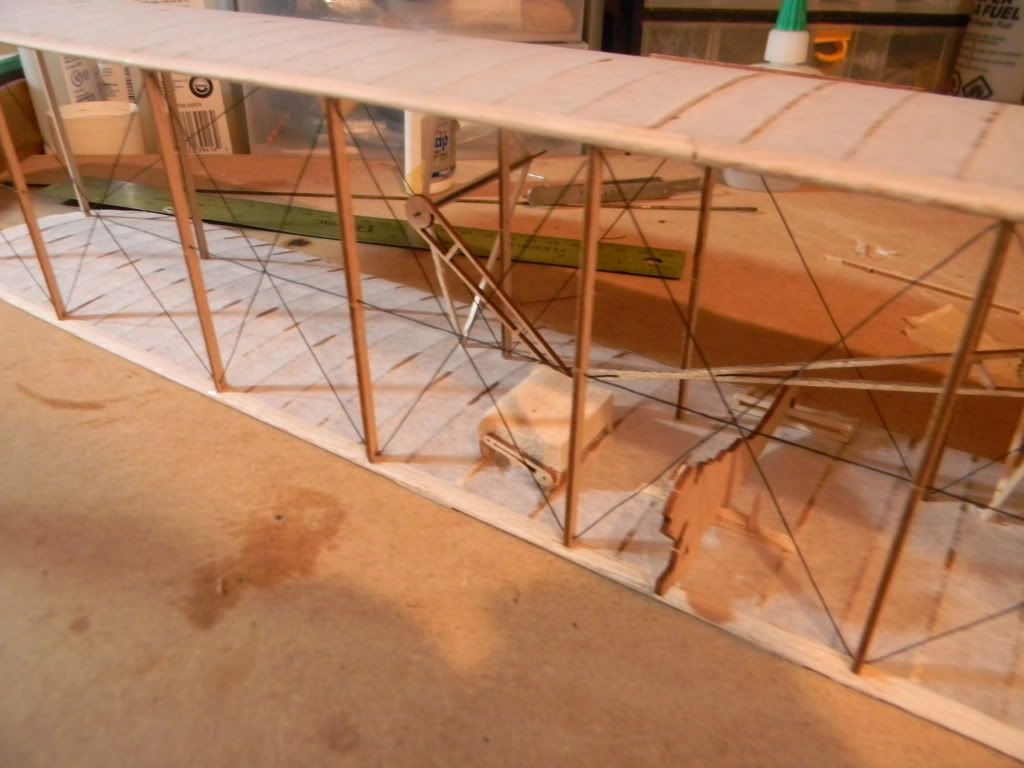
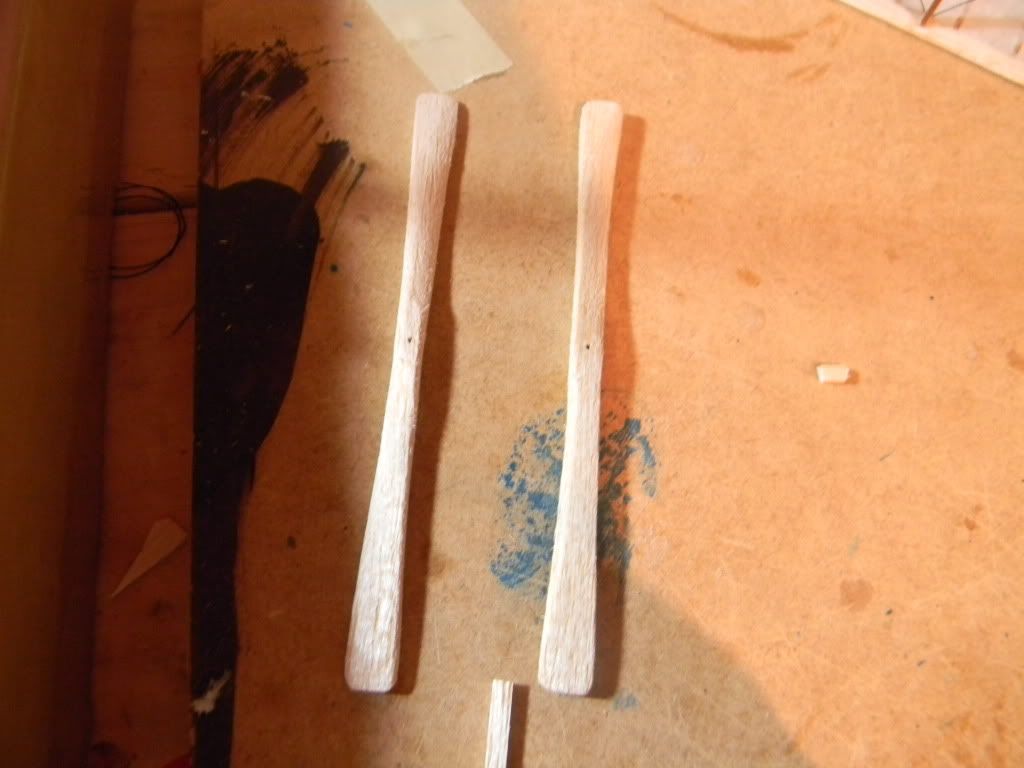
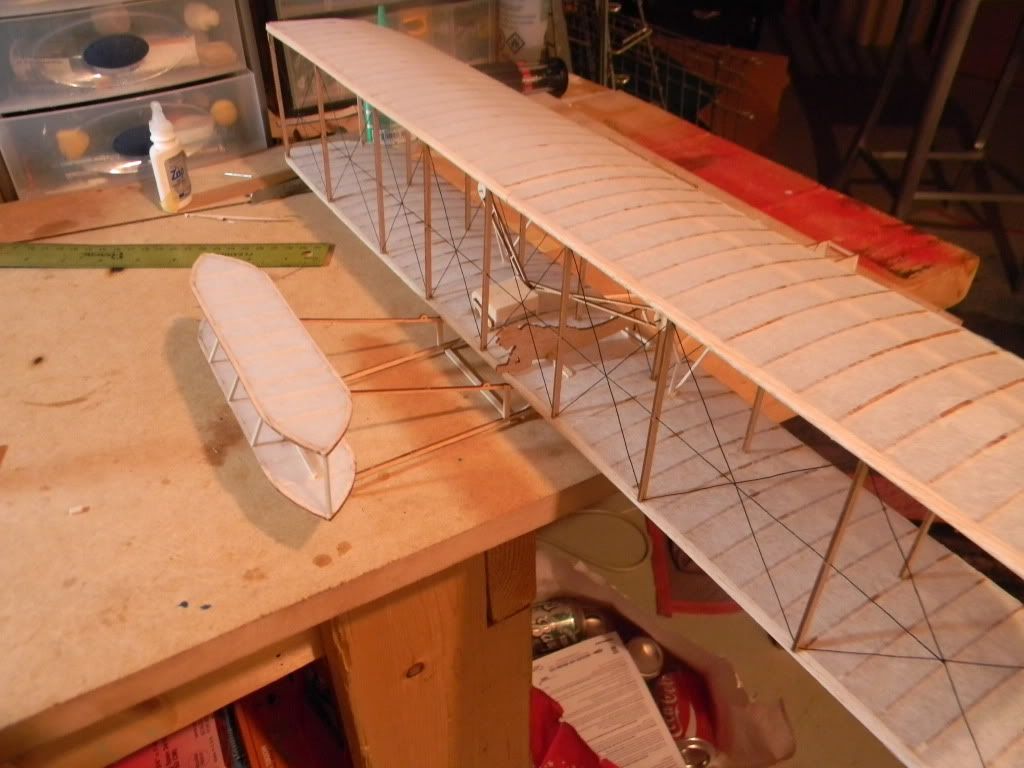
I am currently building the wright flyer for show. it looks like one of the leading edge sticks i need for the bottom wing was defected. it was correct size (1/8" by 3/16") on one side, and then it got skinnier and skinnier. i didnt want to be a pain, but i had to contact customer service about it a couple of day ago for a replacement piece, after all, i cannot finish the bottom wing without it. no reply yet. usually guillows is great with replying to those emails, but it seems they have been a little slow lately.... so hanging in there......
-
BillParker
- Posts: 1031
- Joined: Sat Jan 19, 2008 1:21 pm
- Location: Houston, Texas
- Contact:
Ha Ha! You know more right now about plane design than the Brothers knew when they designed that one!certainly not how i would design a plane.
This is why I like you, kid!
Don't ever change...
bp
William H. Parker Jr. (Bill Parker)
President, Parker Information Resources
http://www.parkerinfo.com/ap.htm bparker@parkerinfo.com
President, Parker Information Resources
http://www.parkerinfo.com/ap.htm bparker@parkerinfo.com
-
lukebozek1
- Posts: 136
- Joined: Fri Jul 09, 2010 8:34 am
- Location: Hobe Sound Florida
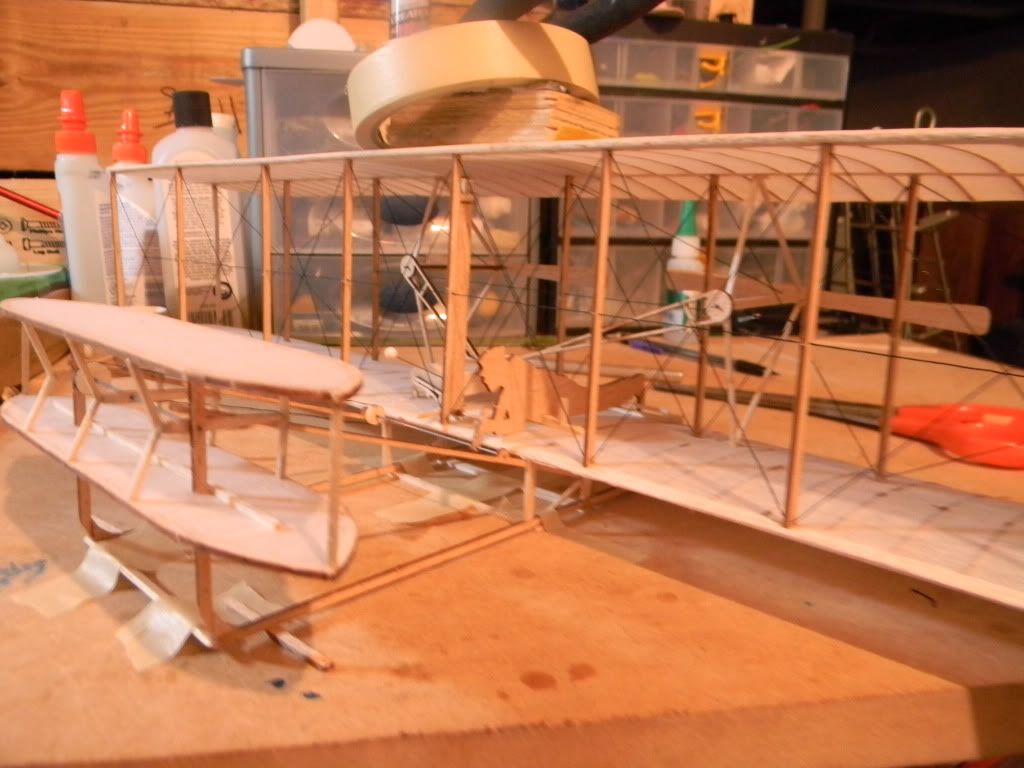
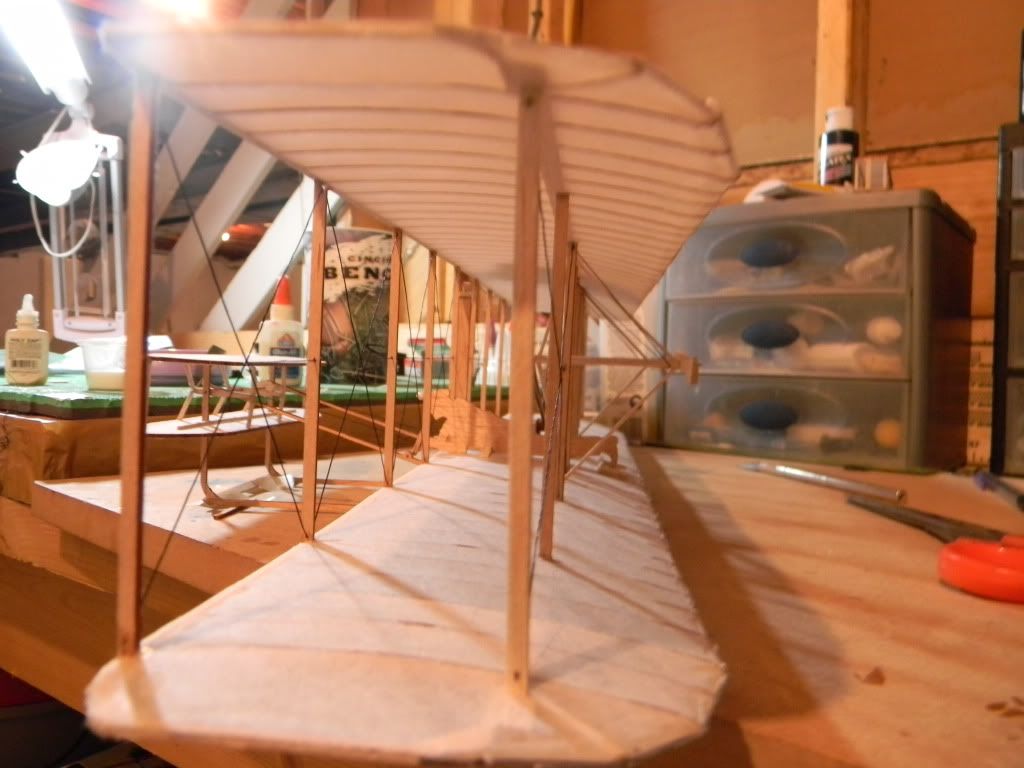
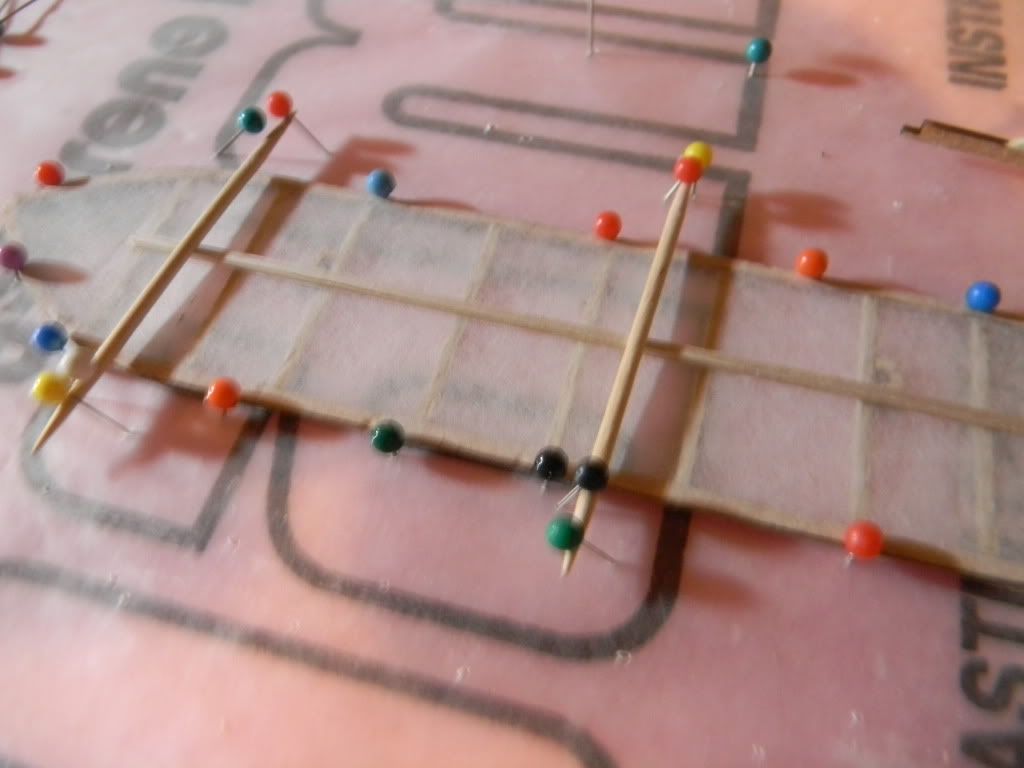
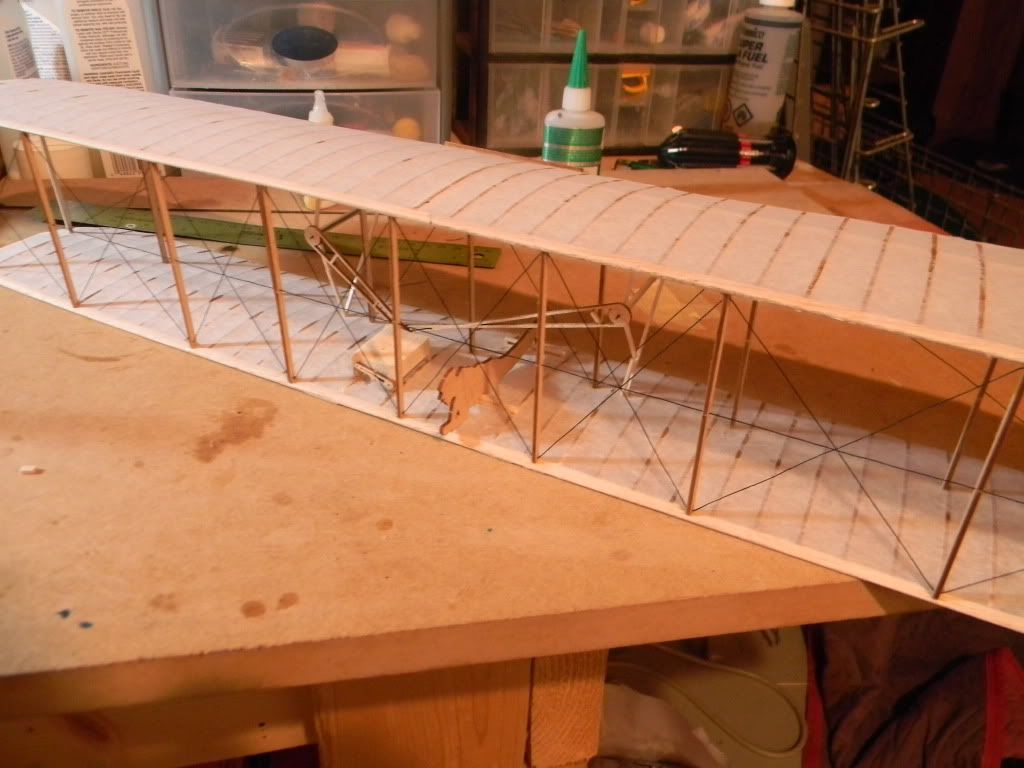
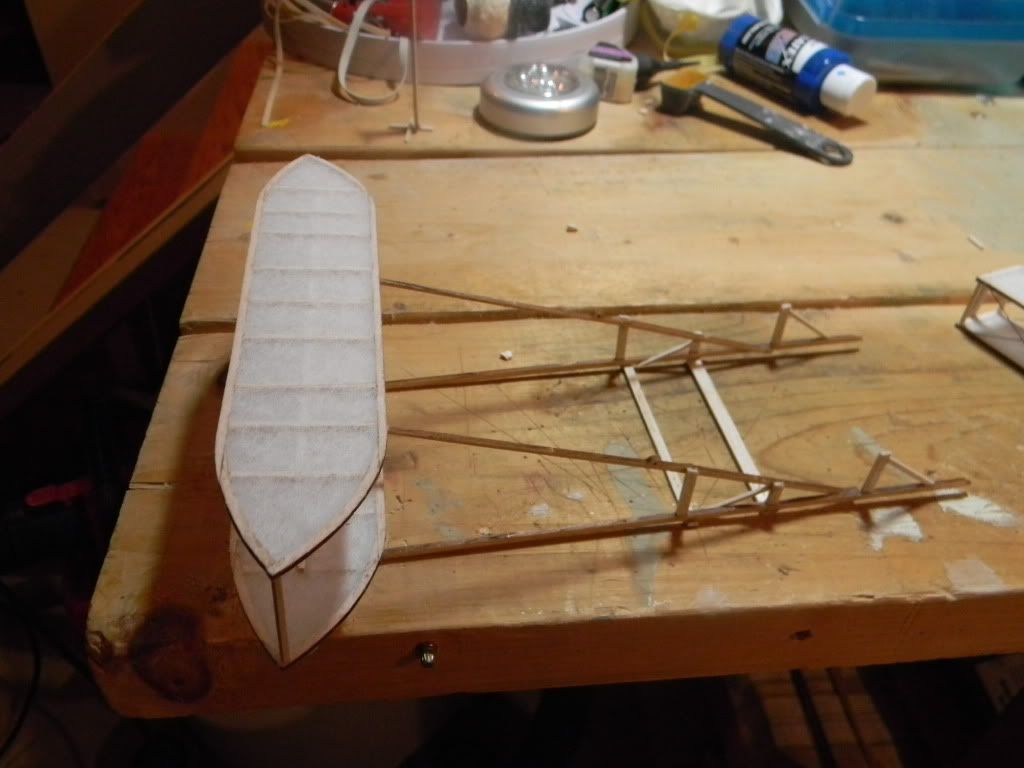
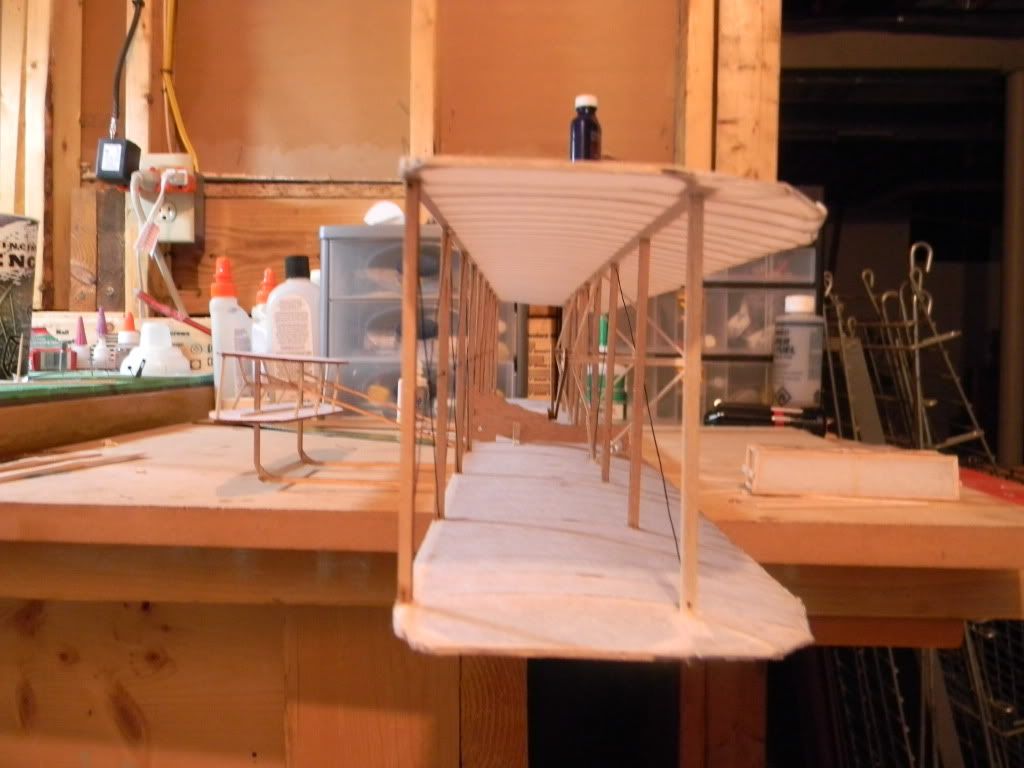
Question on the tissue job. This plane has (appears to me anyhow) a concave bottom surface, which if my memory is correct, means it bends in. How did you get the tissue to stay in place and not go flat as it shrunk? Or is my wife correct again and I am just babbling? I have a DR-1 which really looks nice, but looking at the ribs (many to look at) it certainly is a concave lower surface. Your build looks really great. This is a kit I would stay away from due to the multitude of struts, and the wire rigging and an inherant ability to gravitate to something I could finish.
-
ADW 123
- Posts: 1158
- Joined: Mon Feb 22, 2010 5:22 pm
- Location: Cincinnati, Ohio
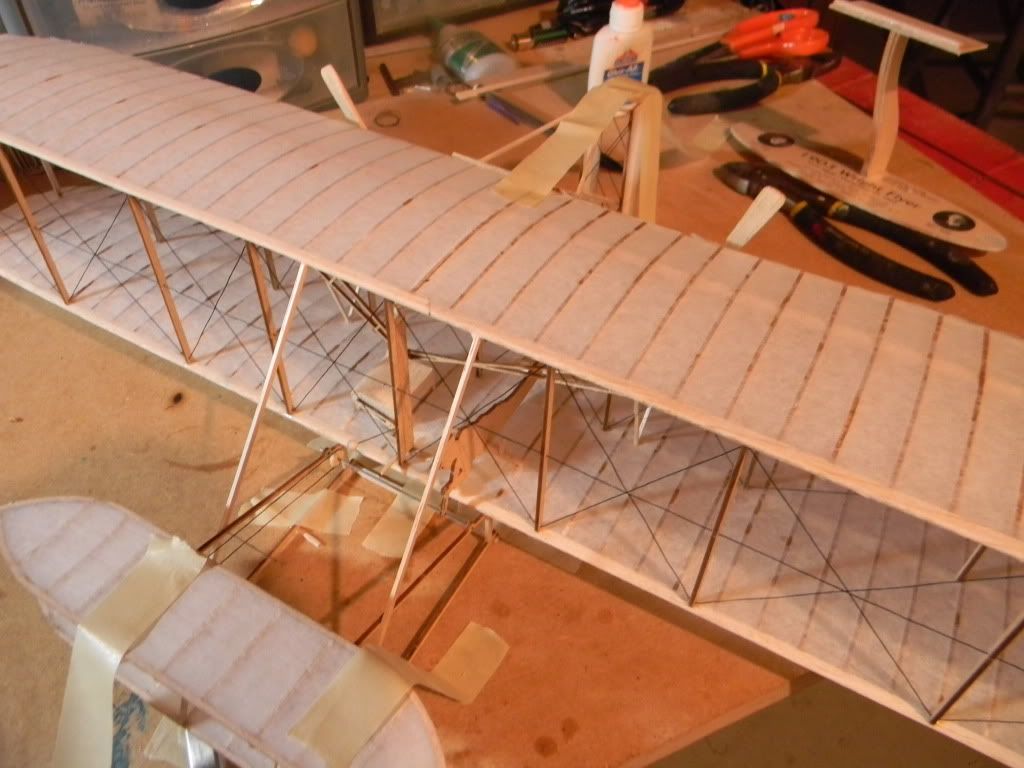
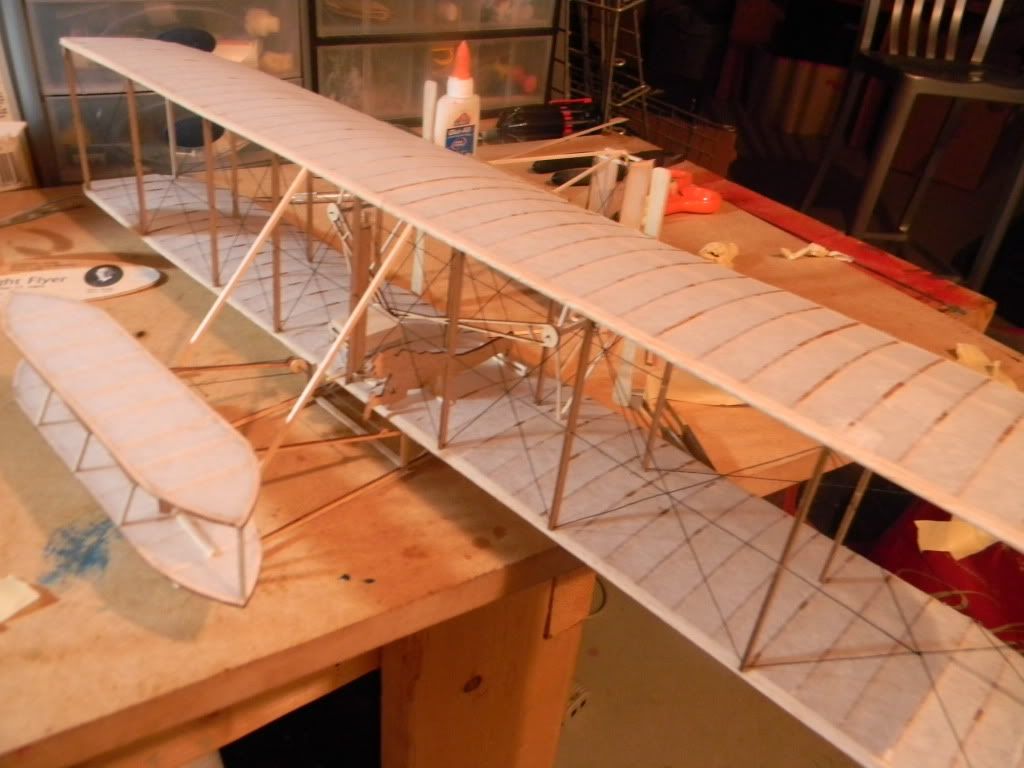
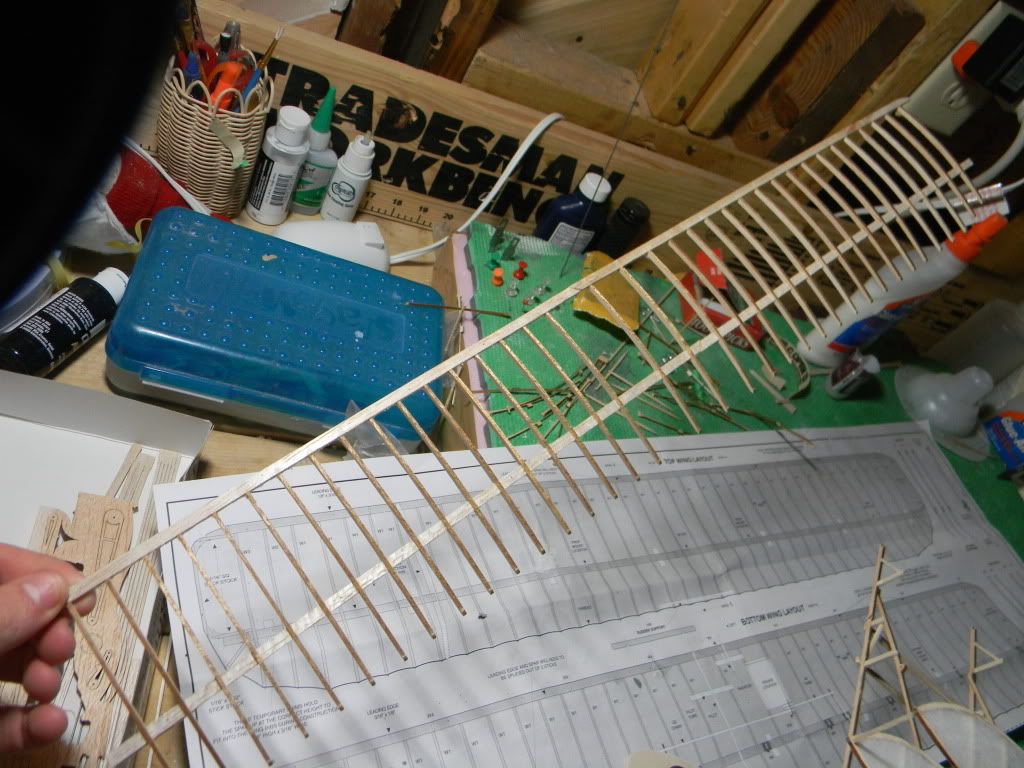
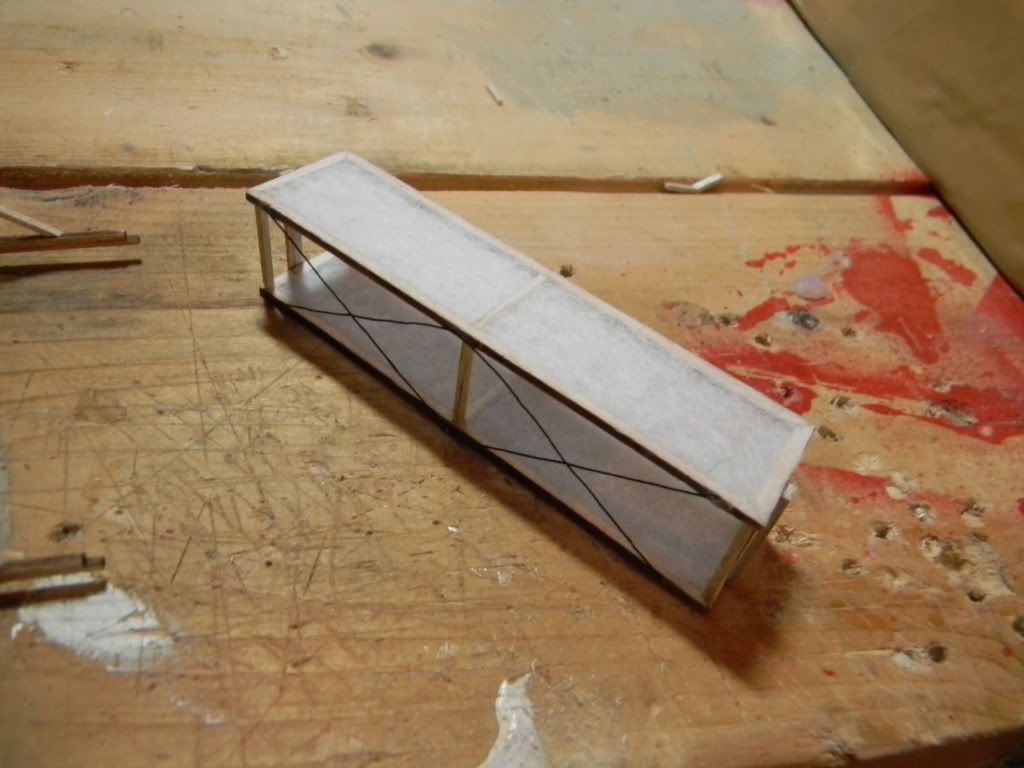
this depends lukebozek1 on mainly how the leading edge is built. if it is built like this plane, where the is a big balsa stick that is the leading edge that is to be sanded, than covering that end is much easier. the problem from there is the trailing edge (at least on this plane) for the top, i just used dots of full strength glue in the center tops skips a few ribs at a time. the back is where you really have to cut the tissue so it bends nicely and make sure the glue is on on the string and the back of the rib, otherwise it wont stick and it will look sloppy. i followed the bottom in a similar mannar.
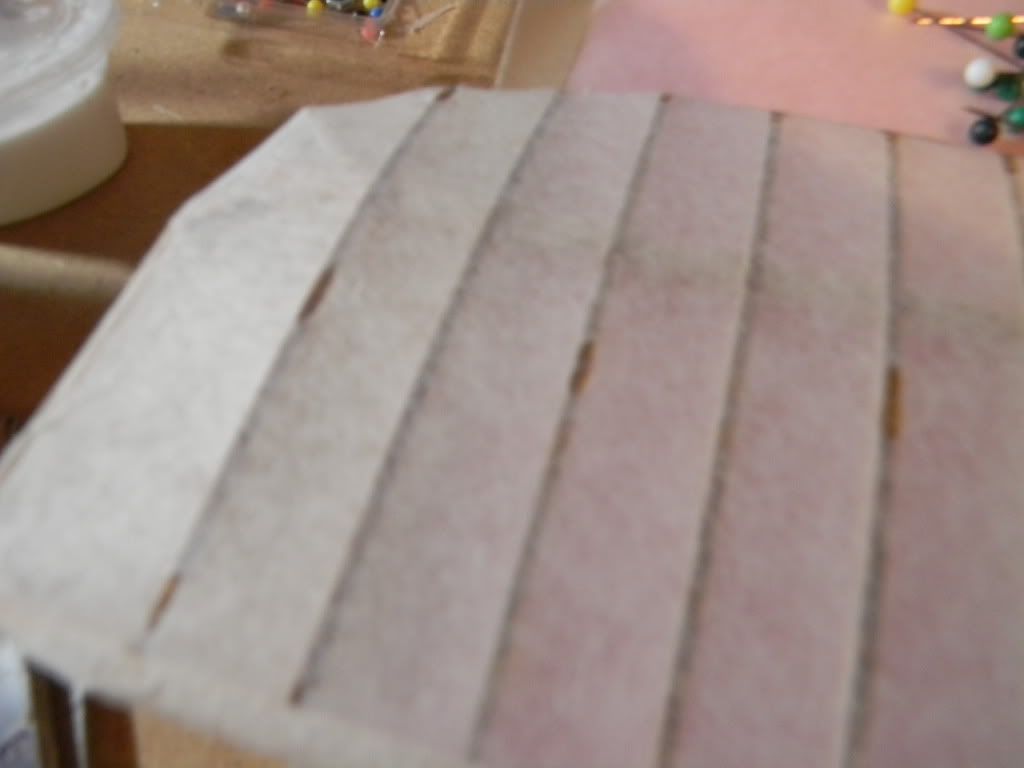
in short, the answer to your question is, i put a fair amount of glue (thinned) on the bottom ribs, to the back bottom spar. from there i switched back to full strength after the other glue dries, and proceed from there.
in short, the answer to your question is, i put a fair amount of glue (thinned) on the bottom ribs, to the back bottom spar. from there i switched back to full strength after the other glue dries, and proceed from there.
-
lukebozek1
- Posts: 136
- Joined: Fri Jul 09, 2010 8:34 am
- Location: Hobe Sound Florida
-
ADW 123
- Posts: 1158
- Joined: Mon Feb 22, 2010 5:22 pm
- Location: Cincinnati, Ohio
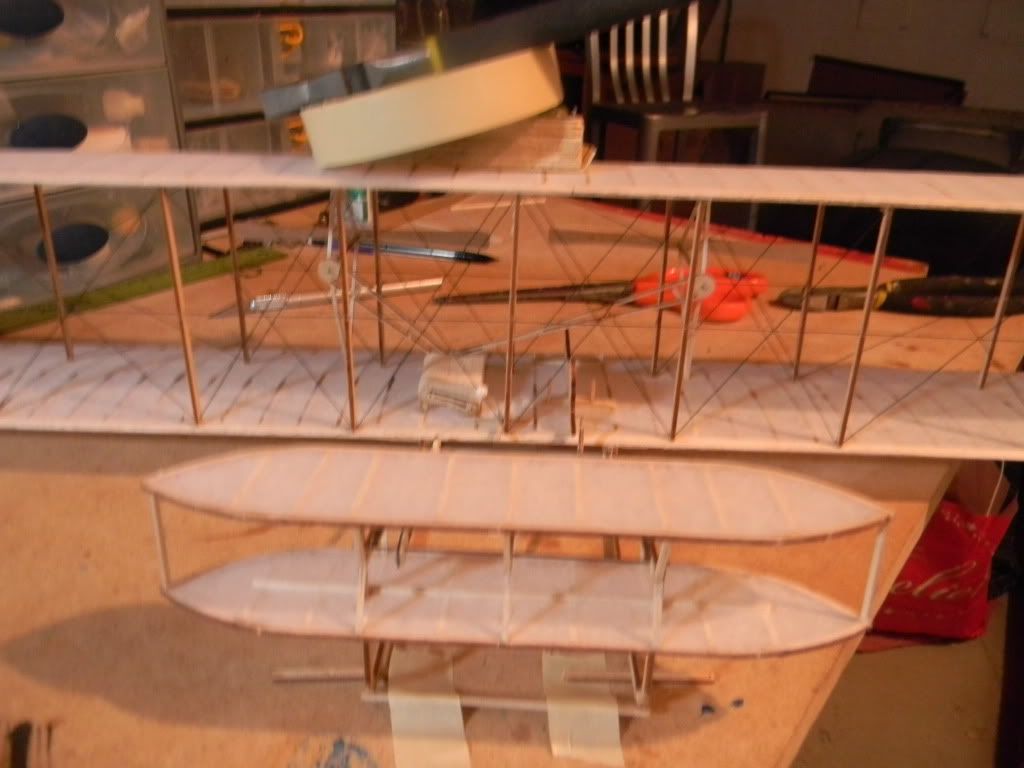
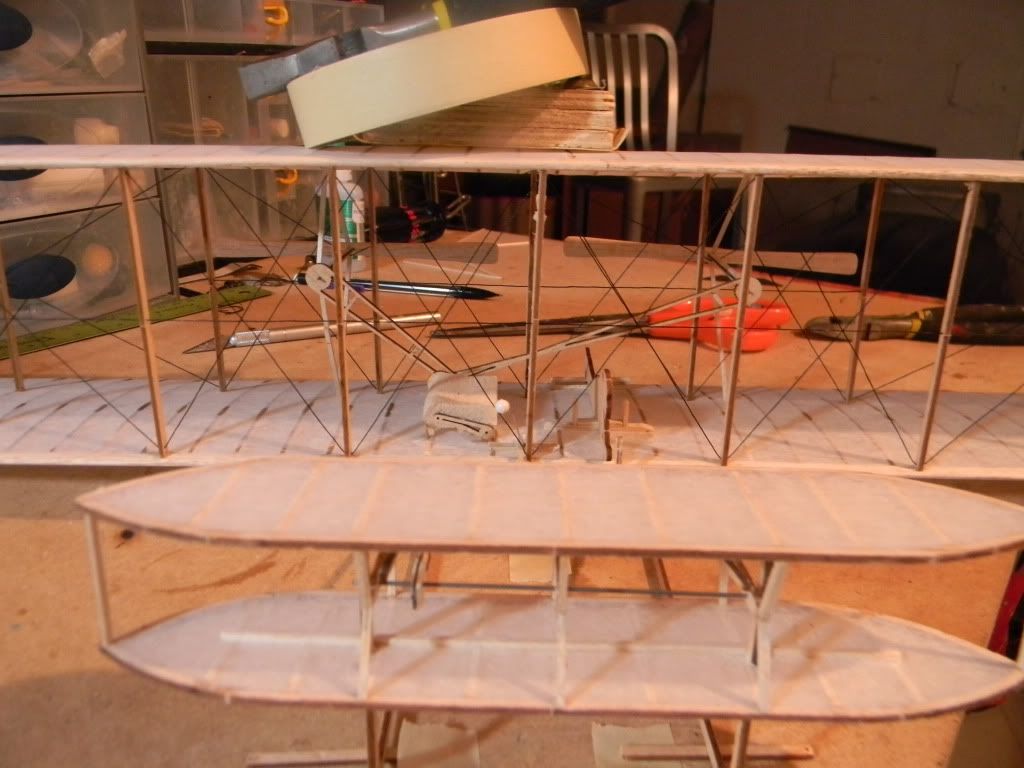
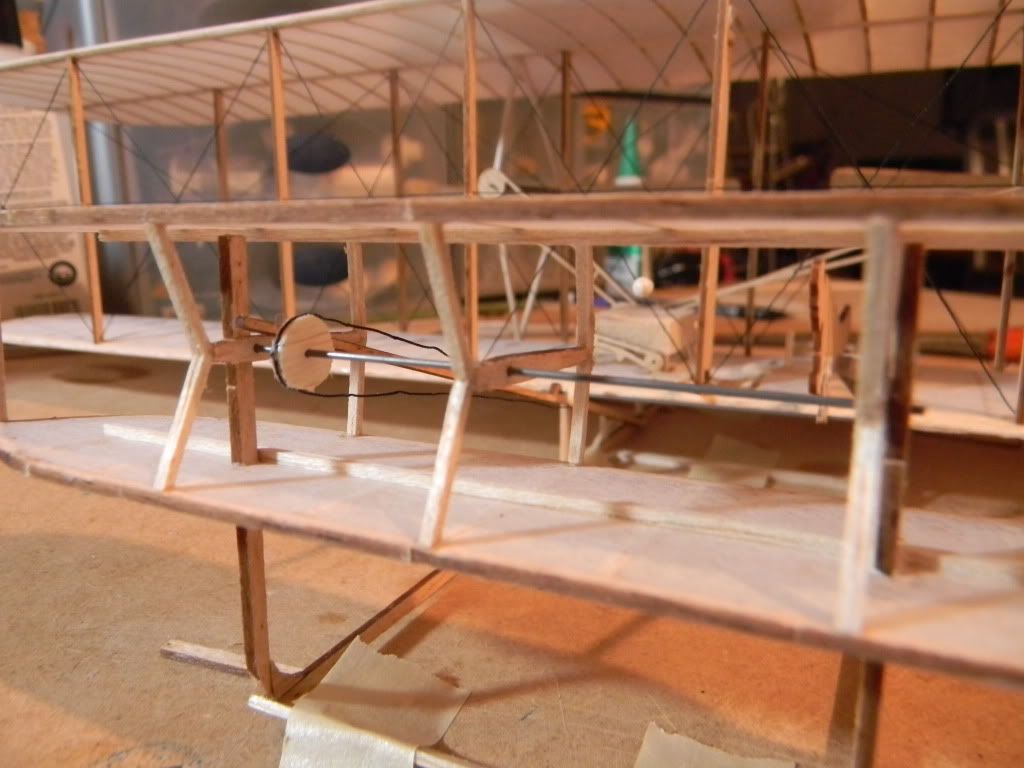
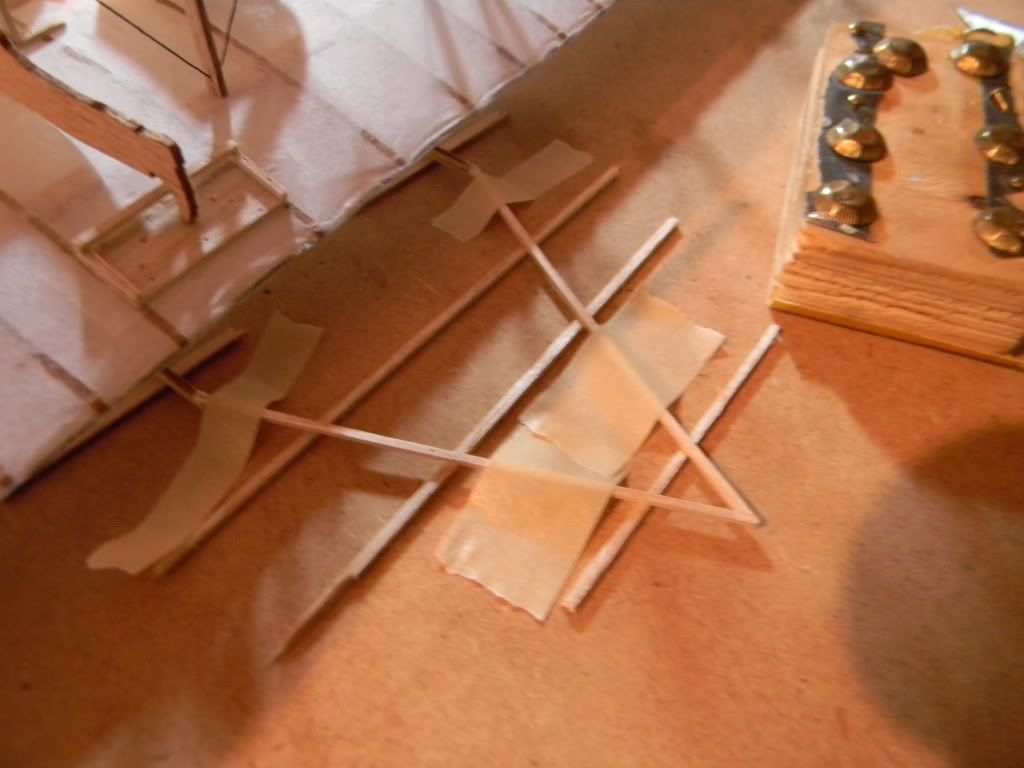
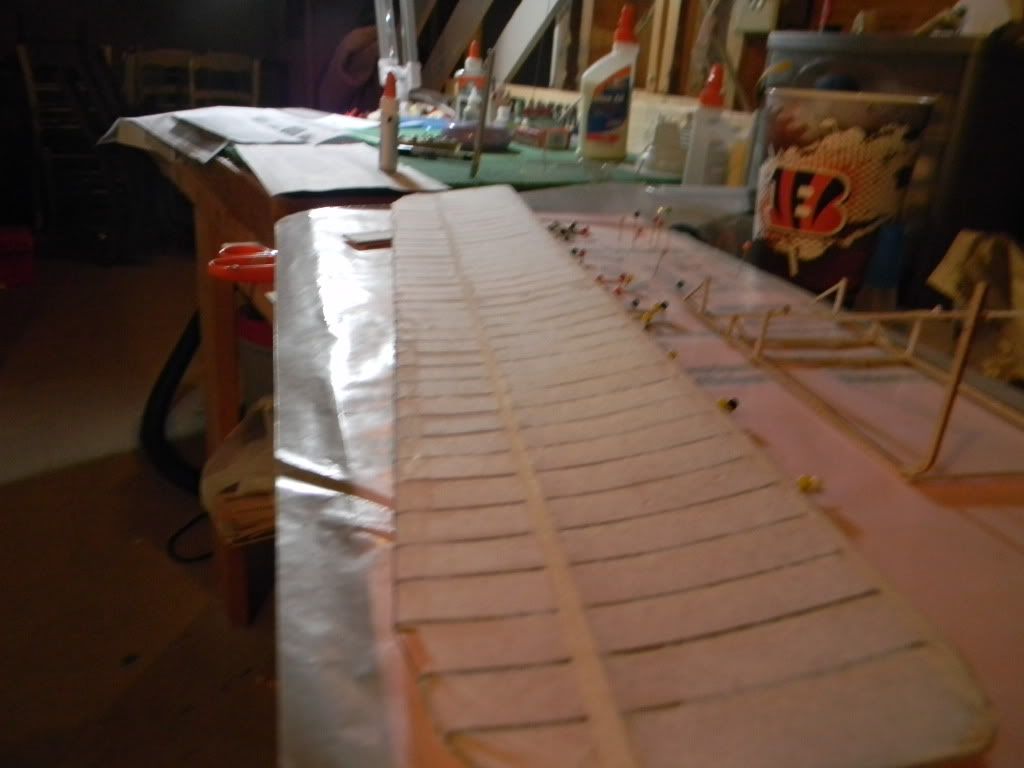
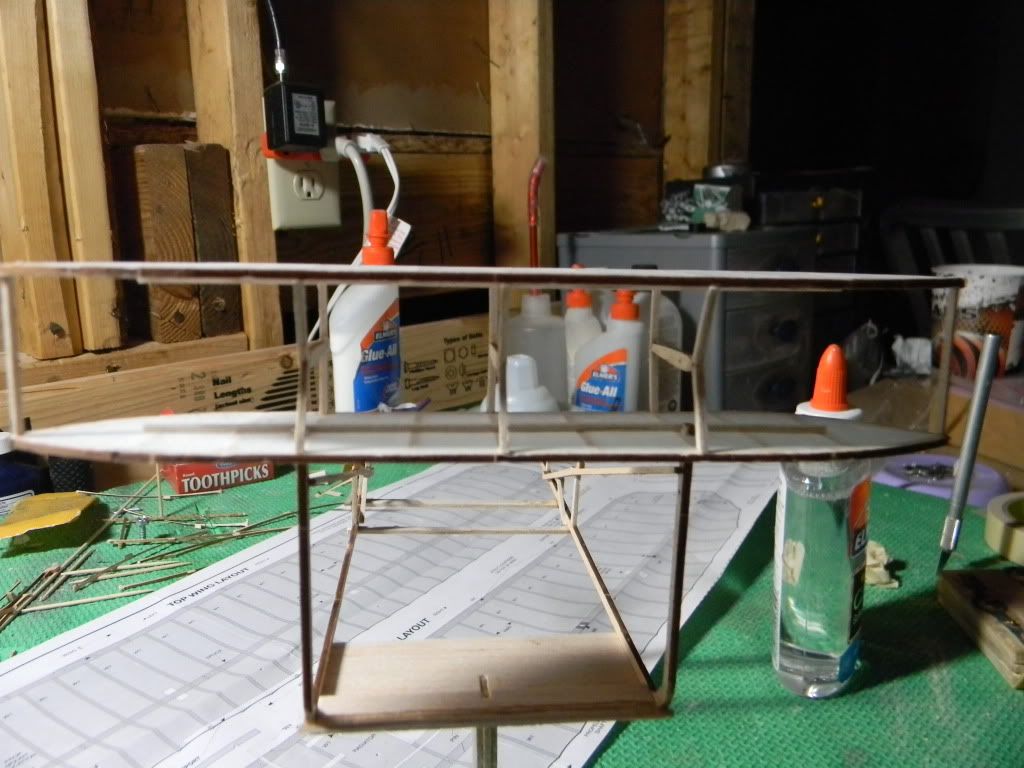
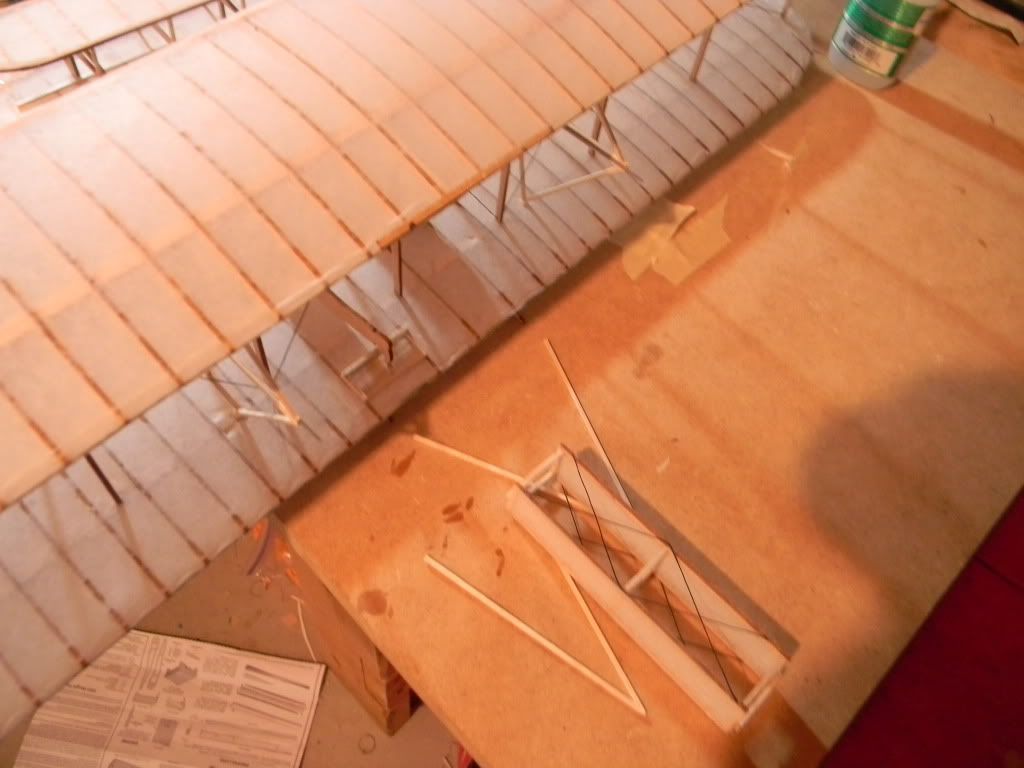
the rigging was/is very difficult on this, so ive taken my time as much as possible. this is why i had to take a break from this one for a bit. i could not find a sheet of paper or anything that told me the part numbers, because they arent labled on the parts themselves. i had great difficulty finding the right parts. im not sure if anyone else has had this trouble, but then again i dont think too many people have actually built the thing enough to find out.
-
ADW 123
- Posts: 1158
- Joined: Mon Feb 22, 2010 5:22 pm
- Location: Cincinnati, Ohio
-
Squishyp38
- Posts: 240
- Joined: Sun Feb 27, 2011 8:08 pm
- Location: Top Secret
-
ADW 123
- Posts: 1158
- Joined: Mon Feb 22, 2010 5:22 pm
- Location: Cincinnati, Ohio