Dr-1 Triplane Build

Ask other modelers for a little help / knowledge ?
Post Reply
ADW 123
Posts: 1158
Joined: Mon Feb 22, 2010 5:22 pm
Location: Cincinnati, Ohio

Dr-1 Triplane Build

Post by ADW 123 »

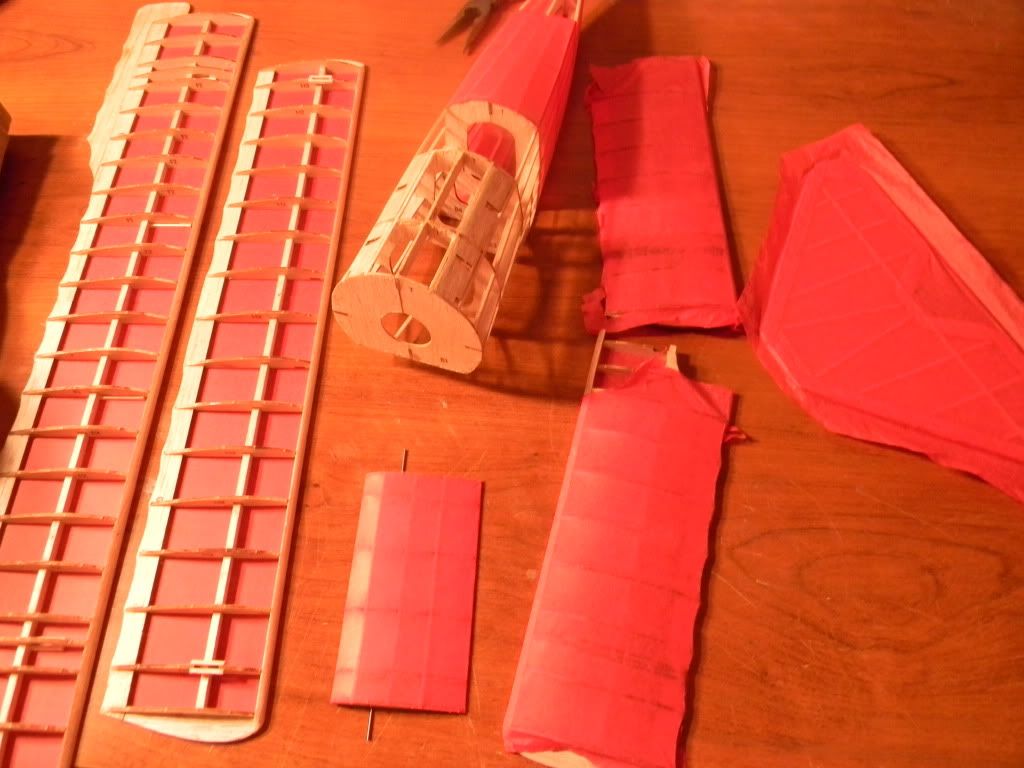
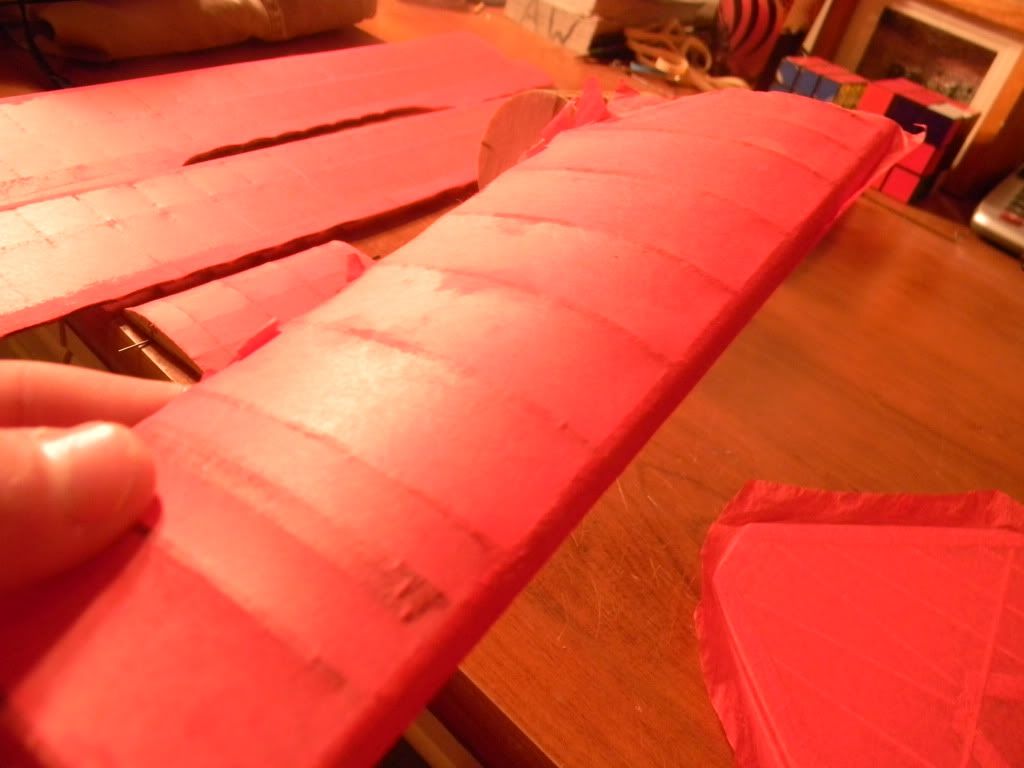
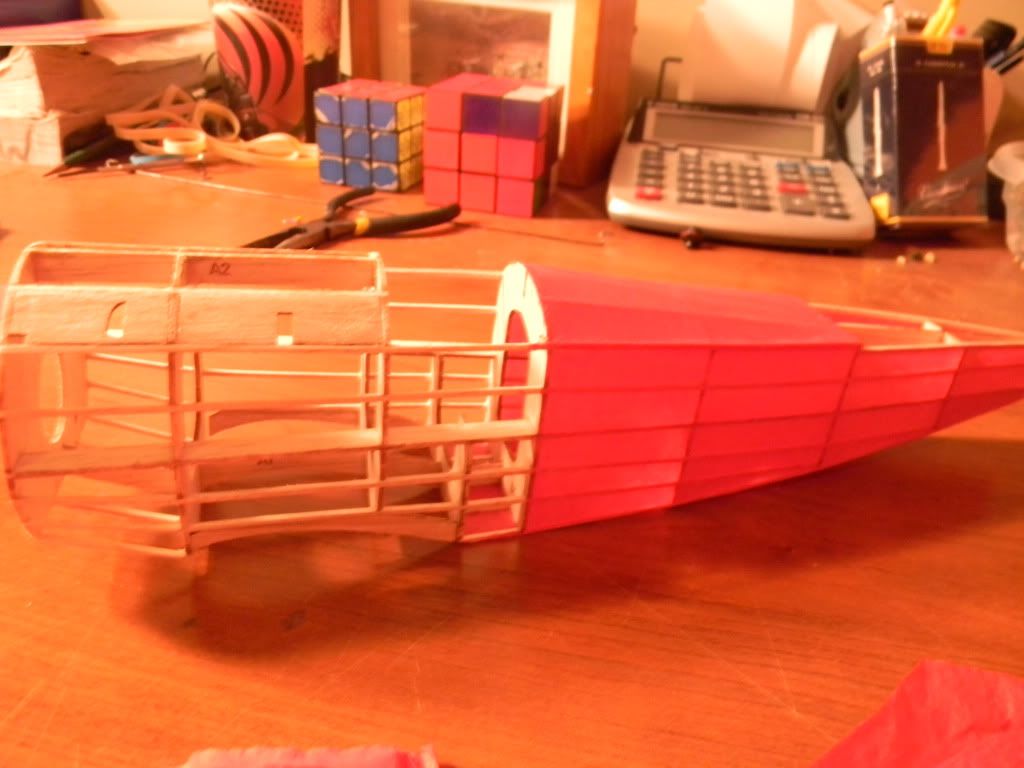
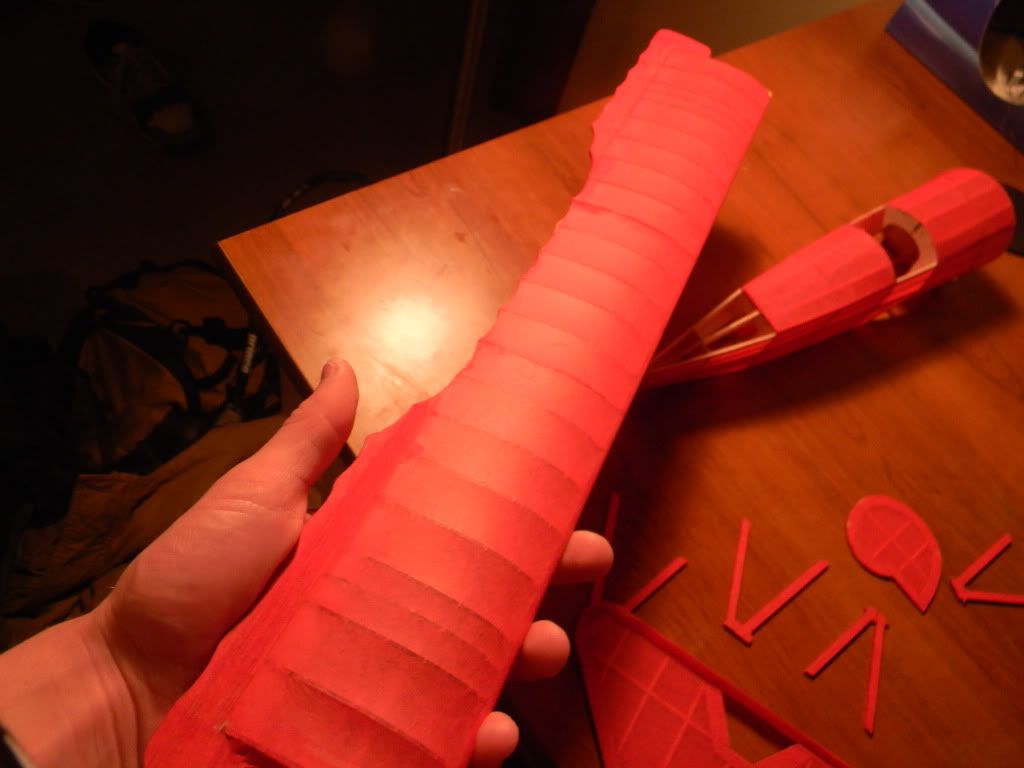
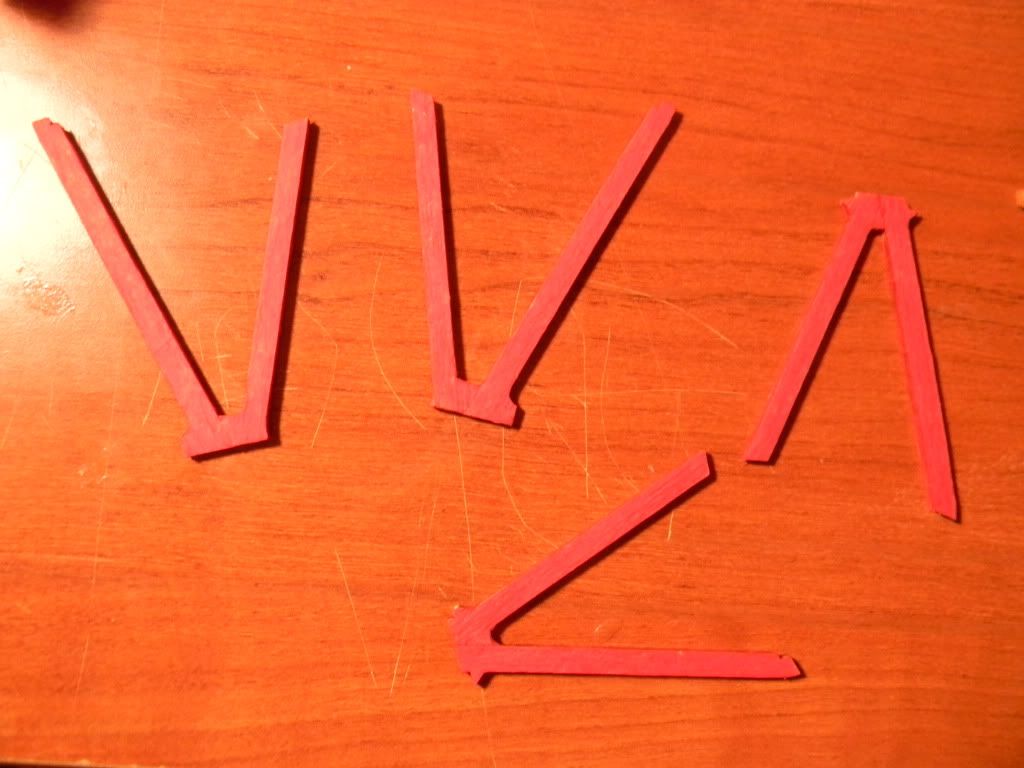
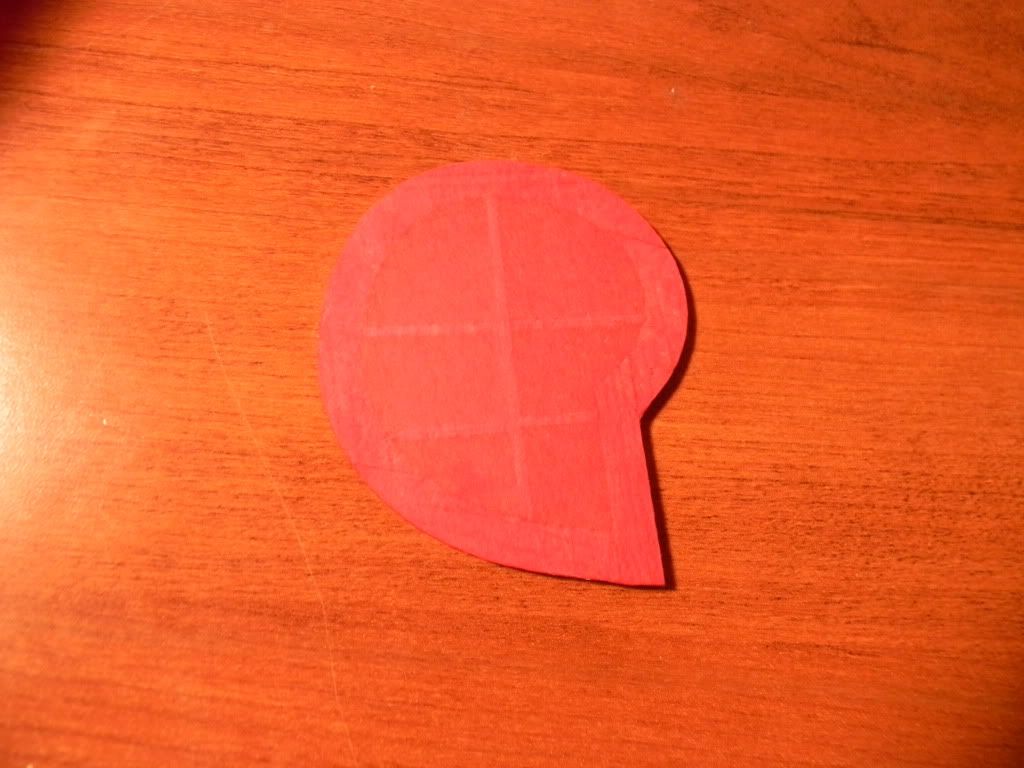
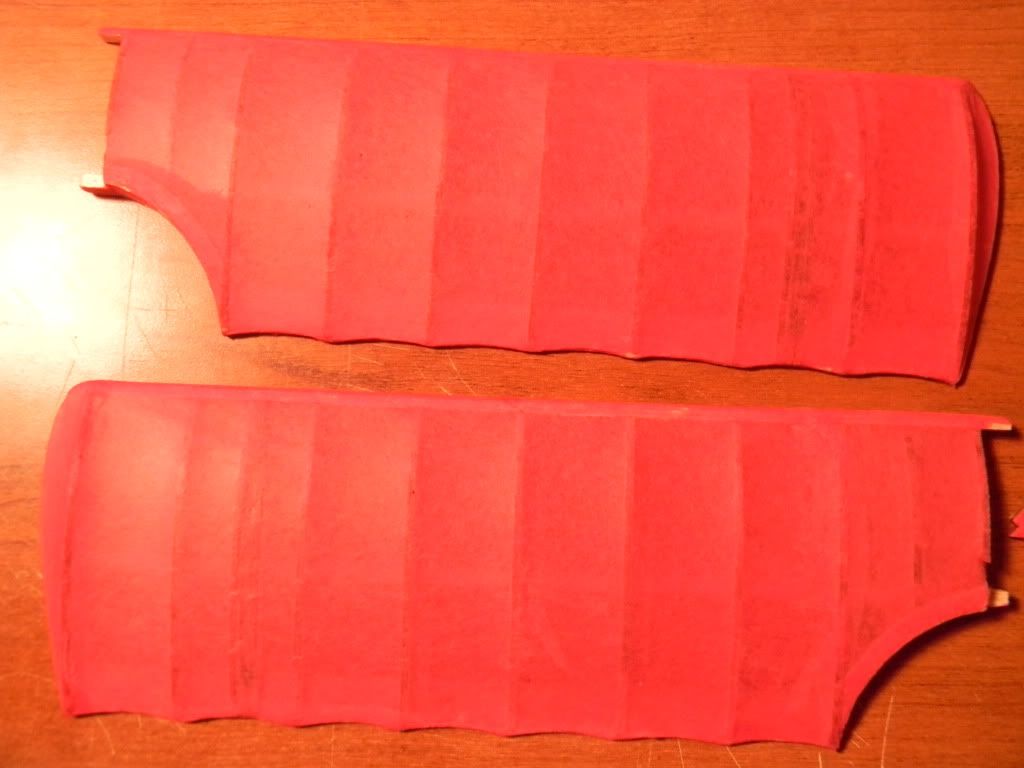
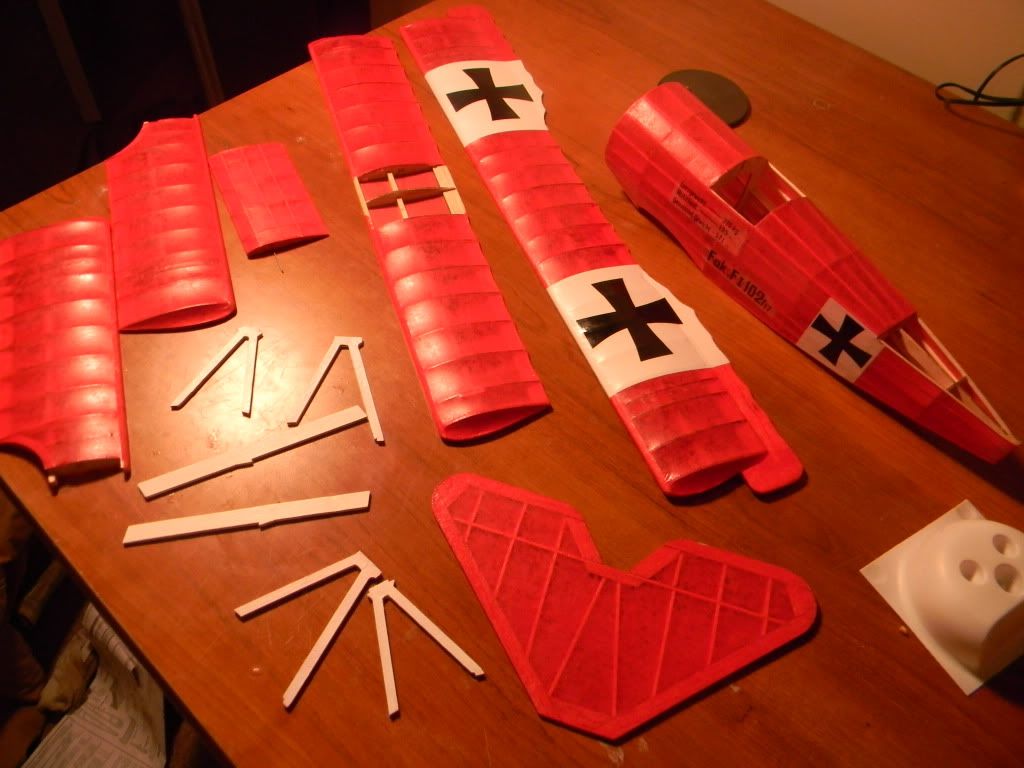
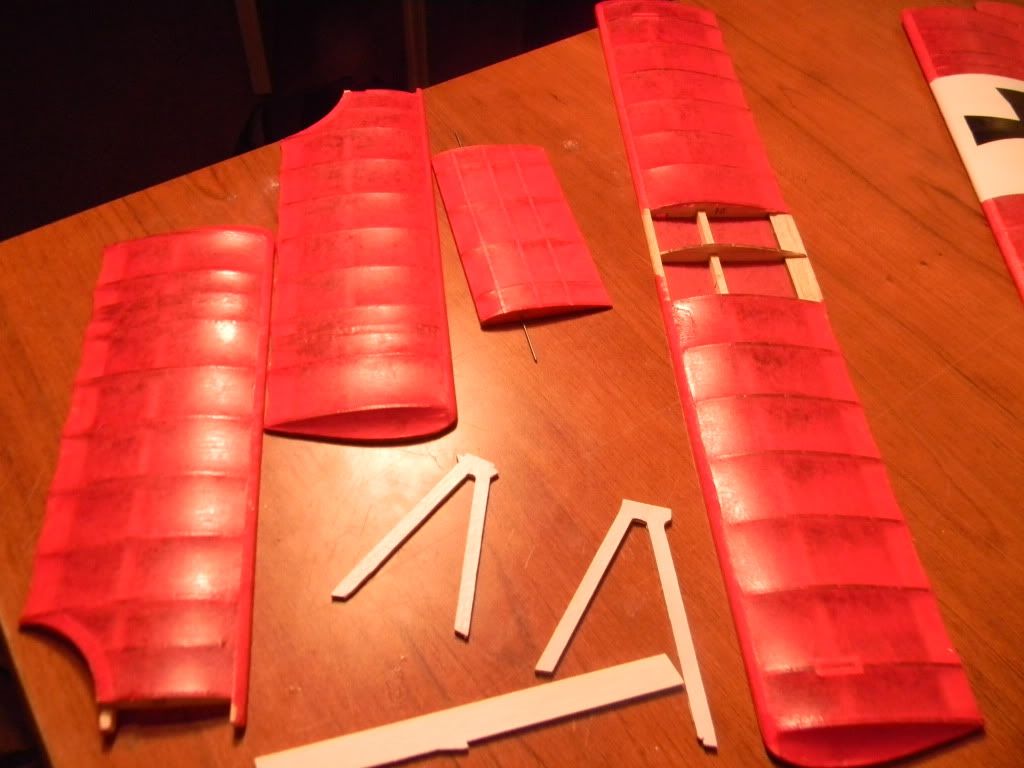
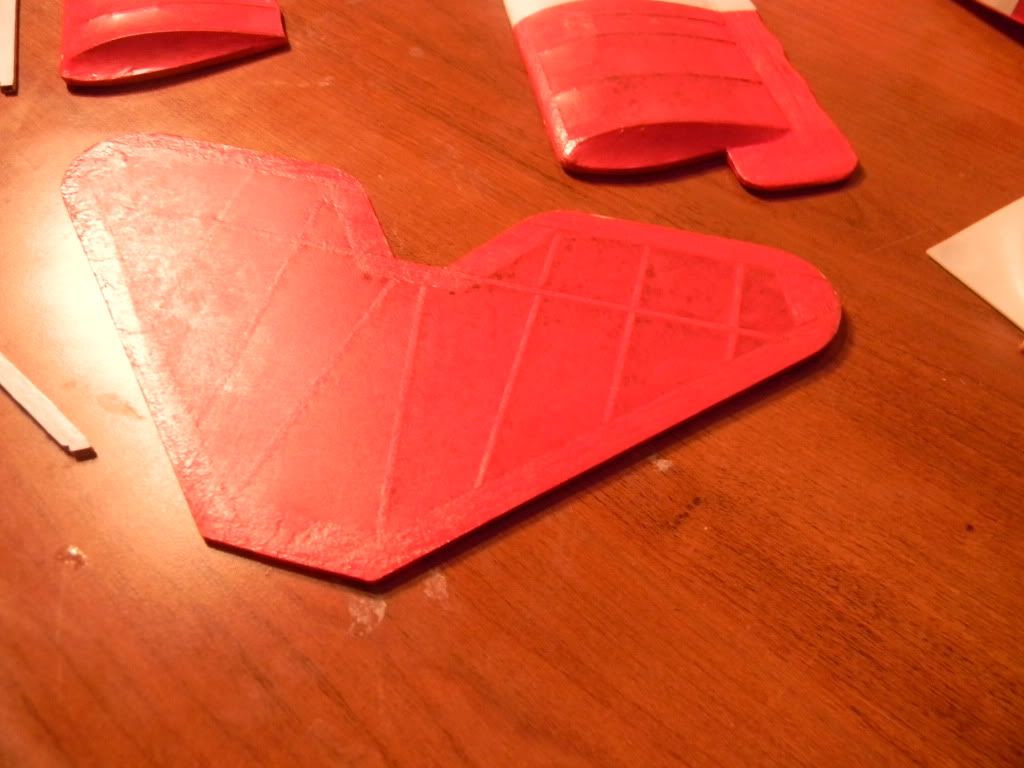
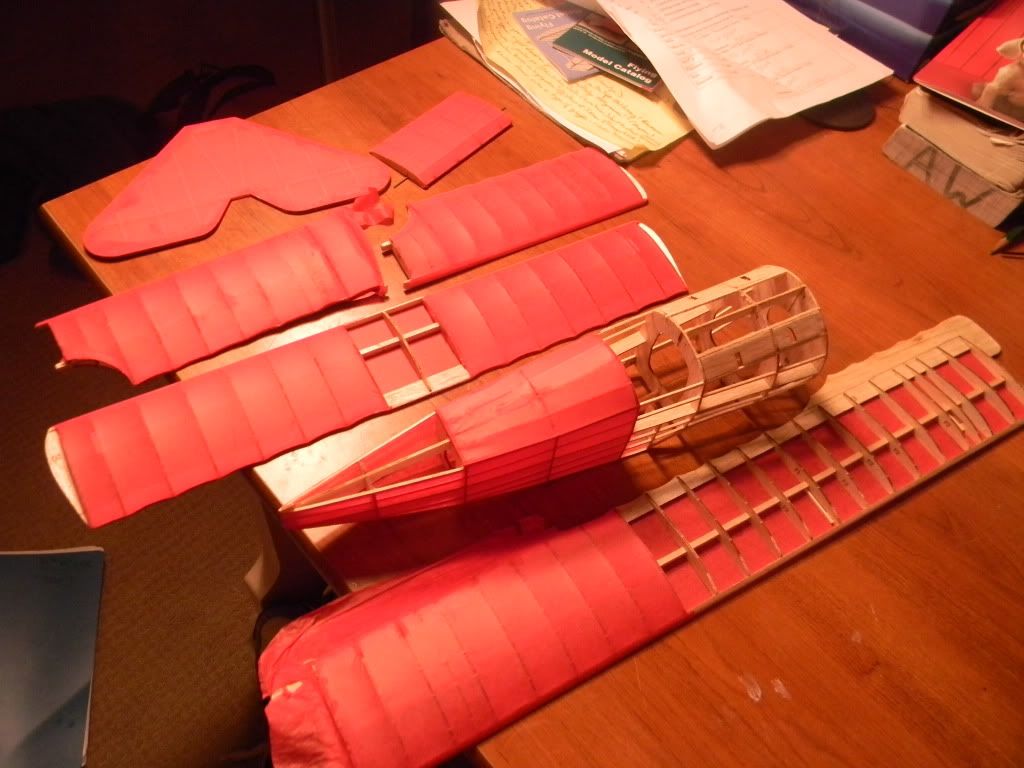
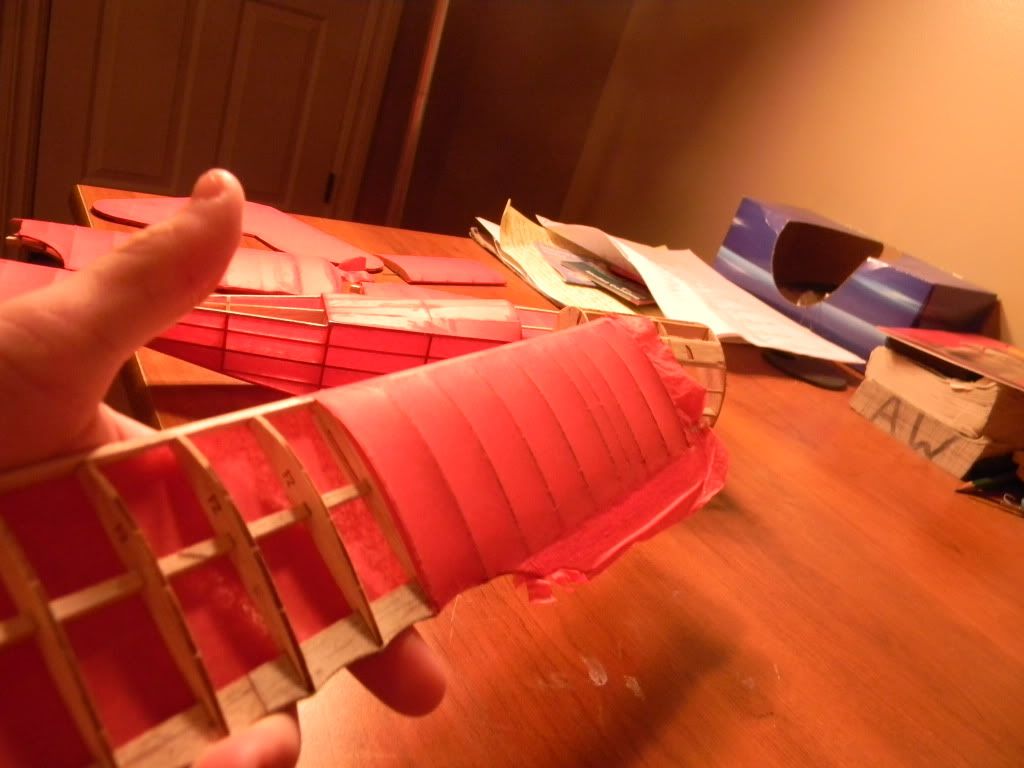
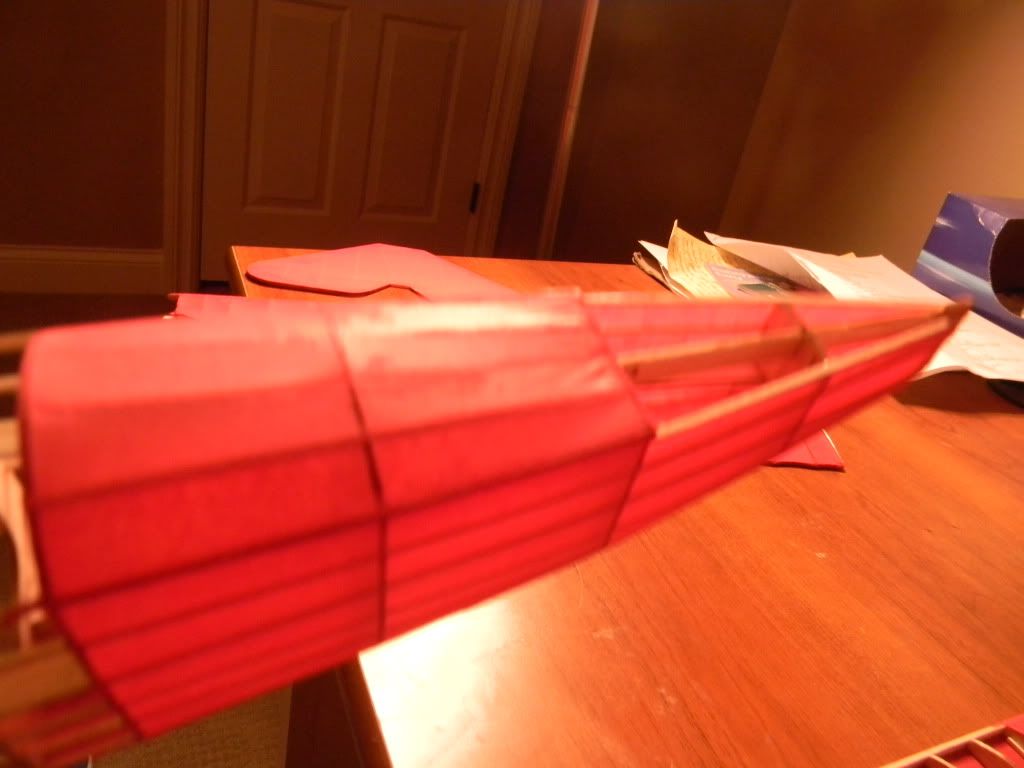
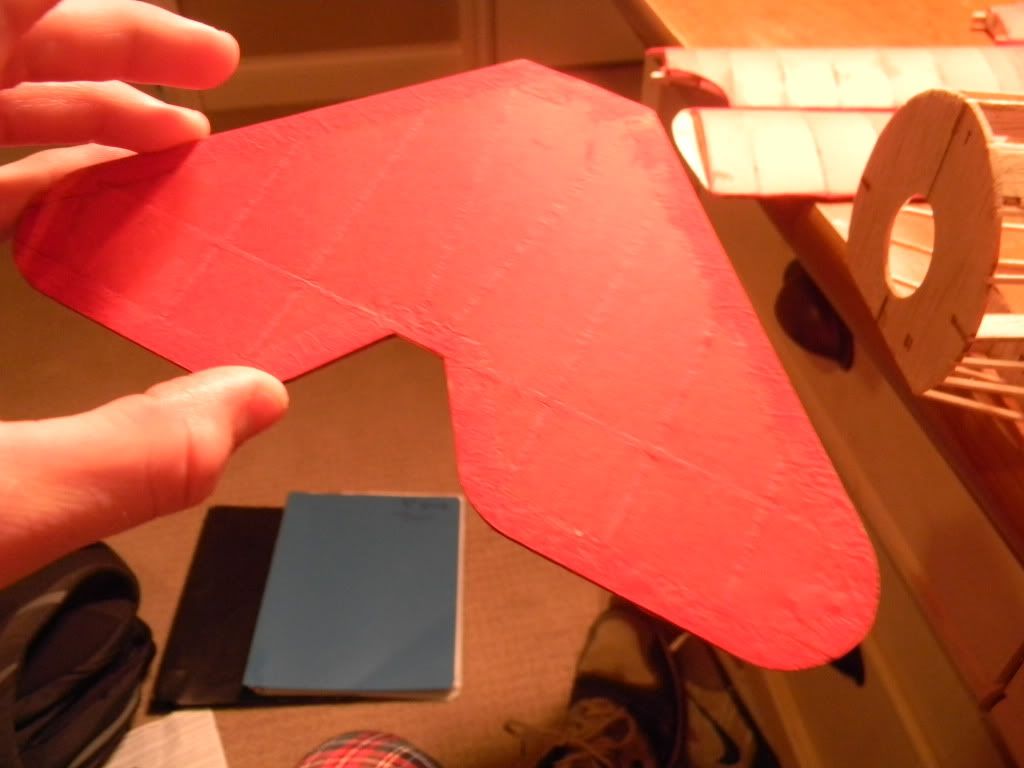
i got this kit a bit ago on ebay for 20 bucks. not bad. however the wood weighed a ton. no problem. laser cut parts were nice, and ill be building for static. most of this has been covered wet except for the tail feathers and the bottoms of the wings.

Image

Image

Image

Image

Image

Image

i know it looks pink but its red :oops: bad lighting.
BillParker
Posts: 1031
Joined: Sat Jan 19, 2008 1:21 pm
Location: Houston, Texas
Contact:

Post by BillParker »

hummmmm....


Image
William H. Parker Jr. (Bill Parker)
President, Parker Information Resources
http://www.parkerinfo.com/ap.htm bparker@parkerinfo.com
Phugoid
Posts: 952
Joined: Wed Jan 20, 2010 8:17 am

Post by Phugoid »

ADW If you don't mind me saying so your covering has got better and better with each and every model you've built and shown us on this forum over the last year or so.

I'm really pleased to see what you have done with this model, top drawer! :D :wink:

Andrew
ADW 123
Posts: 1158
Joined: Mon Feb 22, 2010 5:22 pm
Location: Cincinnati, Ohio

Post by ADW 123 »

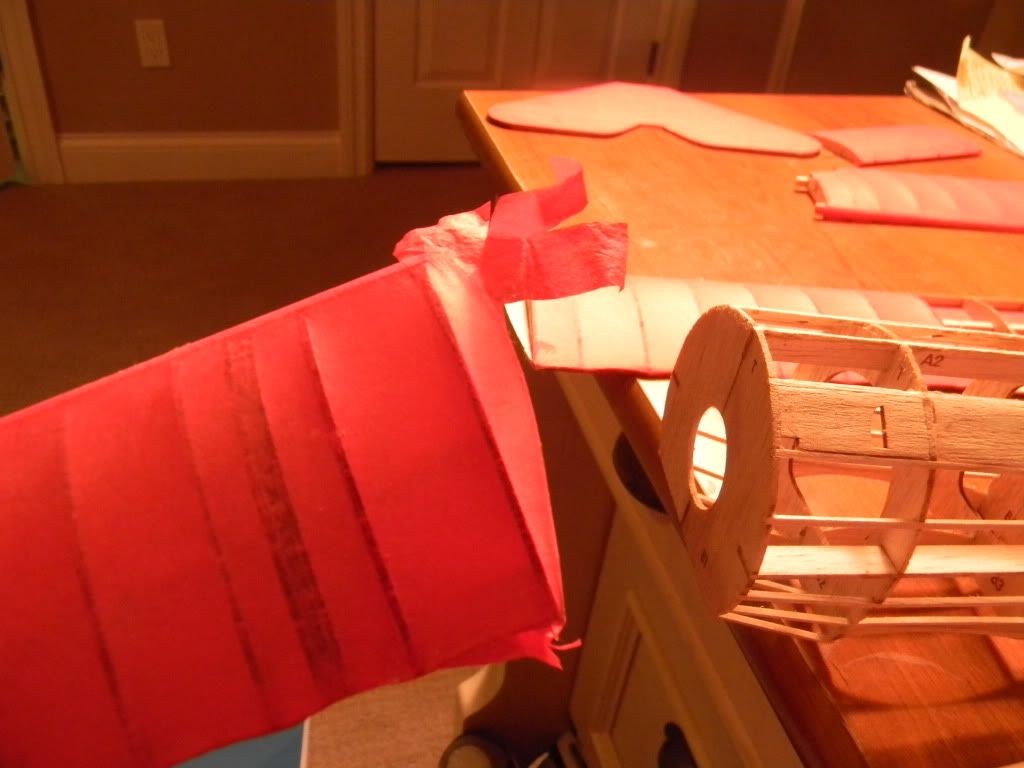
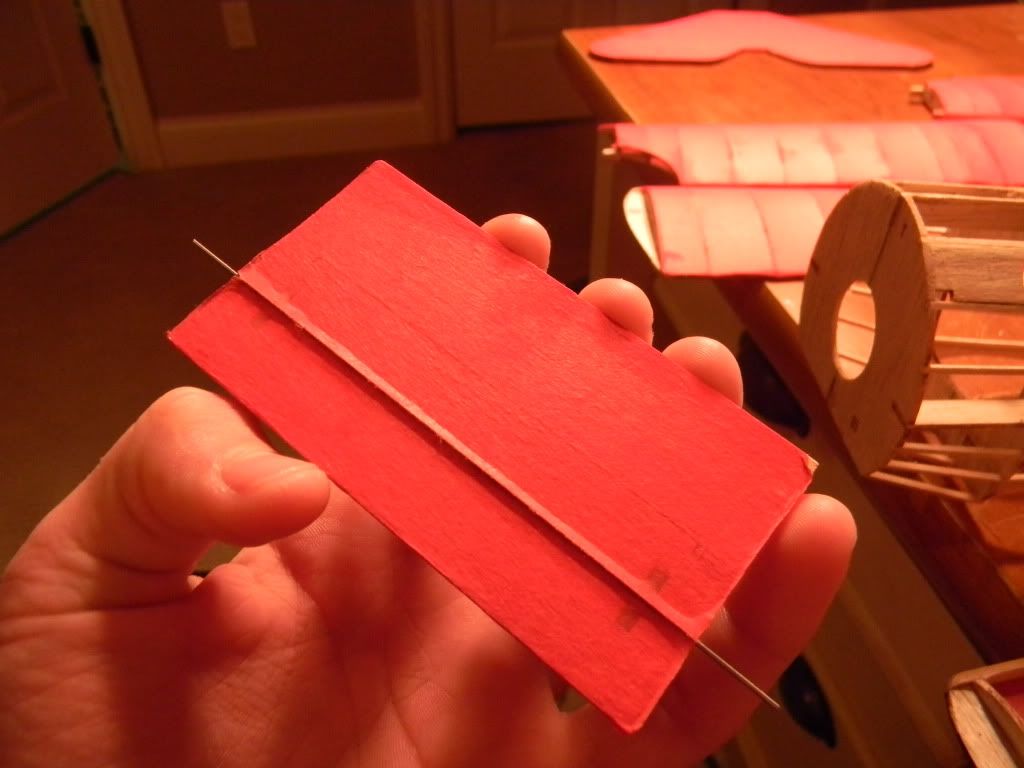
and the reason if because of your assistance with answering my questions. i got some tiny stress wrinkles here and there after a few hours. i covered wet and it worked quite well with the stronger models. i had great trouble getting the tissue to work dry. the folds in the tissue were hard to deal with. i tried to use just two dots of thinned white glue on the middle of the outside ribs. unforchunatly, the fold in the paper was making it imposible to get the tissue to stick down. my idea is to shoot for the best and nothing less for building these things at all times. i like a good challenge.
BillParker
Posts: 1031
Joined: Sat Jan 19, 2008 1:21 pm
Location: Houston, Texas
Contact:

Post by BillParker »

You put paper on like a 40 year veteran.

From now on, I'm gonna build to the bones, and ship em to you for covering.
William H. Parker Jr. (Bill Parker)
President, Parker Information Resources
http://www.parkerinfo.com/ap.htm bparker@parkerinfo.com
ADW 123
Posts: 1158
Joined: Mon Feb 22, 2010 5:22 pm
Location: Cincinnati, Ohio

Post by ADW 123 »

imagine how my planes will look when i am 40... ill take you up on that, as long as i can get the frames through my basement door Mr. parker!
BillParker
Posts: 1031
Joined: Sat Jan 19, 2008 1:21 pm
Location: Houston, Texas
Contact:

Post by BillParker »

I'll be interested to see if you can still get these kits when you're 40...


Image
William H. Parker Jr. (Bill Parker)
President, Parker Information Resources
http://www.parkerinfo.com/ap.htm bparker@parkerinfo.com
ADW 123
Posts: 1158
Joined: Mon Feb 22, 2010 5:22 pm
Location: Cincinnati, Ohio

Post by ADW 123 »

youll be suprised. we will see. or at least i will.
ADW 123
Posts: 1158
Joined: Mon Feb 22, 2010 5:22 pm
Location: Cincinnati, Ohio

Post by ADW 123 »

update-
Image

Image

Image

Image

Image

Image

Image
ADW 123
Posts: 1158
Joined: Mon Feb 22, 2010 5:22 pm
Location: Cincinnati, Ohio

Post by ADW 123 »

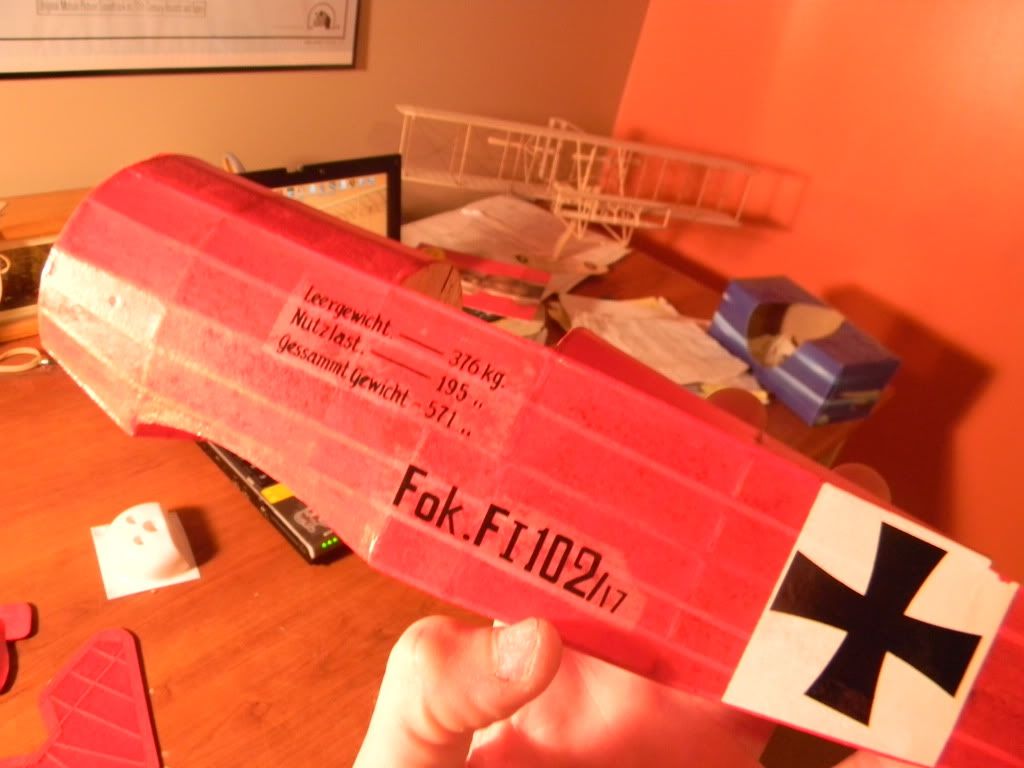
oh, and for the rudder, the decals cover the whole rudder, so is there no need to cover? assume not. i sealed with full strength dope (the frames) but the question is, will the decal stick to that well, or am i better off covering it with something, then adding decals.
BillParker
Posts: 1031
Joined: Sat Jan 19, 2008 1:21 pm
Location: Houston, Texas
Contact:

Post by BillParker »

cover the rudder.

carefully trim the decal so it fits, before you get it wet...

you can thank me later...
William H. Parker Jr. (Bill Parker)
President, Parker Information Resources
http://www.parkerinfo.com/ap.htm bparker@parkerinfo.com
ADW 123
Posts: 1158
Joined: Mon Feb 22, 2010 5:22 pm
Location: Cincinnati, Ohio

Post by ADW 123 »

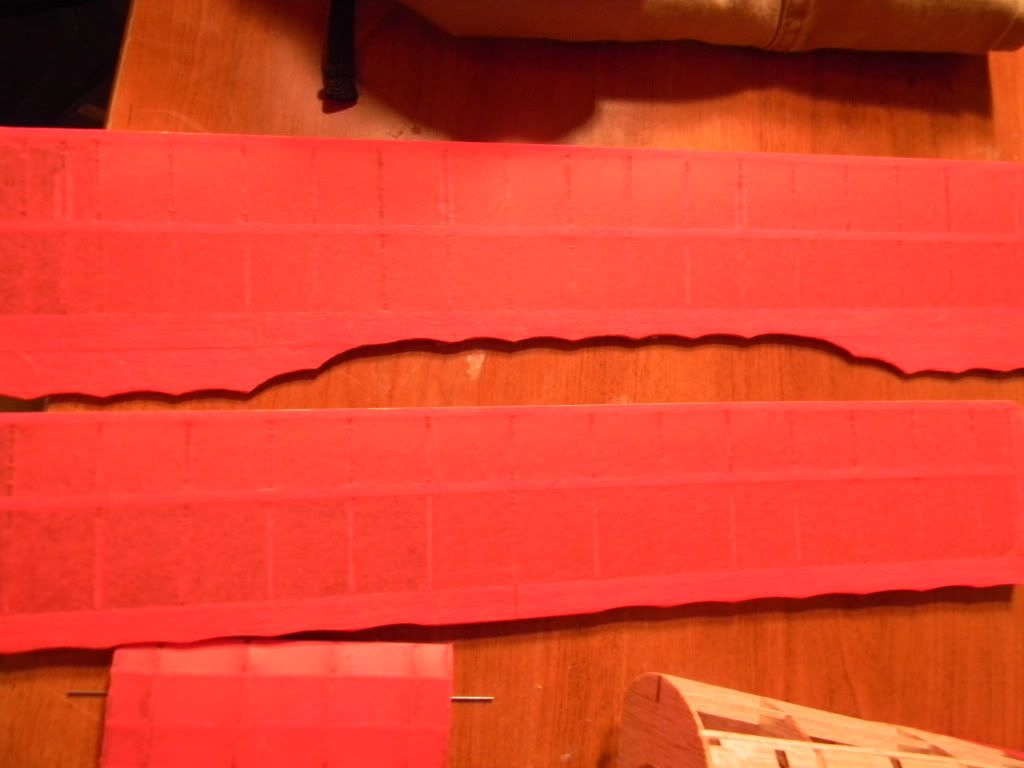
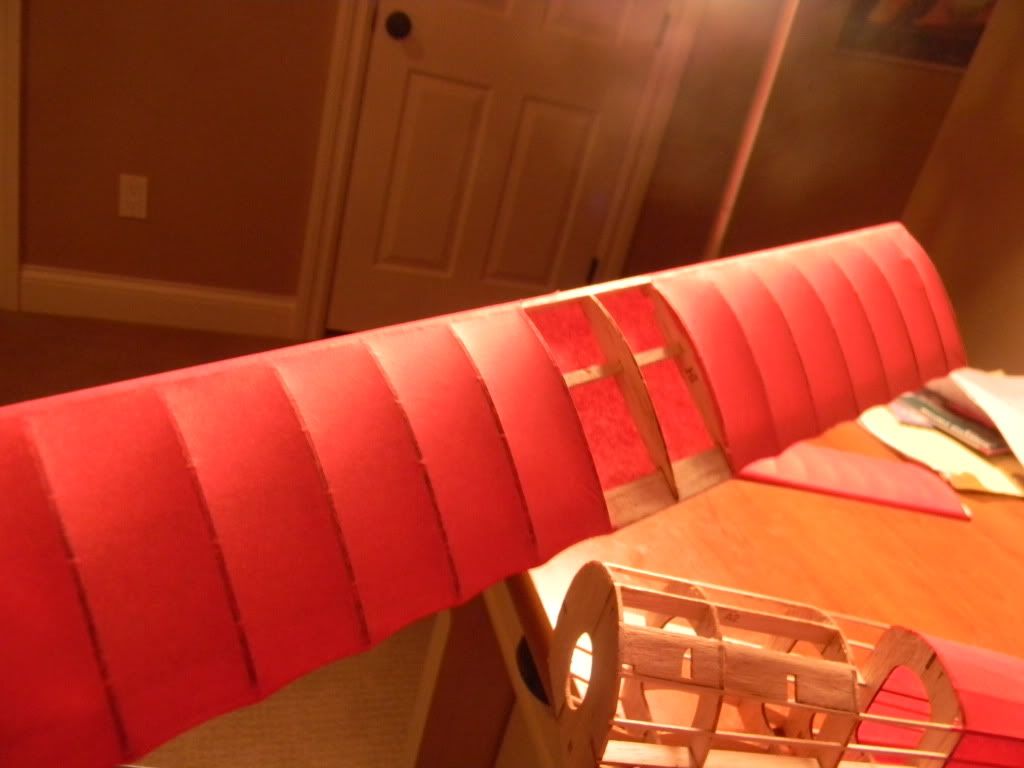
this thing is gunna look great when its all doped. ill post pics of when i built this kit in 5th grade. not even comparable to how i can build now. as for the covering, ive only got a few major noticeable wrinkles. one on the top back of the fuse, and some crows feet on the bottom wing, which dont look so bad anyways. ive also learned about really letting the tissue settle overnight. im not sure if when covering wet i should put the tissue on, get it decently flat, and then just let it go, or make sure to pull out wrinkles well after it has started to dry. i have been pulling out the wrinkles as it has been drying, but overnight i tend to get some small stress wrinkles. need help on that! maybe im looking to closely at the tissue. i always put the light on it and view it from all angles to make sure that it is perfect, but thats never the case. o well, maybe some more practice i suppose.
ADW 123
Posts: 1158
Joined: Mon Feb 22, 2010 5:22 pm
Location: Cincinnati, Ohio

Post by ADW 123 »

Makeing some progress. nearlly done covering except for the top left

wing tip. then we have three coats of nirtrate dope plus thinner to put on,

and i have to get some natural aluminum from my LHS, ive been pretty

low on paint leately. for the elevator, i was puting on tissue around the

edge so then i wont have to paint it, because i forgot to when i was

covering it originally.

Image

Image

Image

Image

Image

Image

Image

Image
ADW 123
Posts: 1158
Joined: Mon Feb 22, 2010 5:22 pm
Location: Cincinnati, Ohio

Post by ADW 123 »

Bump- update. three coats of nitrate dope of course thinned except for the horizantal, which has only 2 for now. looking pretty good, the top wing looks great and decals are all on except for one side of the rudder, which i have not taken a picture of.

Image

Image

Image

Image

Image

Image

nice huh? i love the look that the dope gives it.
PHS Paddy
Posts: 20
Joined: Mon Mar 07, 2011 5:07 pm
Location: Wisconsin

Post by PHS Paddy »

ADW,

Yes, nice. Actually I would give your Fokker a very good.

You mentioned covering wet so I’m wondering if you used the kit tissue, or…?


Paddy :)
Post Reply