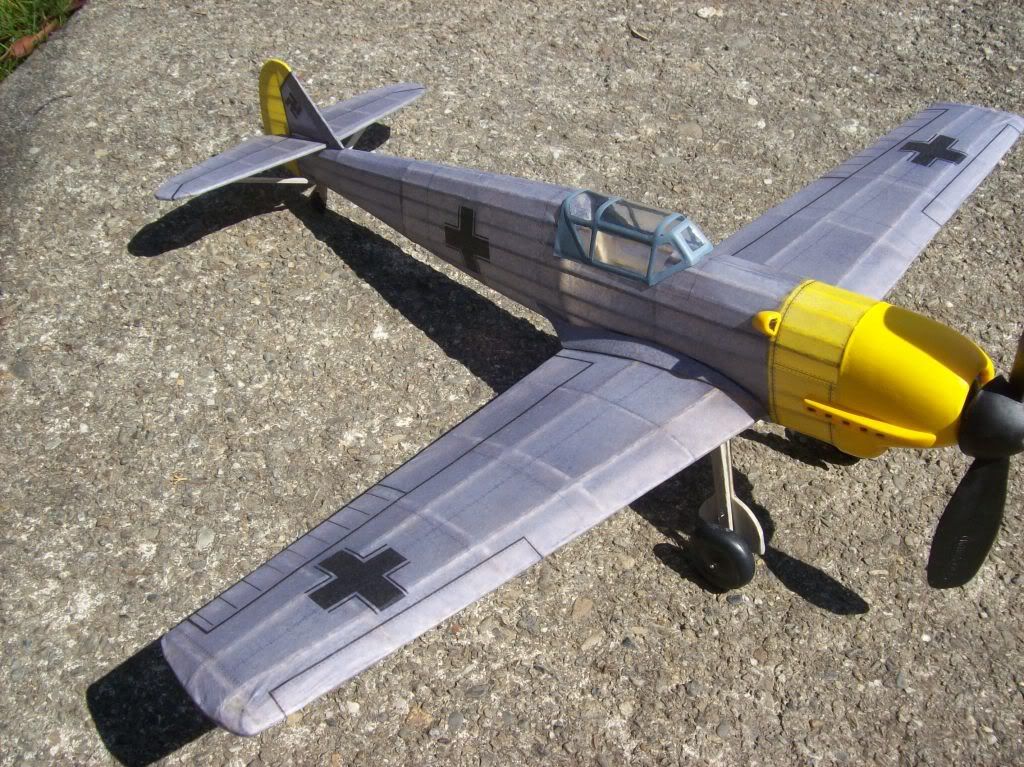
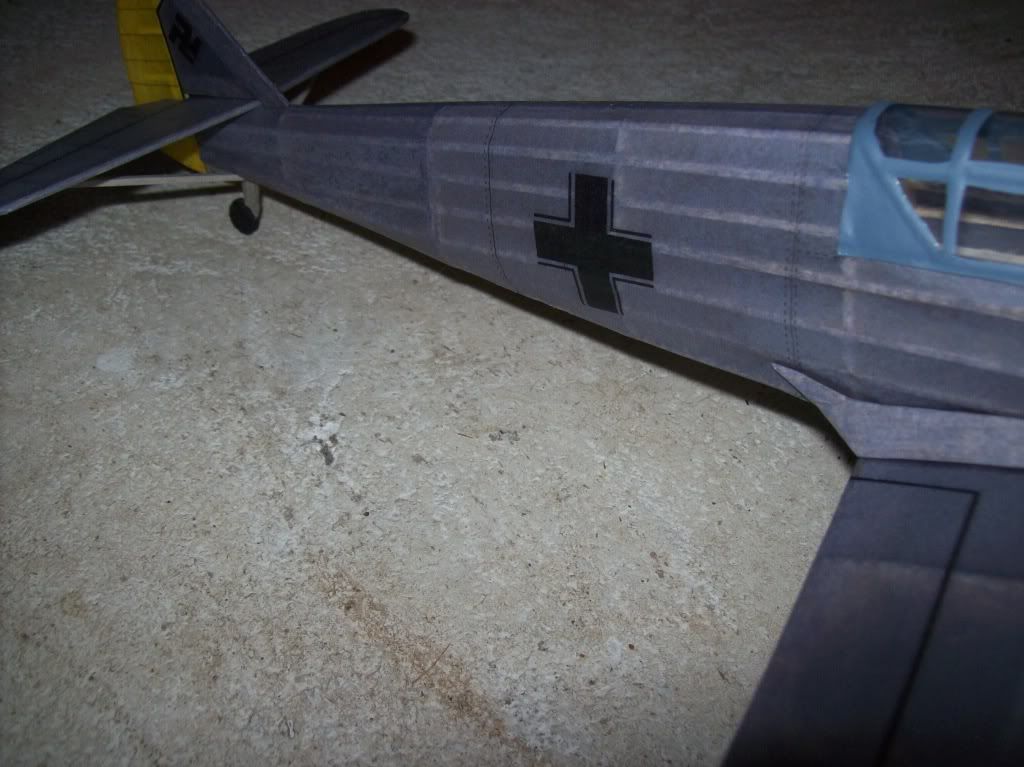
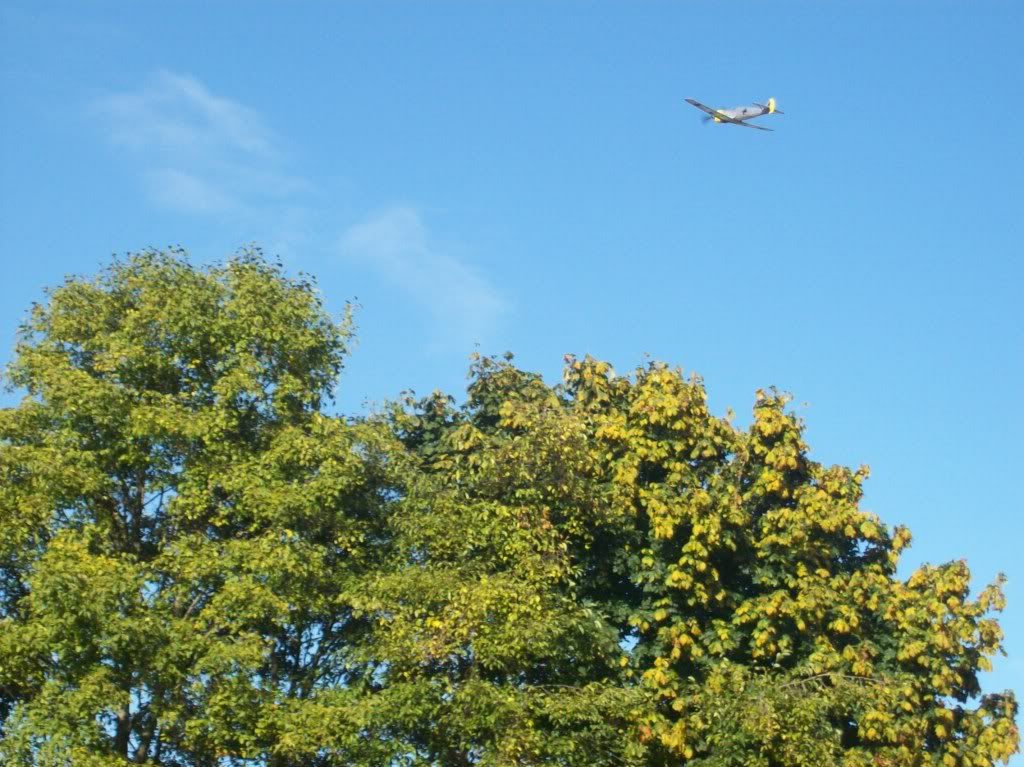
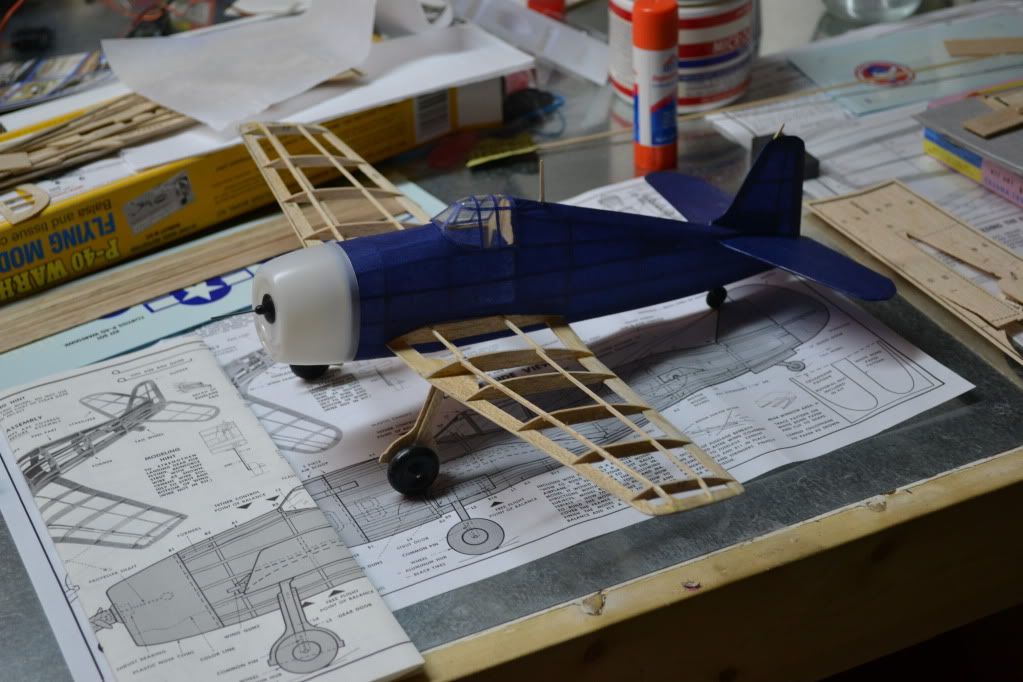
This model was 98% done a long time ago. The last 2% took a long time for a lot of reasons. I was going more for trying new techniques on this one, but I still wanted it to fly. Well it doesn't fly to well (best flight is only about 10 seconds) and looks I am mostly happy with except for wrinkles in the tissue. I used easy built domestic tissue with graphics printed on it from my computer, and found domestic tissue really hard to work with after working with Japenese tissue on my last couple models. I really liked printing the graphics on the computer; I hope you all can see it, I managed to get rivets on the seam lines. The AUW weight (balanced with rubber is (35.2 grams). The plane has suffered some damage trying to trim it up better. I'll post a video, if I can get a half descent flight out of it.
lovely work! I really like the printing idea. DId you dope the tissue after? i never tried this idea because i was always woried about the dope screwing up the ink/print job.
thanks, no dope. just krylon after the model was covered and the tissue shrunk. ya, i really enjoy making the graphics on the computer. I have an hp printer which limits me to black ink on domestic tissue any colors or japenese tissue smears. I need an epson printer as their ink is water proof, so I could try a lot more.
It looks like you had a little color mismatch on the canopy. Next time, i would sugest using the colored tissue on it. Cut it into thin strips, and you can use white glue thinned 50 50 and apply with a brush. i did on my wulf, and it looked great. much easier than painting.
ADW 123 wrote:lovely work! I really like the printing idea. DId you dope the tissue after? i never tried this idea because i was always woried about the dope screwing up the ink/print job.
I have played around with printed tissue you too. It's da bomb. However, like krob says, I have an HP also and black printing is okay with water, alcohol, dope. Dope did not seem to disturb color printing on tissue, but everything else did so I am looking at another printer as well. I think an Epson wide carrage printer would go nicely.
+1 on the tissue canopy.
It is not that hard to do and it will dramatically improve the apperence of the model. I use repositionable glue stick for tissuing the canopy.
That tissue on the canopy does look better. I'll have to try that next model. Do you apply the 50/50 mix to the tissue then attach or paint the glue/water to the canopy then apply tissue?
I've become rather intrigued with the printing on tissue issue. What sort of software do you use to get your markings/etc, and how do get things sized correctly? these things boggle my mind. At this point I'm useless with any graphics packages. Give me CAD sure. Give me data analysis tools and I'll make magic..but graphics elude me.
krob wrote:That tissue on the canopy does look better. I'll have to try that next model. Do you apply the 50/50 mix to the tissue then attach or paint the glue/water to the canopy then apply tissue?
Repositionable stick glue on the tissue and then stick it to the canopy.
I've become rather intrigued with the printing on tissue issue. What sort of software do you use to get your markings/etc, and how do get things sized correctly? these things boggle my mind. At this point I'm useless with any graphics packages. Give me CAD sure. Give me data analysis tools and I'll make magic..but graphics elude me.
I just use an Old copy of Corel Paint and some rough measurements of the airframe and just lay it out to a color plate.
My printer is also a scanner, so I scan the plans into my computer then I open the scan up in Open Office Draw (free program). That way I have the correct size of the plane. With guillows plans, as you know, they already show the placement of the markings, control surfaces, etc. on the plane. From there, it's just a matter of drawing over the top of them with the program. Since plans are flat and planes round, it's helpful to run the lines you draw extra long. That way when you cover a curved wing or such the flap lines make it to the end of the wing. Then I use spray adhesive on a piece of printer paper, let it sit a bit, then remove some more tackiness with another piece of paper, attach the covering tissue, run through the printer, peel off the tissue, and cover the plane.