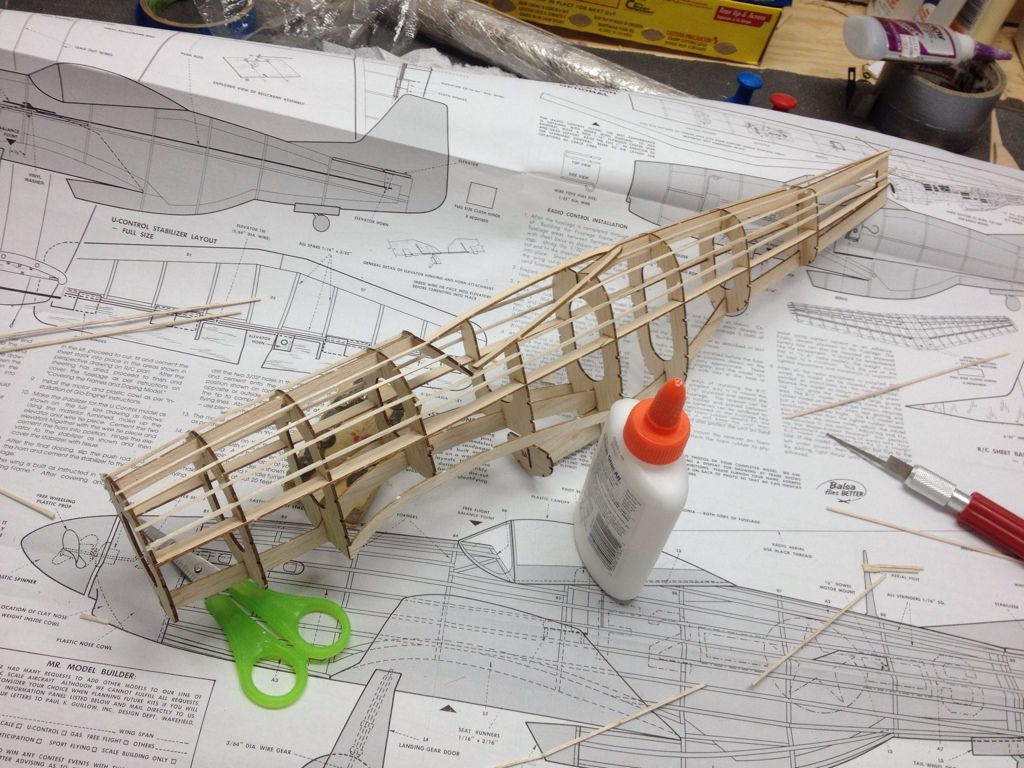
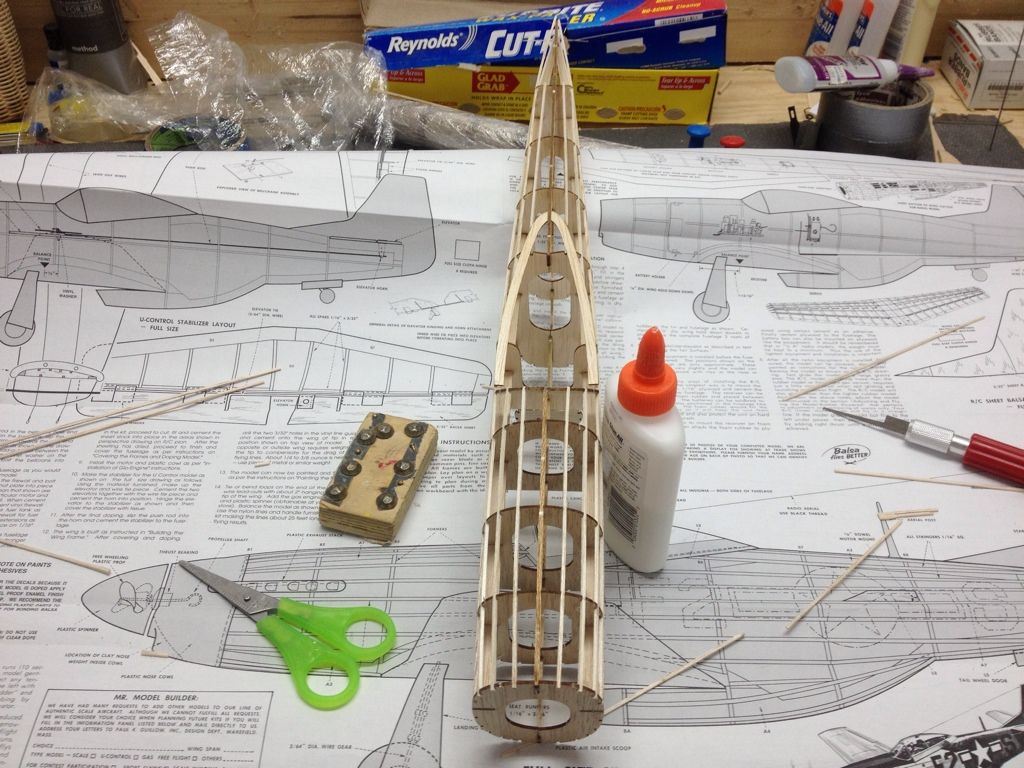
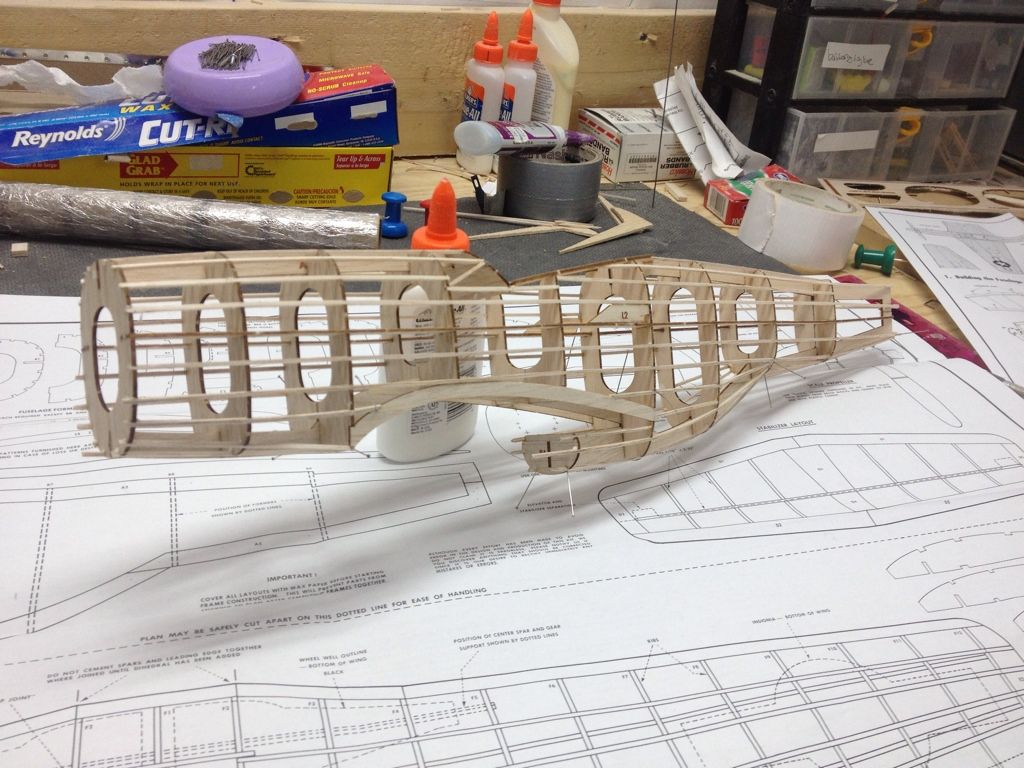
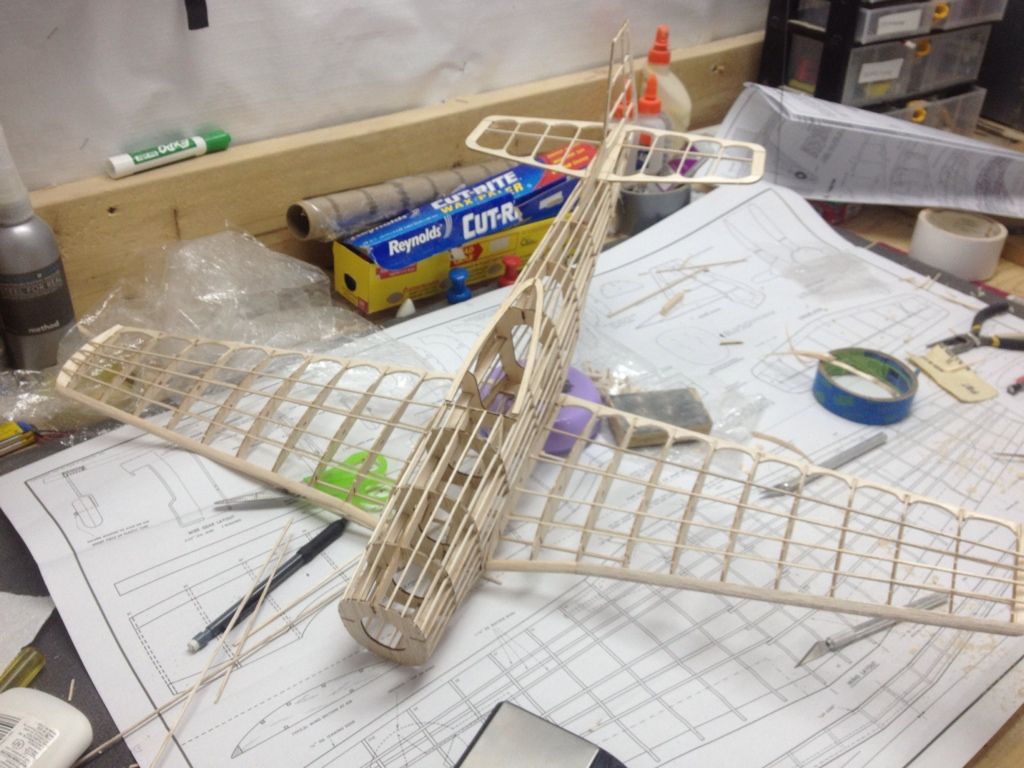
Just started this one today. amazed at the quality of the wood and the cut. i only had one bad sheet with formers on it, but they were forward formers and i will likely need the weight anyways forward of the CG. Everything has gone together perfectly. I did have some problems with the side keels as it seemed that the slots in the formers of the fuse were just a little small for the keel to fit well. i ended up sanding down the keel for a better fit. anyways, all stringers are on above the side keel. very impressed. guillows is going to have a very valuable collection of model kits when it is done converting all of their kits to LC. cant wait.. but they should hurry up
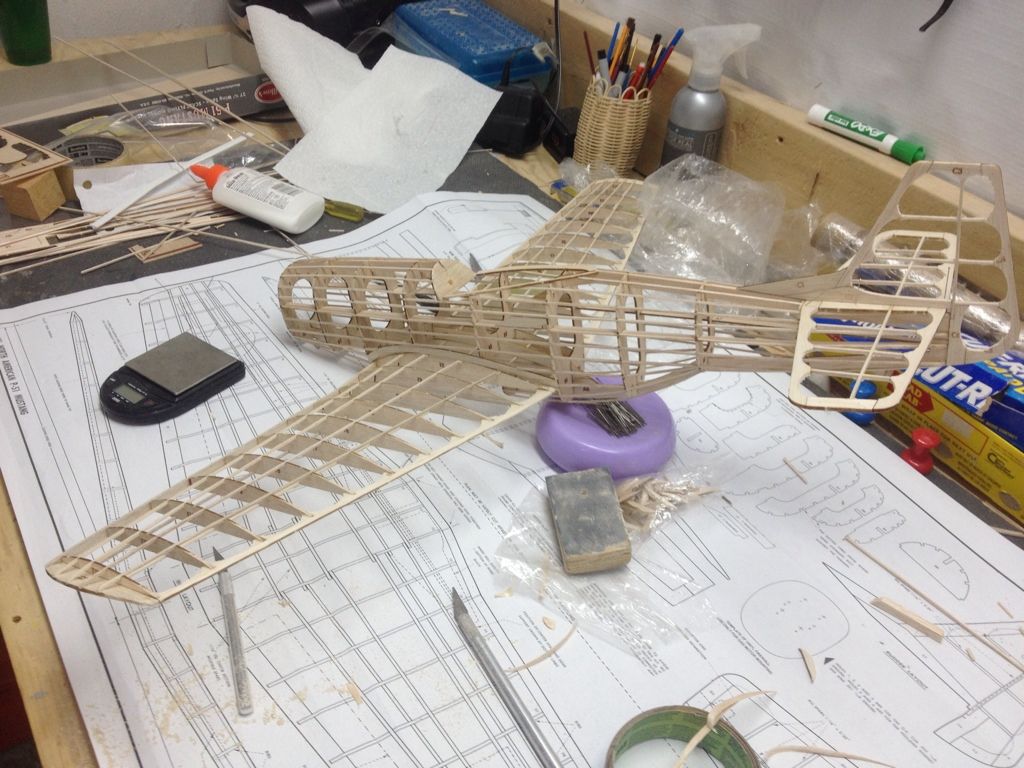
here are some pics. forgot to mention... i am building this one to Rubber FF. should fly nicely with a few minor mods. moving the rear motor peg forward a couple of bays, scalloping here and there and we should have a very nice flying model.
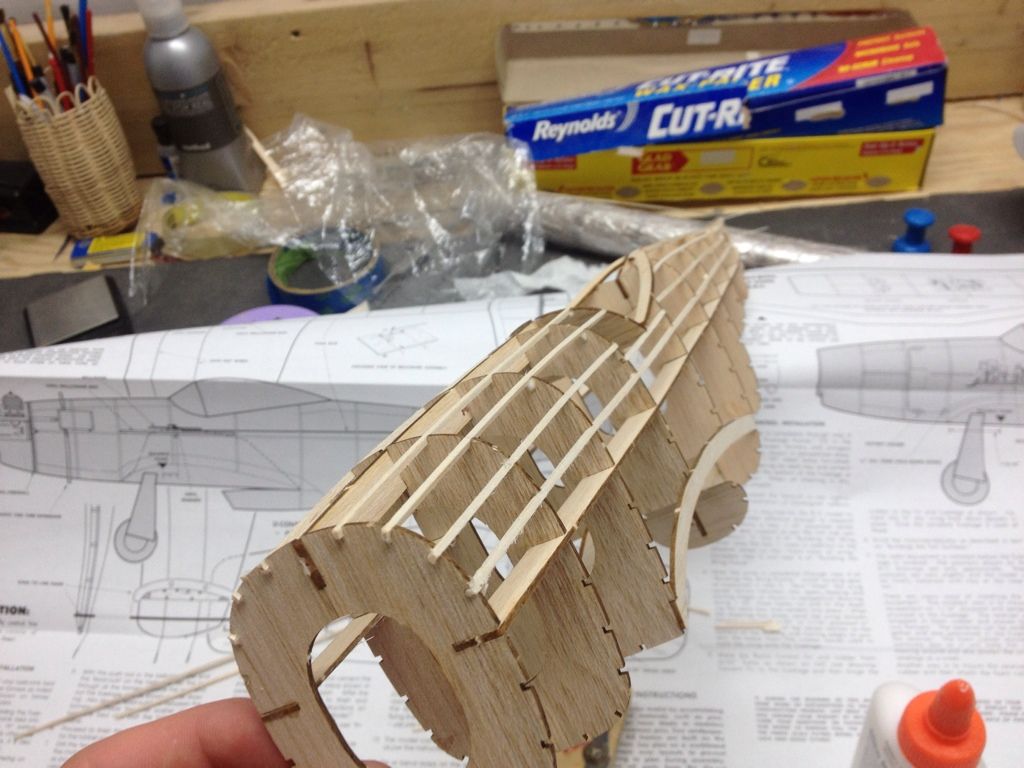
YES, I agree the Lazer cutting is ALMOST TOO PERFECT...
That is one time where I used CA glue... I was doing a dry fit, and it was so tight, I just let it in there and put a drop of CA on each frame. On later models I sand the side keel down just a bit as I like to get a dry fit to see how things line up... But with Lazer... If it doesn't line up it usually means I did someting wrong.
The P-51 I am flying now I moved the peg hole AFT... but my latest build, Bf 109F, I followed WILDPIG's advice and moved the peg FWD!
As a newbie it looks like I'm not doing to much wrong.
Following instructions by the book, I am covering the fuselage bit by bit, but notice you have nearly covered the fuselage with one sheet of tissue. Might try that on my third attempt. Since my first attempt was a disaster I am hoping this one turns out reasonable.
Looking forward to see your finished plane, as I think we all are.
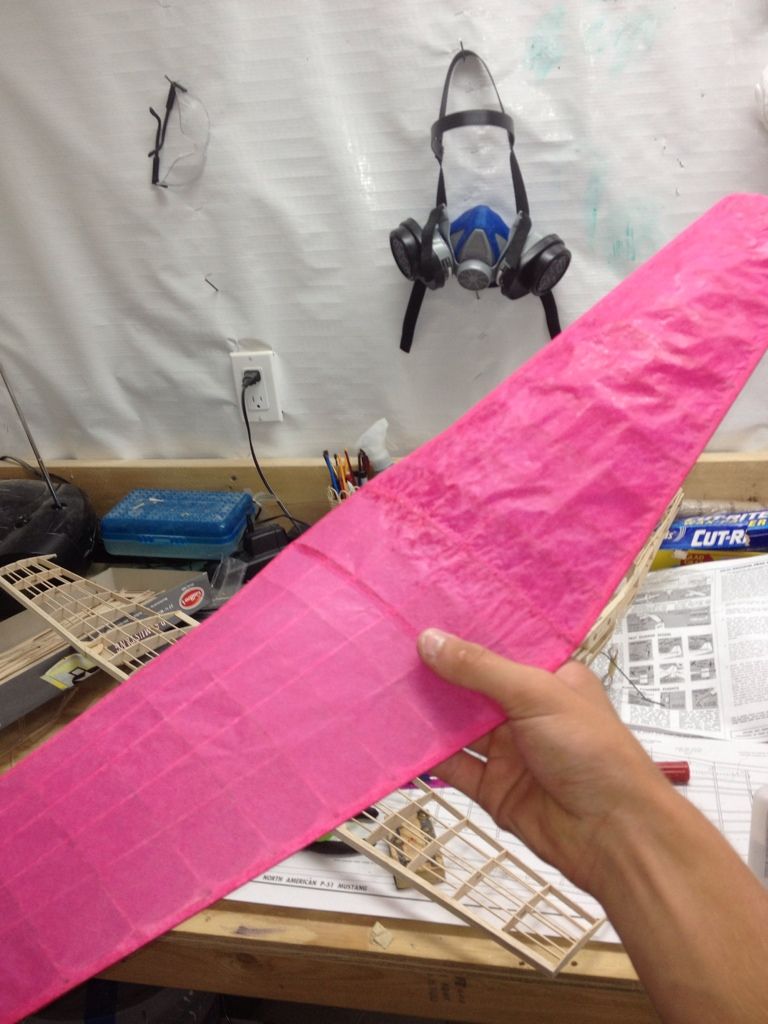
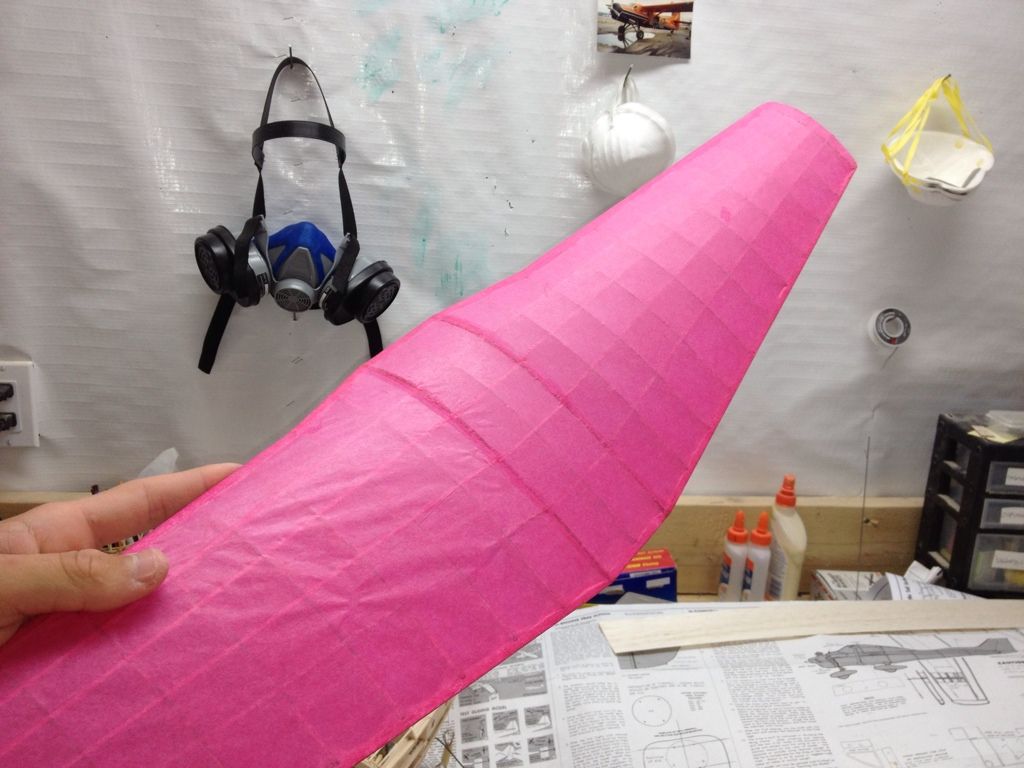
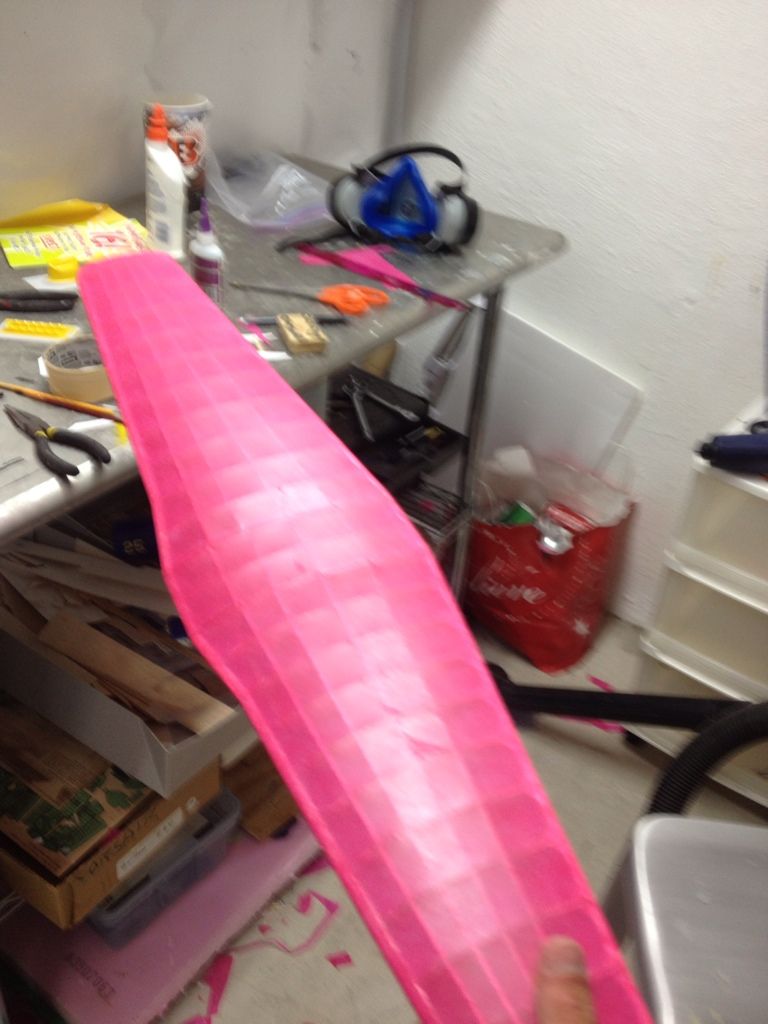
i have seen people cover half of that fuselage in one piece. of course, he was using esaki tissue. it is a lot stronger and is easier to work with wet without ripping it. Using easy built lite tissue, i covered that fuselage in about 10 pieces with good results. i wouldnt try pieces that are too big for comfort. there is definatly an advantage to covering wet (faster by all means) but i have also seen people cover the fuselage in sections like the guillows instruction booklet describes. I dont try that with colored tissue because there would be lots of overlaps. hopeing to get the final touches on soon. i put a couple decals on and a few didnt turn out so great... i always get bad results from water stick decals and only two coats of dope. i forgot to add extra dope where i was planning to put the decals, because that would seem to help. im not sure if it is worth the extra trouble and weight so ill leave it be for now.
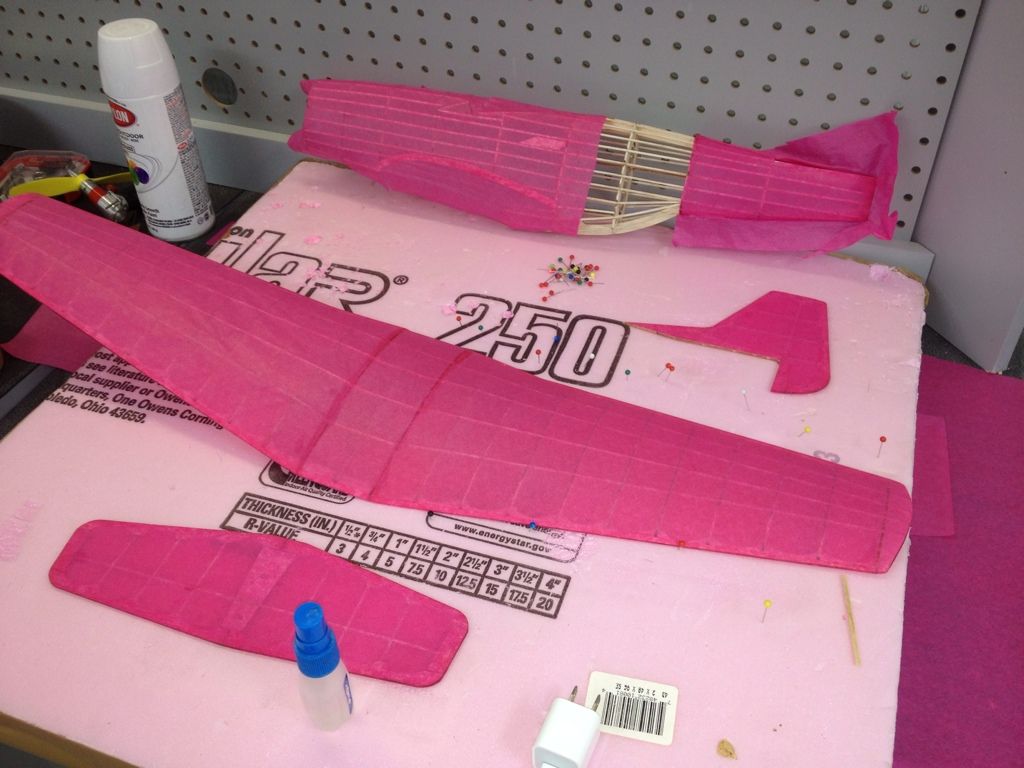
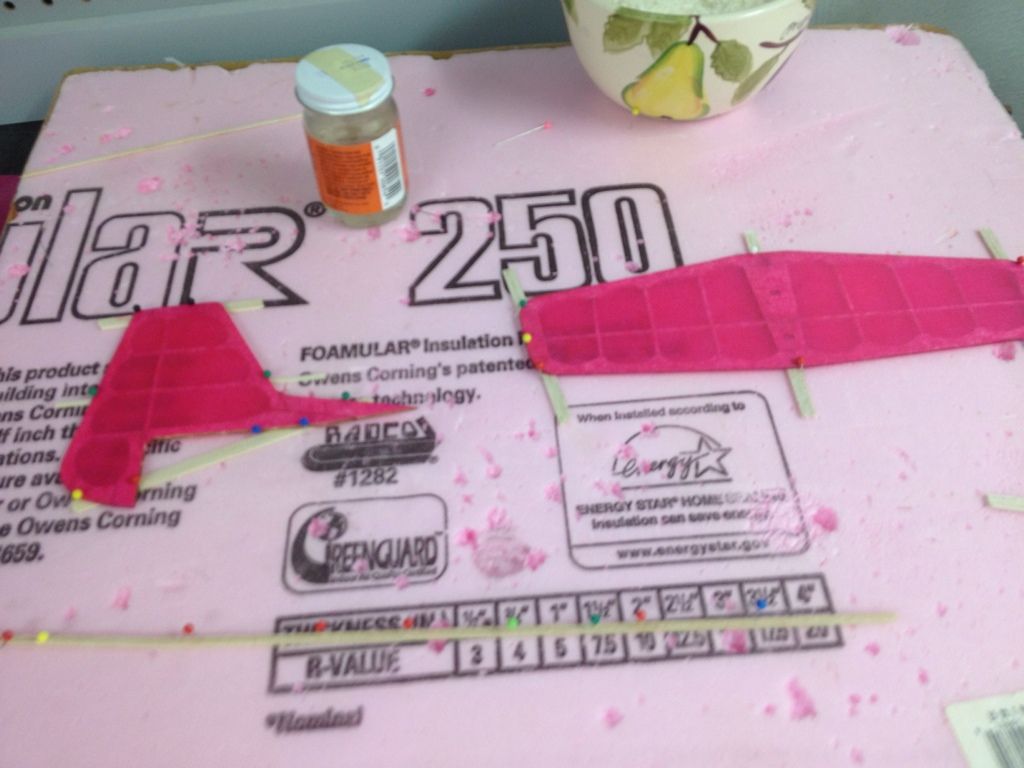
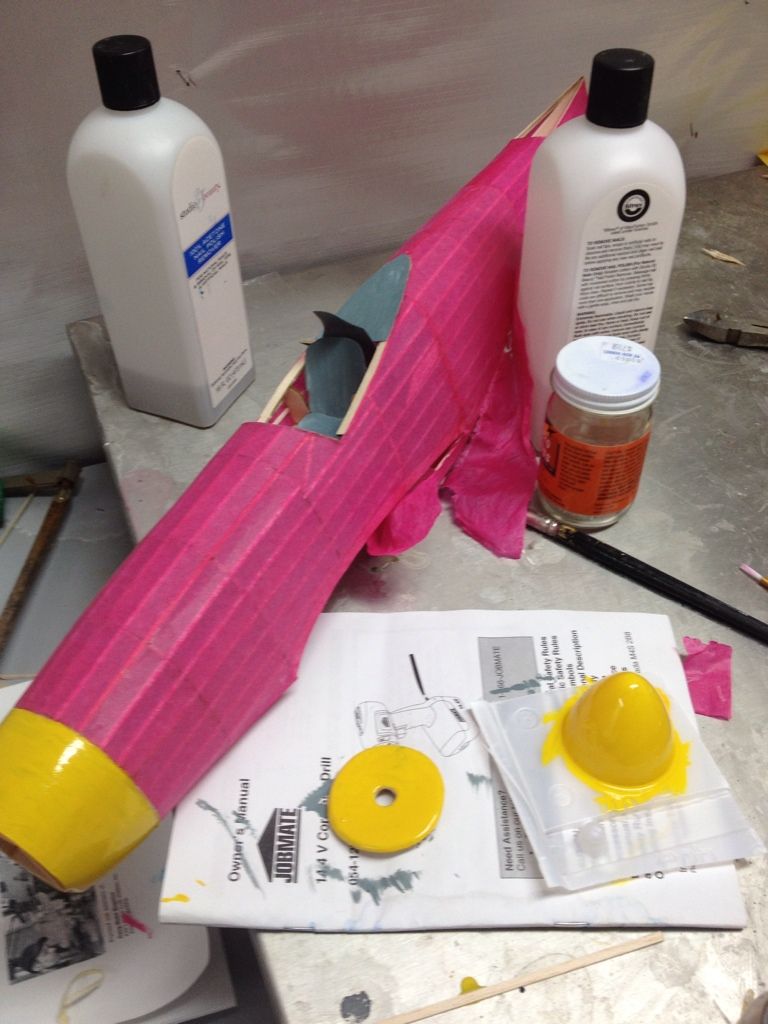
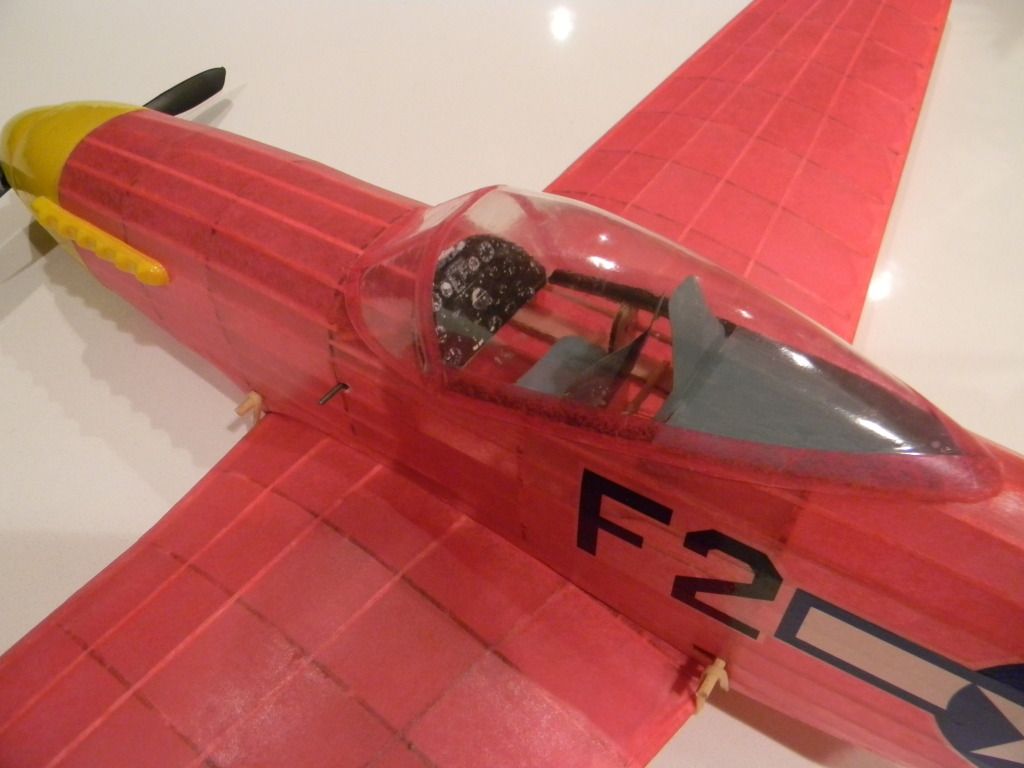
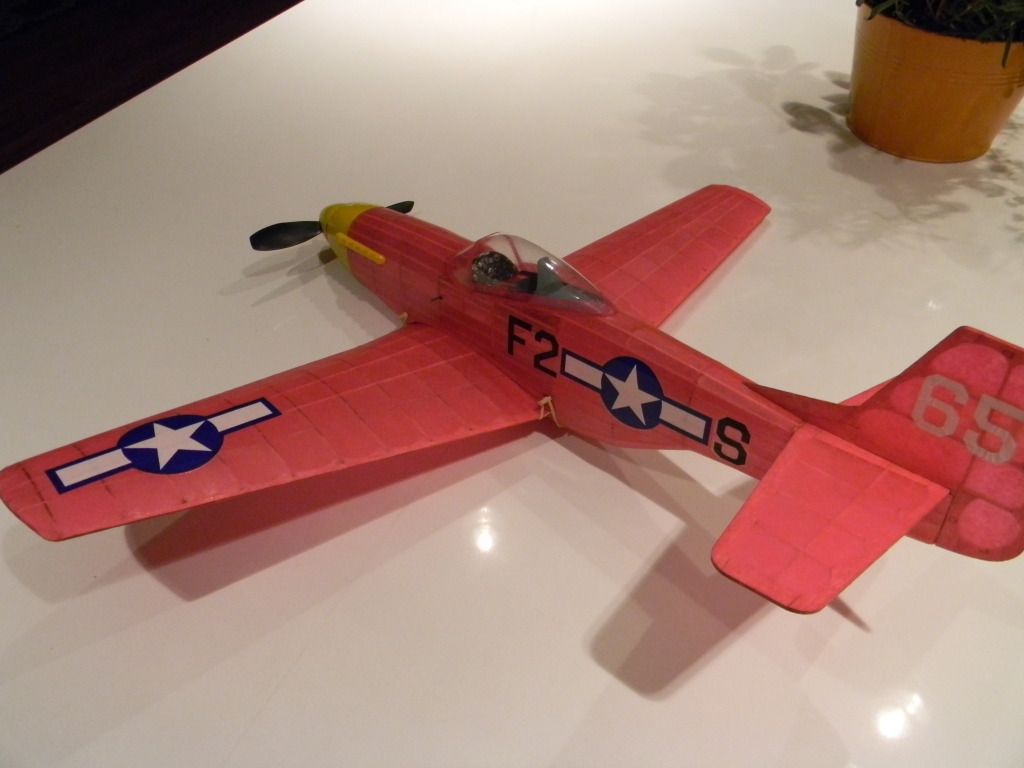
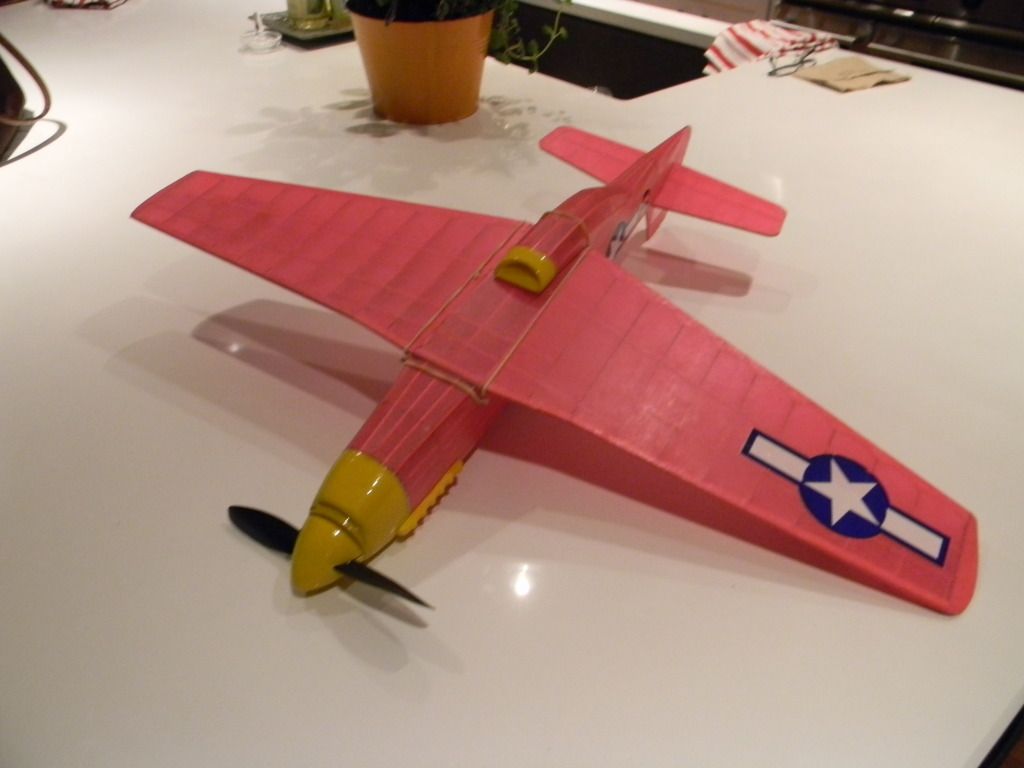
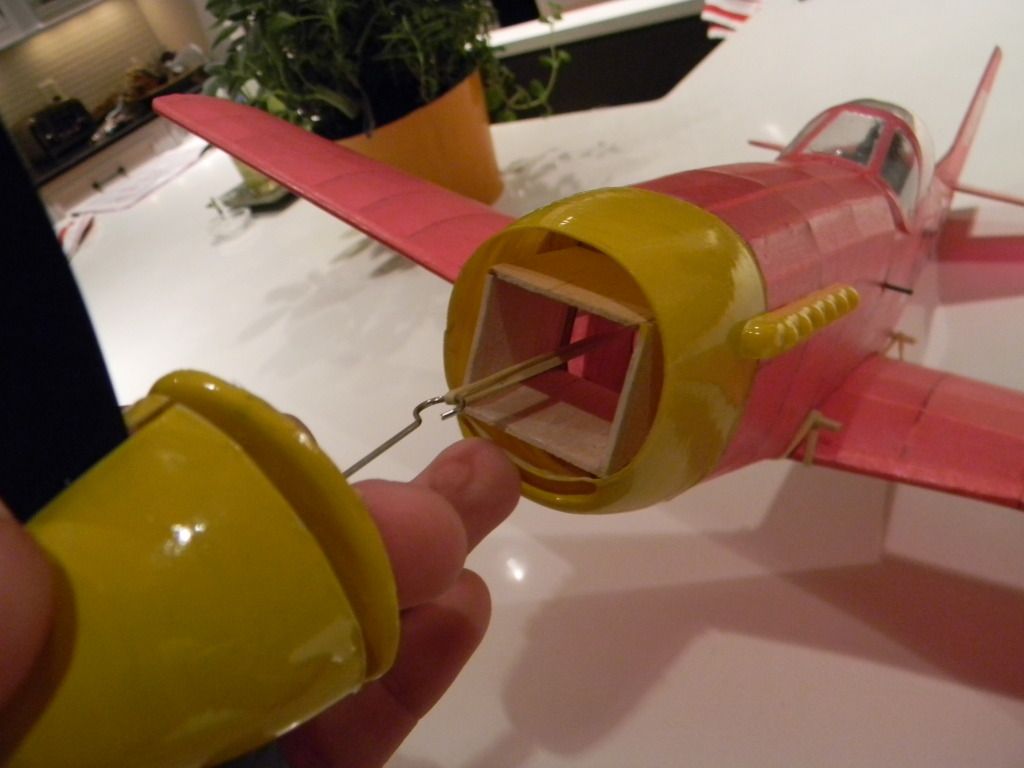
Finished the mustang. 85 grams. might need a little nose weight as usual. not sure what everyone else flew this plane at weight wise.... i think all the wing area will generate enough lift to keep this thing in the air. here are pictures-
Hey, your plane looks great. I have never built any 400 series. So I have a couple of questions. Did you put the motor peg in front of the cockpit. And is it standard for the wing to be held on with rubber bands?
I have it just in front of the cockpit. And no it isn't standard. It's just really easy to make the wing removable on this one because the way the air scoop is situated.

