Dr-1 Triplane Build
-
ADW 123
- Posts: 1158
- Joined: Mon Feb 22, 2010 5:22 pm
- Location: Cincinnati, Ohio
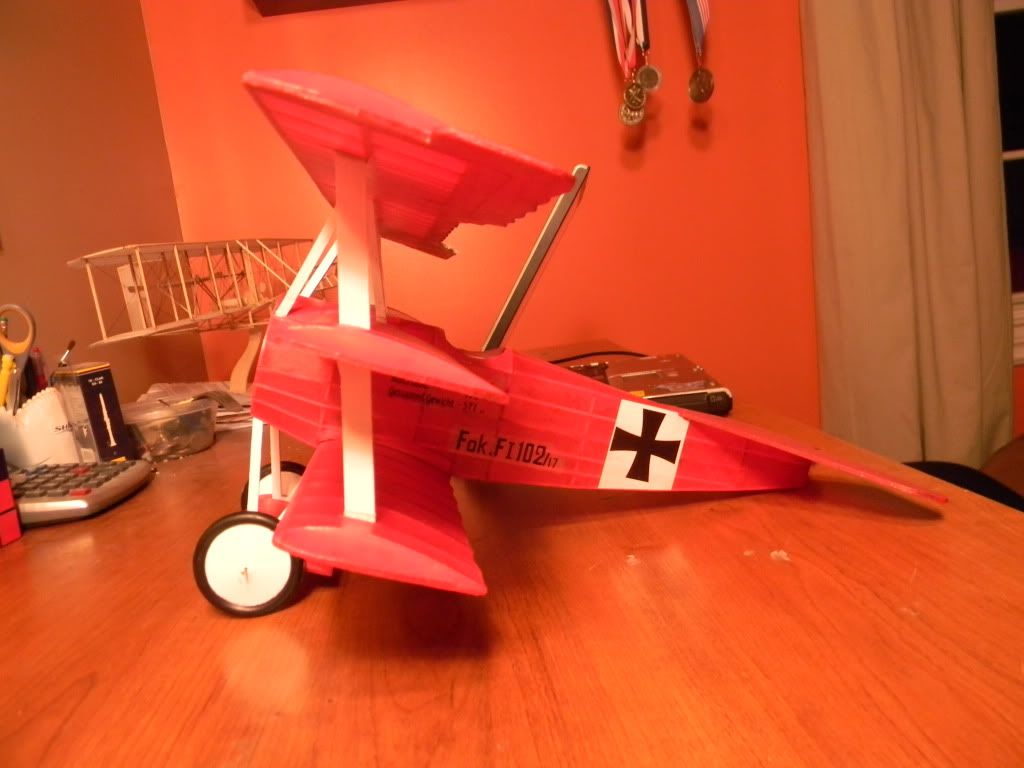
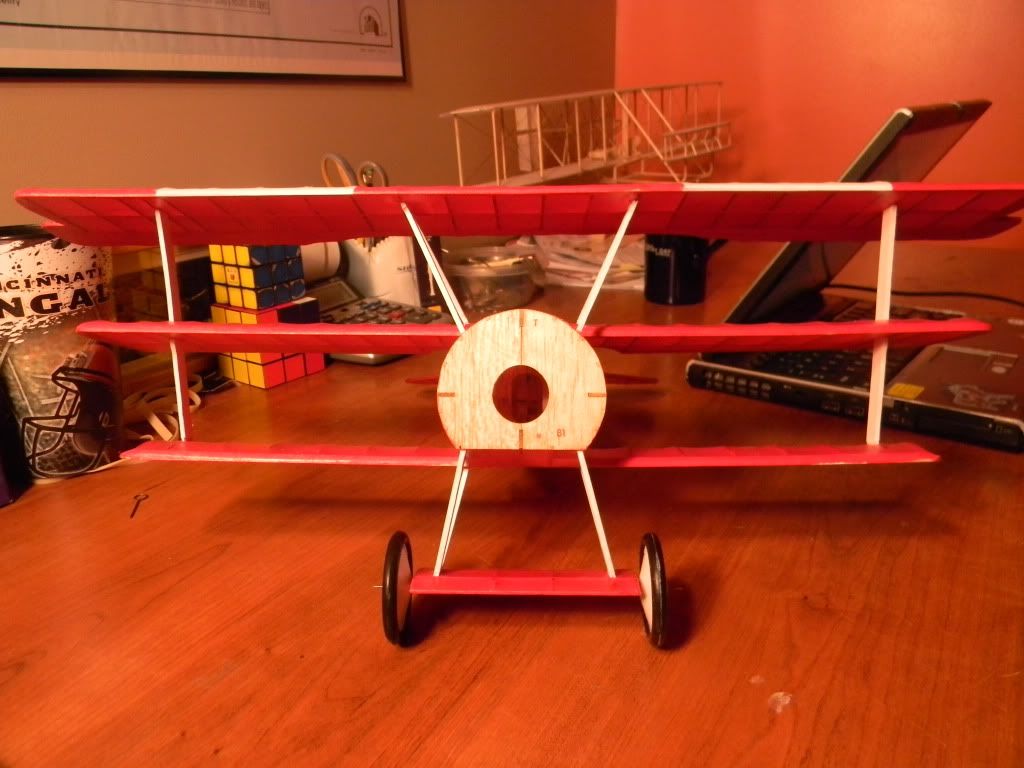
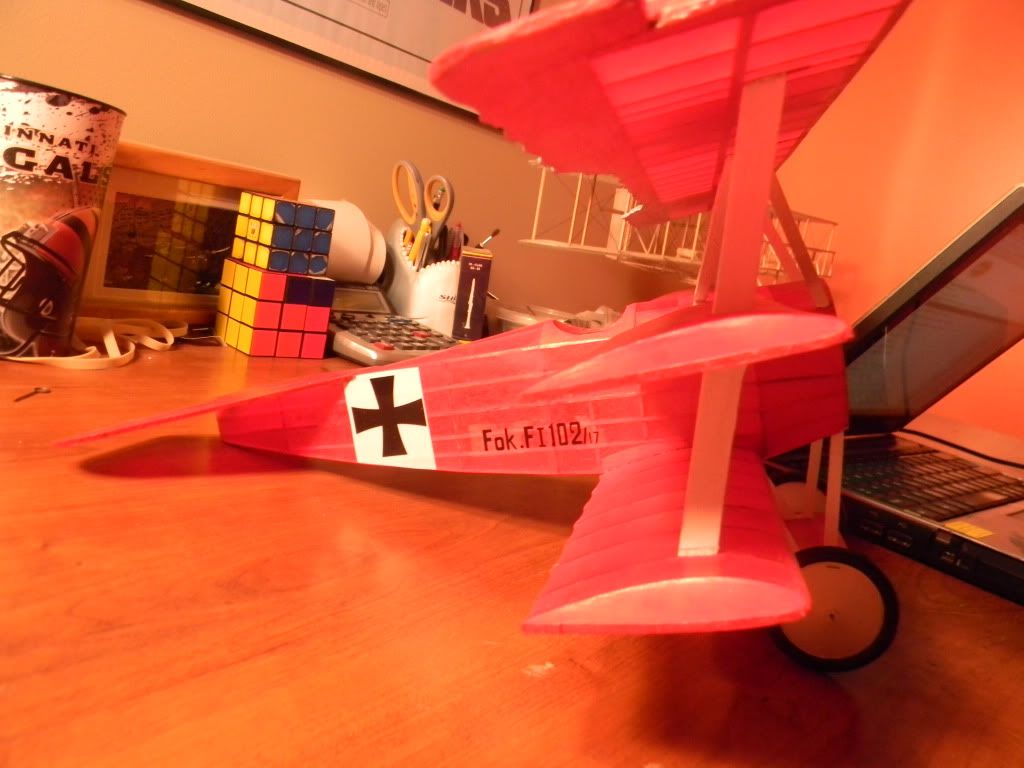
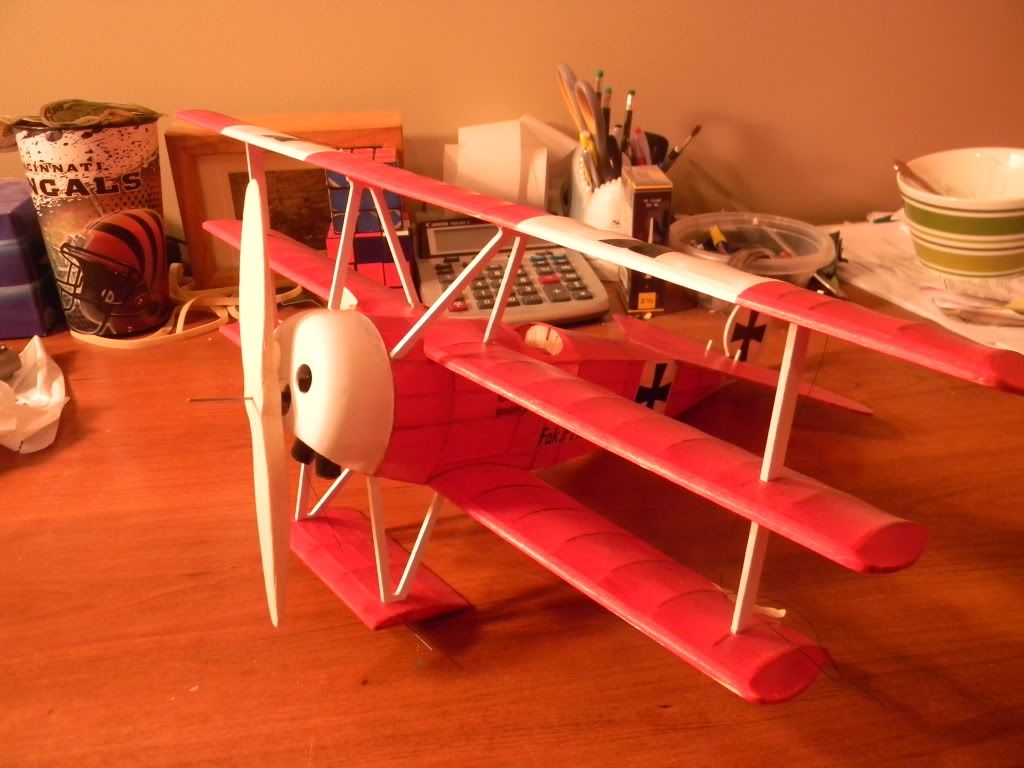
i was pretty dissapointed how the wing struts and landing gear struts went into possition. i had to sand down the tips of these pieces, because they wouldnt fit inside the normal laser cut slots. they were ten sizes to big. the struts being 3/32" around there and the slots and everything else being 1/16". tricky stuff.
-
cliffm
- Posts: 370
- Joined: Fri Feb 27, 2009 11:08 am
- Location: fairdale N D
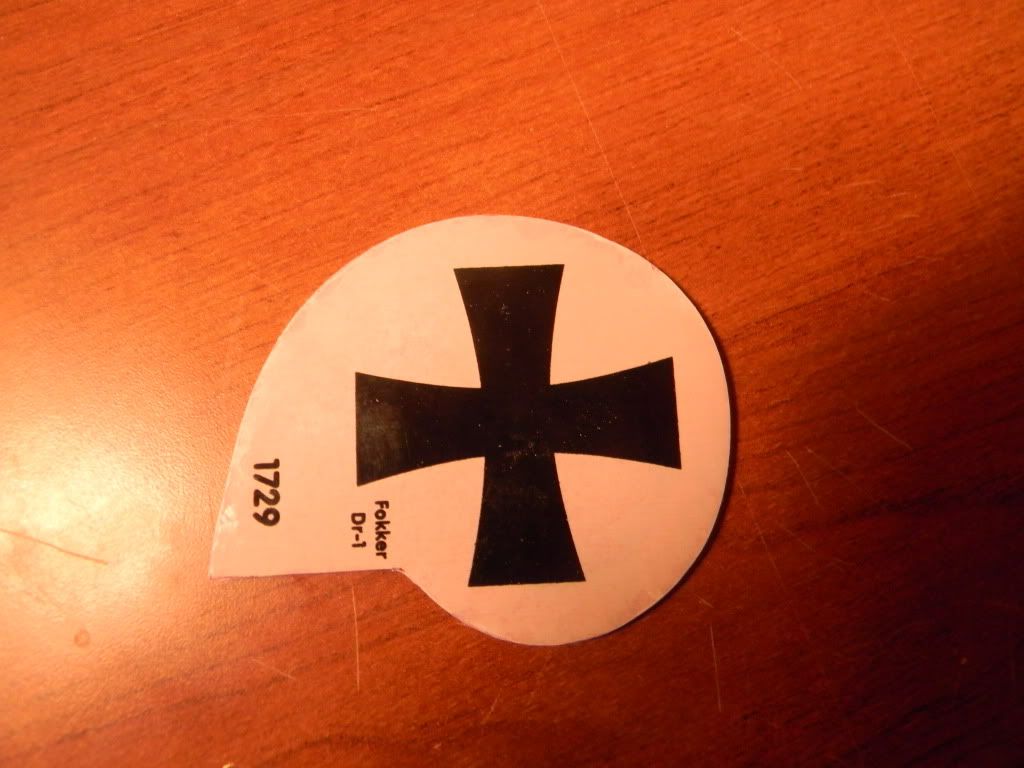
Beautiful looking plane, sorry to hear about the struts not fitting properly. I was putting decals on my B-24 last night and along with most other decals I've found that they make a much better application if all that outside edge is trimmed down to the essential decal. They don't seem to peel as easy when you remove that non-essential edge.
-
ADW 123
- Posts: 1158
- Joined: Mon Feb 22, 2010 5:22 pm
- Location: Cincinnati, Ohio
guillows should look into that, making sure that all the decals fit correctly on the models. esp. since this thing is laser cut and all, it seems since all the parts are so nice and fit so well, why dont the decals?
how should i do rigging on this thing? i usually use some CA glue, but maybe there is an esier way. also, would like some tips on control horns/wires reguarding the same thing.
how should i do rigging on this thing? i usually use some CA glue, but maybe there is an esier way. also, would like some tips on control horns/wires reguarding the same thing.
-
ADW 123
- Posts: 1158
- Joined: Mon Feb 22, 2010 5:22 pm
- Location: Cincinnati, Ohio
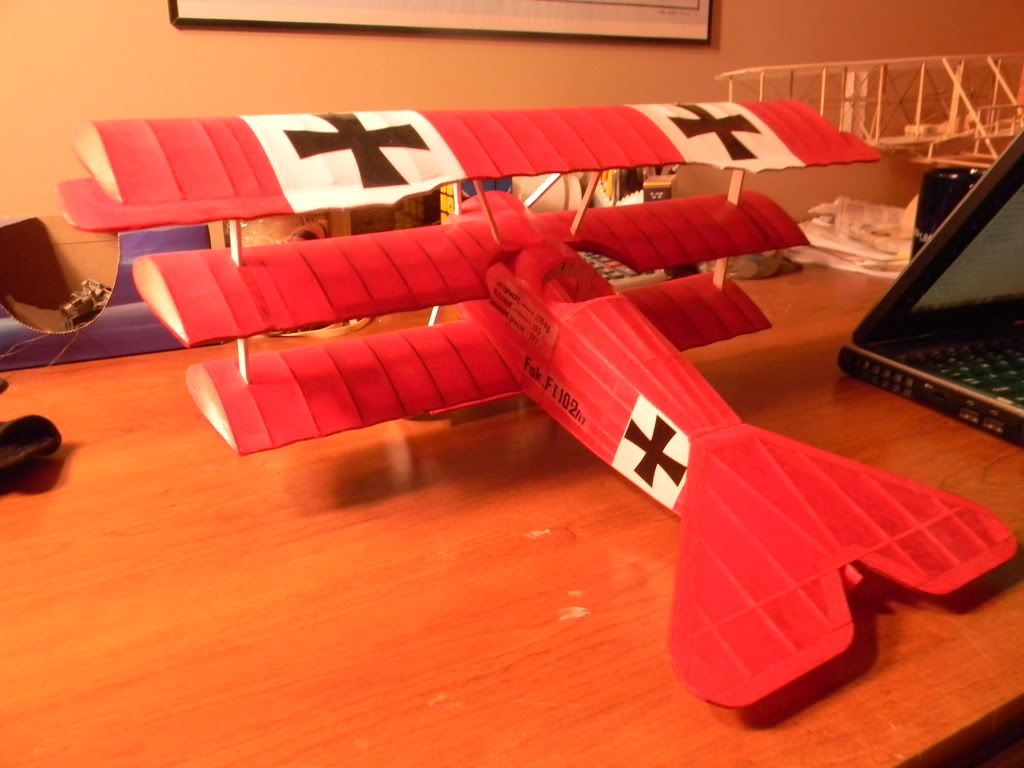
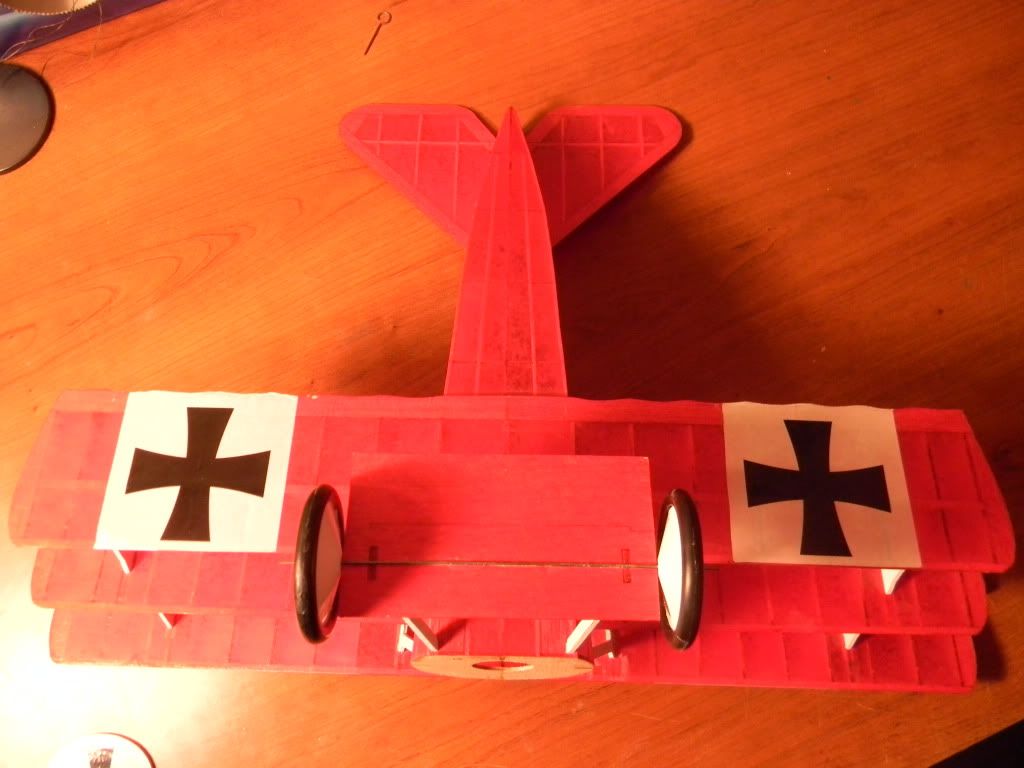
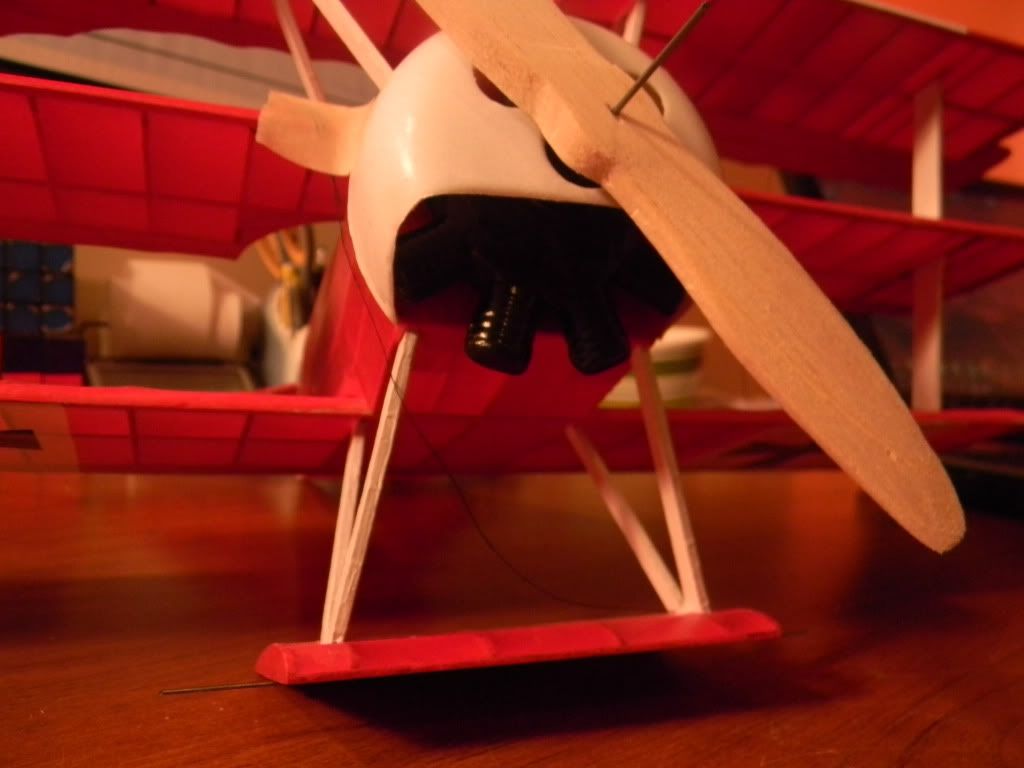
motor has been built, painted, and added. i used a piece of wire, i wanted the prop to be able to turn. i plan to add more detail to the prop soon. i am adding control horns (only got 4 left to add or sumthing) and the control wires. i just used sewing thread, it isnt as stiff as the nylon threaad, so it will be easier to cut and glue and what not.
-
mr.charlse
- Posts: 48
- Joined: Sun Mar 13, 2011 10:41 am
-
ADW 123
- Posts: 1158
- Joined: Mon Feb 22, 2010 5:22 pm
- Location: Cincinnati, Ohio
thanks, the covering does make the plane. its the trickyest the master though. i cant say much since im only 14 and not nearly a master but i can say that the improvement ive made is incredible. i built this plane in 5th grade. i still have it, and ill take side by side pictures of them both together, so everyone can see the improvement. lookin forward to see you get paper on yours....
-
mr.charlse
- Posts: 48
- Joined: Sun Mar 13, 2011 10:41 am
-
cliffm
- Posts: 370
- Joined: Fri Feb 27, 2009 11:08 am
- Location: fairdale N D
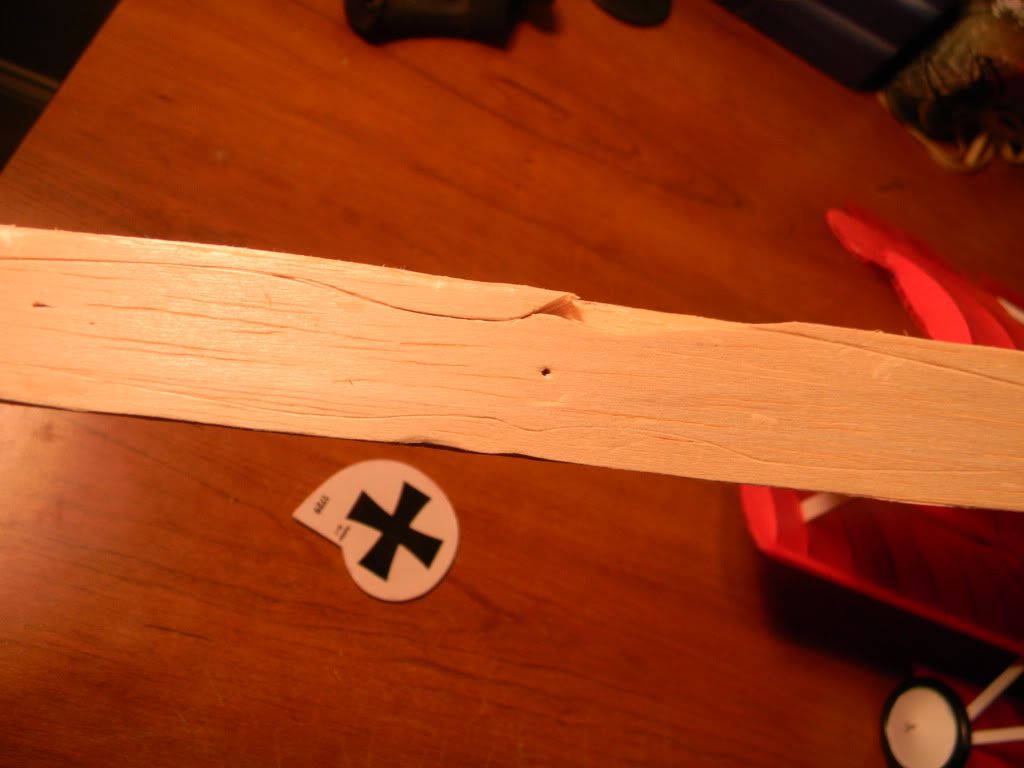
If you go to page 6, look under the thread High Hopes, you can see the gide wires on this and also the difference staining the strut wood makes in appearance. I drilled the small anchor blocks, shaped and painted them, looped a single piece of thread thru it,leaving it way long, cemented the block to the fuselage,then secured each end of the thread to the wing struts using 2 wraps and a 1/2 hitch.which allows you to adjust tension to your liking. After everything is adjusted a small dab of some clear cement to the wrap will secure it. Don't do like me and pull the first one all tight and find the top wing a 1/4 inch out. Have fun.
-
ADW 123
- Posts: 1158
- Joined: Mon Feb 22, 2010 5:22 pm
- Location: Cincinnati, Ohio
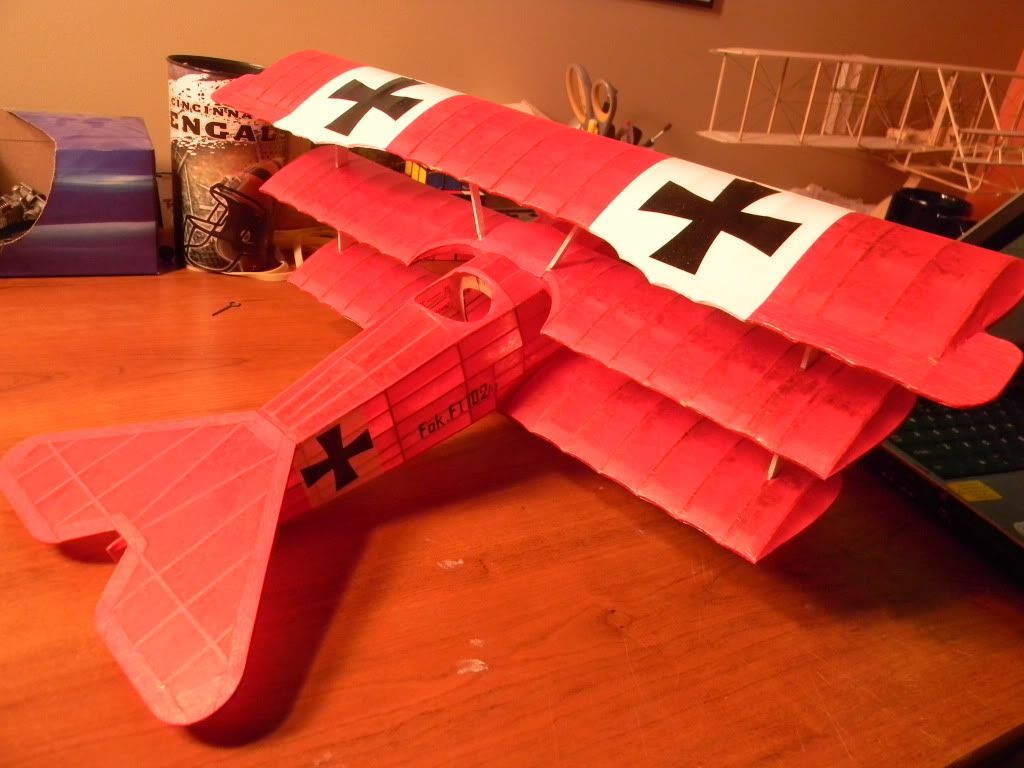
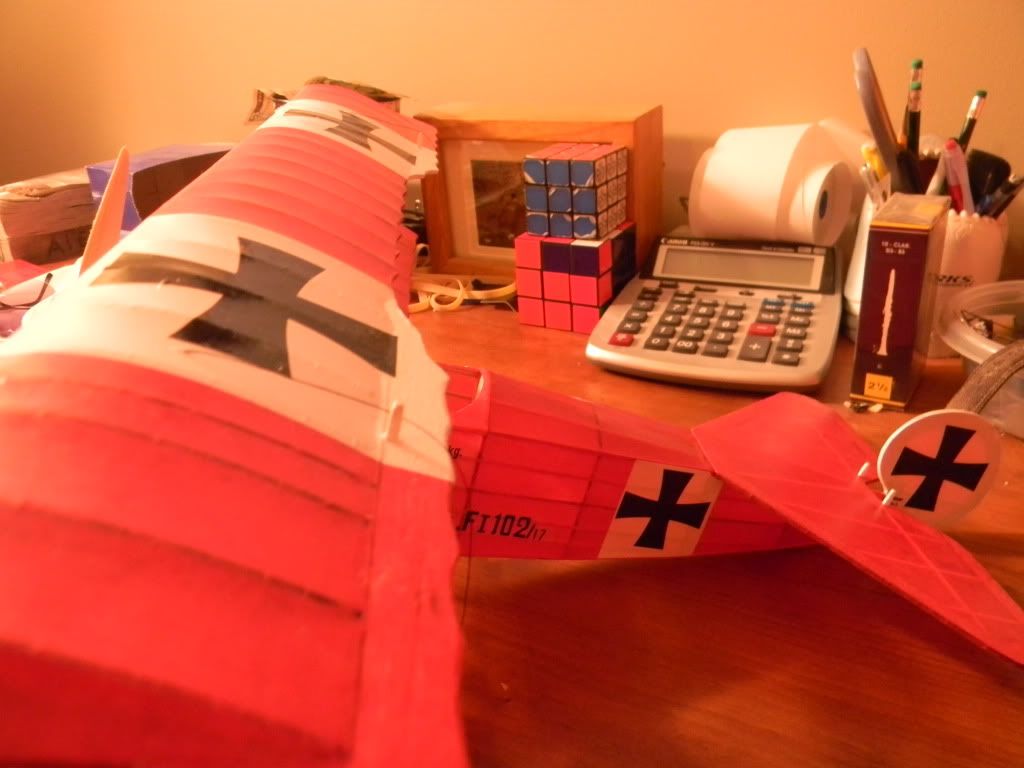
thanks Cliffm. ill stick with my white glue for rigging details for now, as my CA glue isnt very good at all. im getting fair results, and since my thread is so fine im using, i dont have to pull very hard at all to make it go tought. here is what im still thinking on how to do. on the tail, the top control horn wires have to go through the stab, to the side of the fuse. for the top of my wing on this one, i actually just used a pin and carefully poked a hole big enuff for the thread to go through. then i just added a little elmers in there and pulled it into the general direction of where it will eventually end up. when glue is all dry, i put some glue on only one side of the control horn (the one closest to where the wire goes into the frame) and then put my string on, pull so it is tought, and tape the long end so that that tention stays put while it drys. then, i take a nice razor blade and give it a trim, so it looks nice and pretty. this method seems to look alright to me.